Baking Soda and Vinegar Color Fun

This is by far our favorite science experiment these days at Our Beautifully Messy House. It’s incredibly simple and quick to put together and L loves it! Whenever she has a friend over and there’s a lull in the action, I usually pull this one out to keep the hooligans entertained.
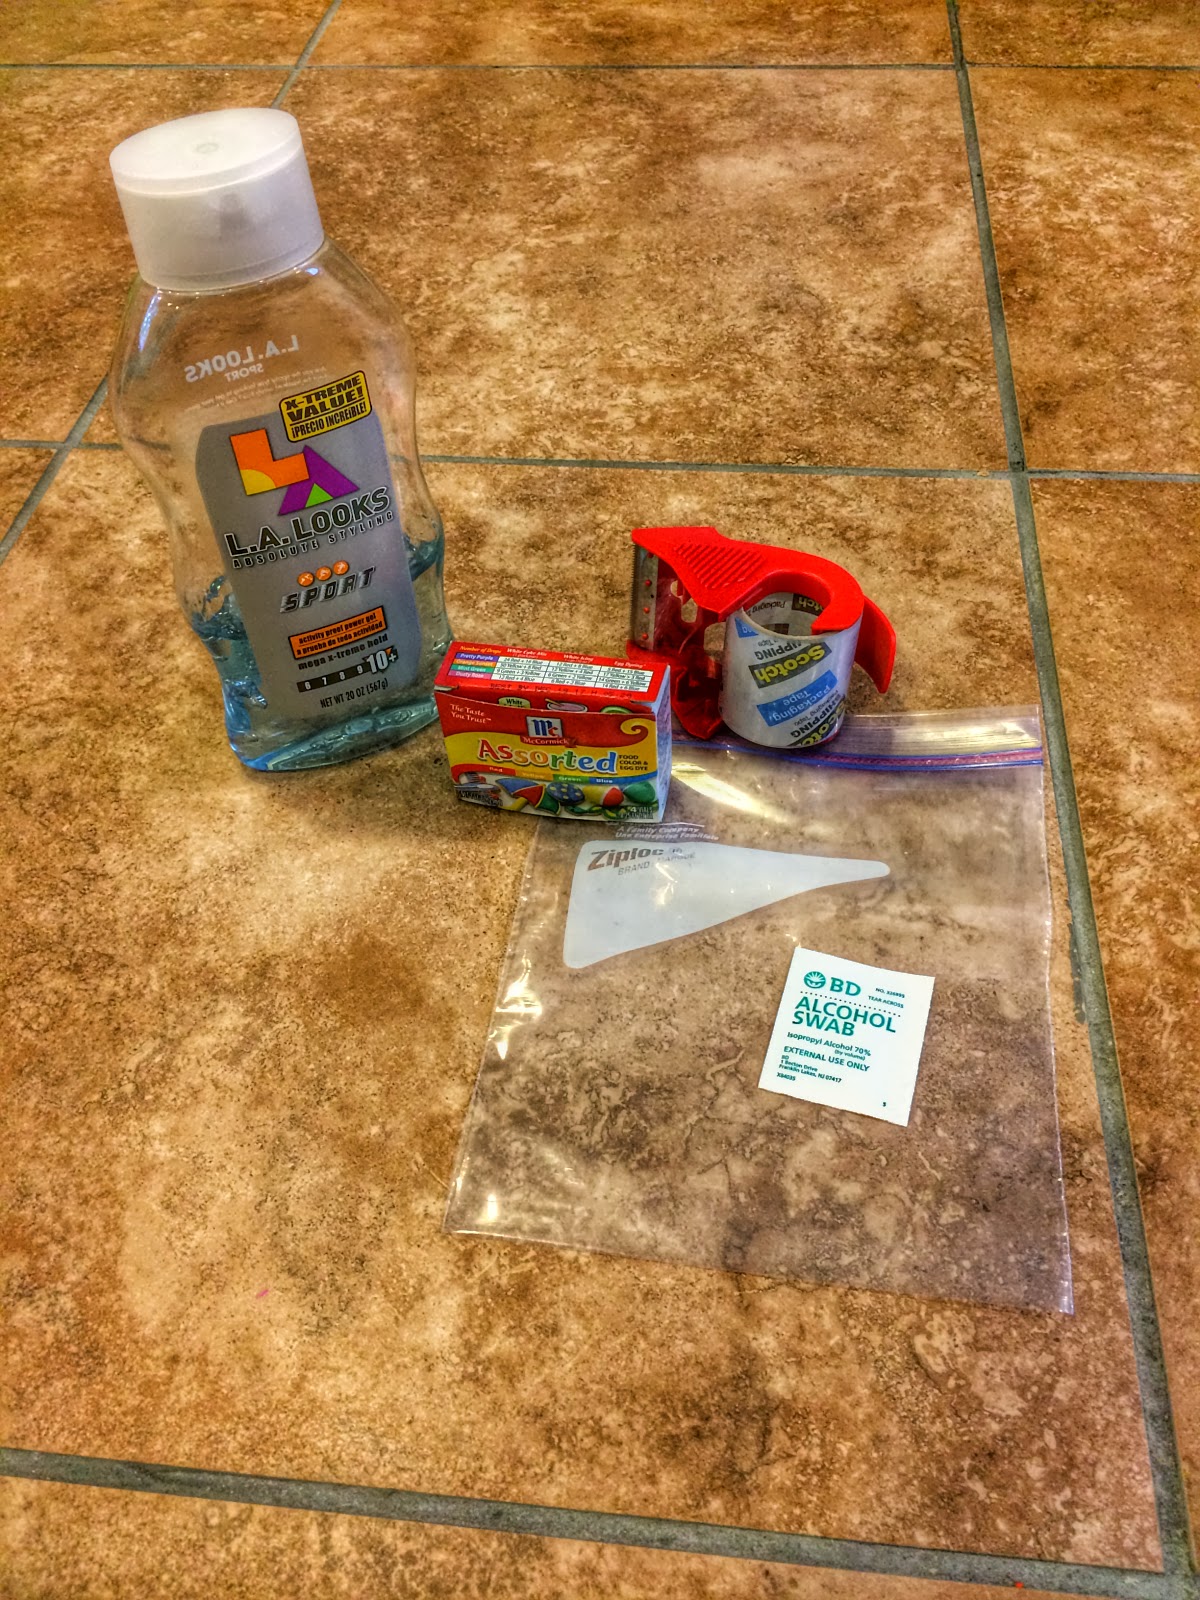
IMAGE_1627

IMAGE_1625

Materials needed:

  • food coloring
  • baking soda
  • vinegar
  • medium-sized container
  • cup
  • medicine dropper

IMAGE_1628

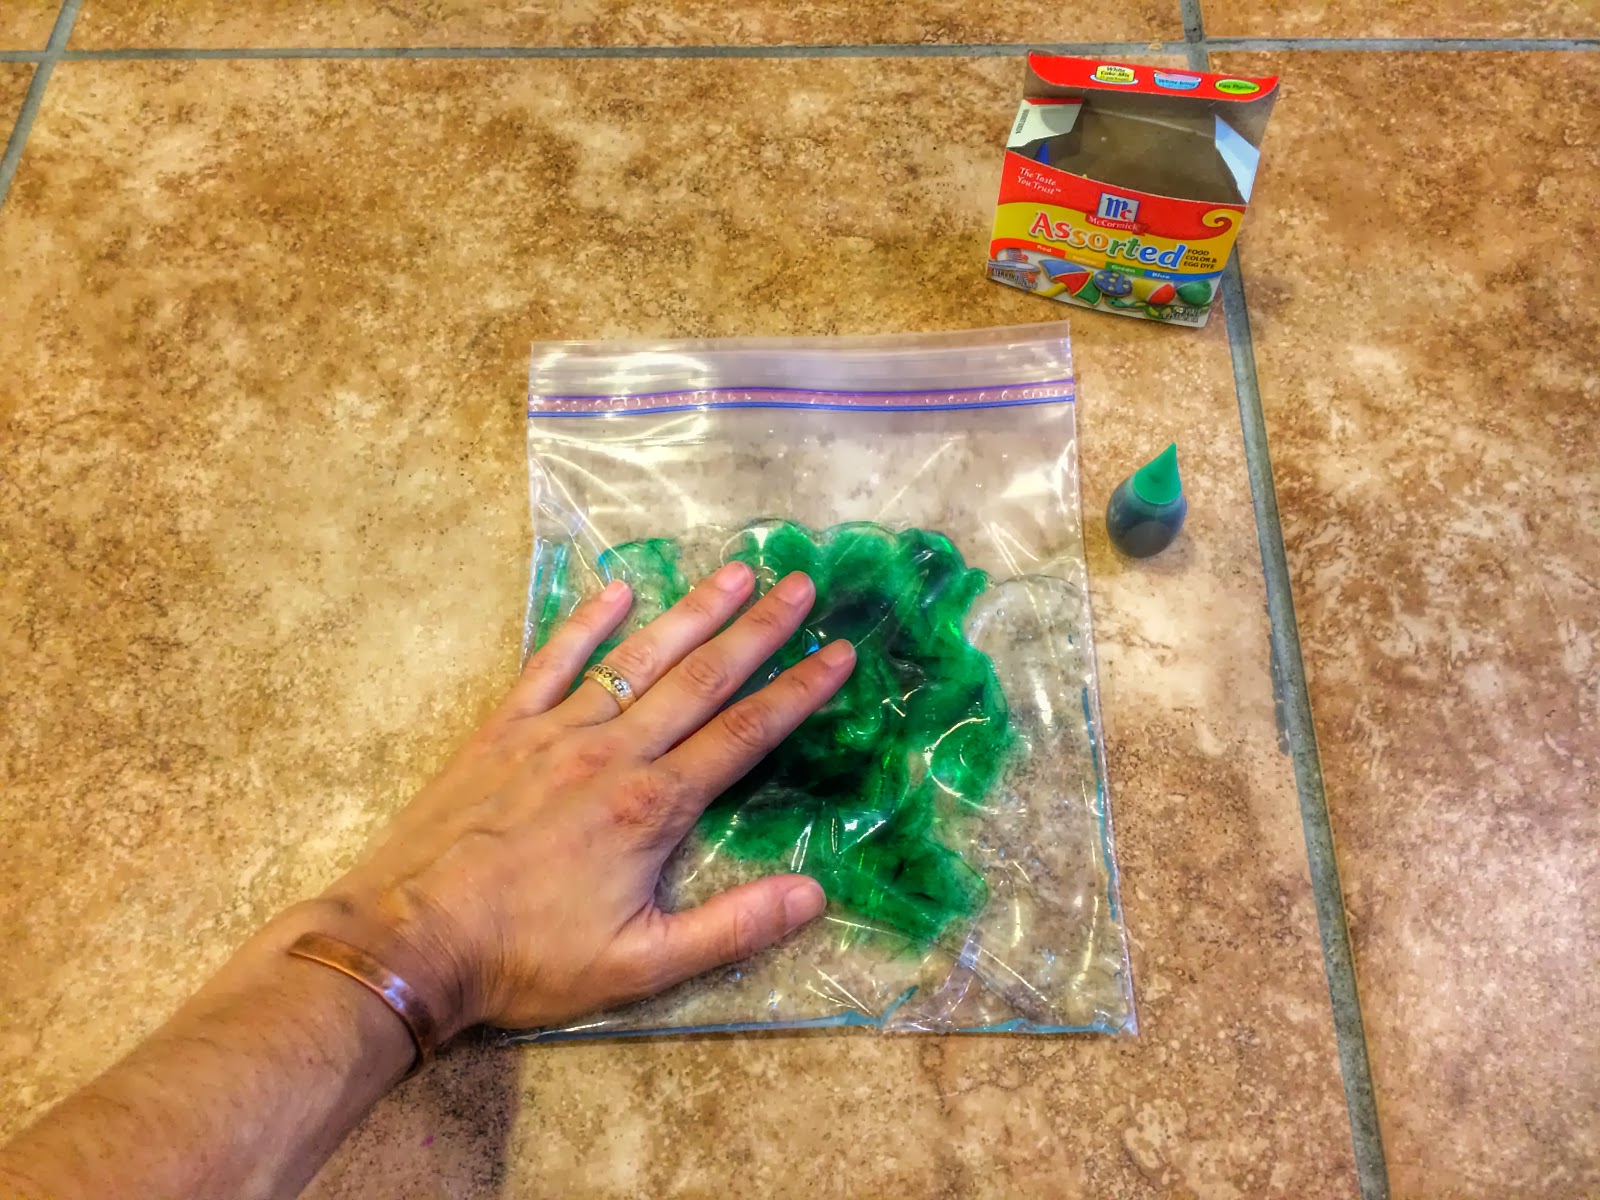
First, put some drops of food coloring around the bottom of the container. Remember that the colors will eventually mix, so place the colors accordingly.

Next, pour some baking soda over the little, food-coloring puddles until the colors are completely hidden.


Now, pour some vinegar into a small cup. This is a great place to stop and talk a little bit about the science behind this fun and fizzy experiment. Even though L is only 2 years old, we still talk about how it’s an acid-base reaction that causes the fizzing. She loves tasting the baking soda and talking about how it’s salty versus the vinegar that smells and tastes sour. (Bottom picture is after tasting the salty baking soda.)


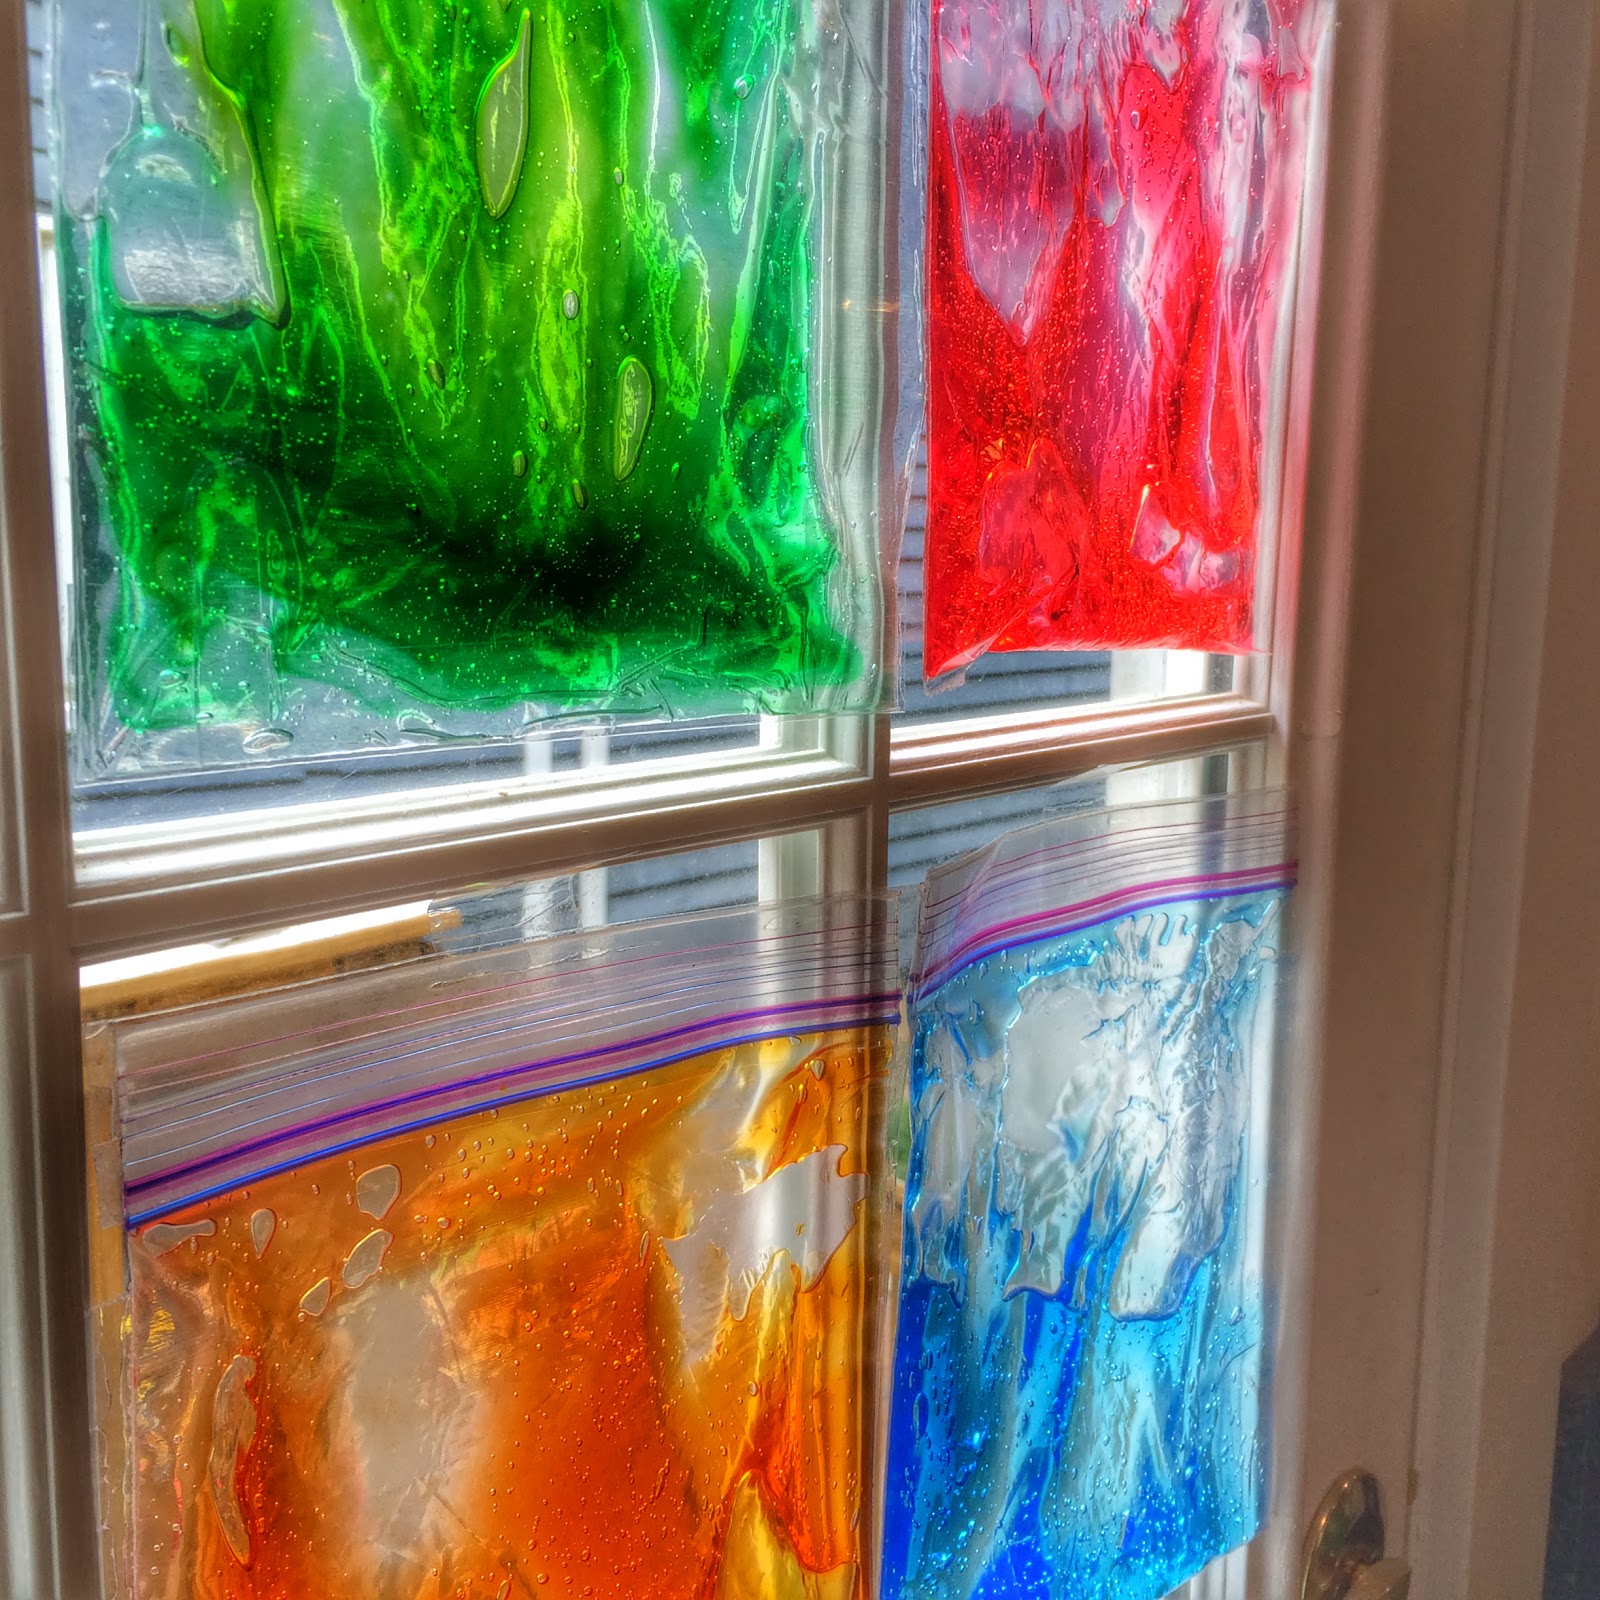
Now for the fun part! Using the medicine dropper, squirt vinegar onto the baking soda mounds and watch the concoction fizz while the colors appear and mix together. It should continue fizzing as long as baking soda is visible and your child continues to squirt vinegar into the container.


Not only is this experiment easy to put together, but clean-up is a cinch too! Just dump the mixture down the drain and toss the cup and container into the dishwasher. The vinegar-baking soda concoction will help clean your sink too…an added bonus! I hope your kids love this one as much as mine do! Enjoy!

Stick Shapes Game

Do your kids do this? Lately L makes shapes and pictures with everything stick-like…markers, crayons, toothpicks, straws, hot glue gun sticks, chopsticks, everything! It’s a great learning activity though and can be a lot of fun! It’s also something you all can play anywhere at any time…think restaurant, waiting forever for dinner to come…


Materials:

  • markers (or anything stick-like)

L always initiates this game, usually by making triangles and squares.

We do some letters.

Make some snakes…be careful, this one bites!


Sometimes I tell L which shape to build. Other times we can take turns building shapes, having the other person guess what it is. I made this one and L proclaimed, “Like a stop sign!”


And still, other times we make pictures and shapes together.

You can also practice colors and counting with this game too. It’s so simple, yet so much fun for a two year old or older! Sometimes simple really is best. What little games like this does your family play?

DIY Baby Play Area + DIY Baby Toys

Over the past few weeks I had been thinking of putting together a little play area for WB, now 7 months old. WB is definitely our laid back kid, compared to her wild-child, older sister. She is perfectly content sitting back and observing the world around her. WB can roll over and push herself up on her belly, but she doesn’t do it very often…so I thought a little play area may be fun and may encourage her to move around a little more. And boy was I right…she LOVES it! When I saw some long mirrors for a good deal at Lowe’s last week, inspiration struck and WB’s play area was put in motion!

Materials Needed:

  • comfy, colorful blanket
  • long mirror
  • 2 med-sized boxes
  • 6 to 8 bricks (or other heavy items)
  • colored paper
  • tape or glue


To hold the mirror in place, in a safe and sturdy way, I decided to fill a couple boxes with bricks. (We just happen to have a pile of them sitting outside of our house, leftover from a patio project.) You can also use heavy rocks, bags of sand, or whatever is most convenient for you! Brighten-up a plain cardboard box by taping colored paper to it. I originally planned to cover the diaper-box I was using as well, but then I remembered how much babies like other smiling babies and kids, so I only partially covered it. The box was colorful already too!


Other things you can put in or near your baby’s play area include:

Sensory Bags (DIY link here.)

Sensory Bottles for Baby (link here.)

Sparkle Bottles (link here.)

Plush Animals and Toys (DIY bunny link here.)


Colorful Garland…I put this feather one up above for WB to look at while on her back. I love how the feathers gently “dance” continuously. (DIY feather garland link here!)


What will you include in your baby’s play area??? As always, never leave your children unattended and make sure all toys you put in the play area are baby-safe! Have fun watching your little ones explore!


Play Dough Funny Faces w/ DIY Outlet Covers

When I saw a variation of this craft years ago, I stored it away in the back of my mind, just waiting for L to be old enough to make and play with these! The outlet covers I saw were made using Sharpie Markers, but I love the color we brought to ours with paint! The outlet-cover funny faces are as much fun to make as they are to play with! L and I spent one day painting the outlet covers, let them dry overnight, then the next day, we were able to glue on the googlie eyes and stick them in our play dough! So silly and so much fun!


Materials Needed:

  • outlet covers
  • paint (acrylic and/or puffy paint)
  • googlie eyes
  • jewels (optional)
  • hot glue gun and glue
  • your favorite play dough
  • egg cartons (optional)


The first thing I did, preparing our work station, was to cut off the center tips of an egg carton. I then put an outlet cover in each opening so L could paint them with ease.


Then, paint away! I tried to paint mouths and noses on the outlet covers, while I let L paint hers however she pleased. I figured the ones she painted could be used to glue on the eyes and jewels later on.


After the glue dries, you can go over some with puffy paint too! I thought it was a fun effect for big, puffy lips!

Using a hot glue gun, attach some googlie eyes and jewels to a few of the other outlet covers.


Now it’s time to play! Just push the outlet covers into your favorite play dough…the funny face possibilities are endless!


I love how the play dough doesn’t stick to the outlet covers, rather it just falls off, making clean-up a breeze! Please share pictures of your funny faces…we’d love to see them! Enjoy!

Tie-Dye Napkin Painting

I remember first doing this activity at a friend’s house when I was in Kindergarten. It’s so simple, yet so much fun! Even as an adult, I enjoy painting these with L…the finished painting always looks so much better than I expect it to!

Materials Needed:

  • white napkins
  • watercolor paints

Keeping it folded up, paint the napkin with the watercolors. Make sure the paint is plenty wet and soaks through the napkin completely.


Once you’re done painting dots, patterns, or whatever you fancy on the napkin, open it up for the surprise ending! See…so much cooler than you anticipated!!!


L could paint these all day long! If you don’t have paper napkins on hand, paper towels work too. Enjoy!


2-Ingredient Gooey Dough

L and I are always looking for new play dough recipes, so when I came across this one I just knew we had to make it! We call it “Gooey Dough” because it’s so stringy, smooth, and gooey! It feels good to squish through your fingers and fun to strrrrreeeeeetch as long as you can!

Materials needed: 

  • 1 to 1 1/2 cups, hair conditioner
  • 2 cups, cornstarch

Using a large mixing bowl, put both ingredients together and mix, mix, squish, mix!


I have to admit that after about a minute, I thought this was the messiest, worst play dough ever made…BUT as I washed my hands, L kept squishing it together and a couple minutes later we had this wonderful concoction!!! I’m so glad she kept at it, because Gooey Dough has become one of our favorites! L has played with it for hours, day after day.


You can add some food coloring if you like or toss in some glitter, but we were happy with the Gooey Dough the way it is…it’s so white, smooth and the conditioner gives the whole kitchen a fresh scent! It’s truly the most luscious dough we’ve ever made!


By day two, I came up with a couple tips…

-Store the dough in a sealed plastic bag or storage container (I’ve read that it keeps for months).
-It’s best for your kids to take their clothes off to play or wear a smock shirt! It can get messy fast!
-This dough just asks to be squished all around, so tape down a plastic/silicone chopping mat on the table or work surface.


Get messy and have fun!!!

Imagination Box!

I don’t know about you, but our kids always seem to have too much stuff….too many stuffed animals, too many dolls, too many plastic play sets, too many puzzles, etc. When L is going to a birthday party, I hate to buy a toy that her friend will play with for 5 minutes and then toss to the side. Homemade gifts are truly the best, most heart-felt to give and I love making them, but I just don’t have the time some days. The IMAGINATION BOX is my gift-giving solution!!! It is quick and easy to put together and kids of all ages LOVE it! The Imagination Box makes for a fun birthday gift, as well as a perfect “Get Well Soon” gift, plus it guarantees hours of entertainment!

“So, what do I put in the box?” you ask. Anything and everything!

Paper plates and cups, brown paper bags, construction paper, crepe paper, straws…


Cotton balls, clothes pins, colored craft sticks, paper clips, sponges, markers, googlie eyes…


Buttons, rubber bands, glue, beads, shoe laces, pipe cleaners…


Egg cartons, kid scissors, mini-staplers, felt squares, a few sandwich bags (for lil pieces with opened packaging)…


Just about anything that will fit in the Imagination Box, that kids can use to create art, works! I usually go to the Dollar Store, walking up and down every aisle, and look for items with crafting potential. It certainly looks like a lot pictured here, but the box can be filled with less than 25 dollars!


Last, but not least, you need a cardboard box to put everything in. Try to leave the box mostly undecorated, so the child receiving the gift can use it too! The box itself will make a perfect rocketship, firetruck, castle, table, bed, gnome house, etc.


When putting together an Imagination Box, you need to consider the child’s age. It’s best to put things in the box that the child receiving it can create with independently and safely. After all, the box is designed to keep kids busy creating (so mom and dad can cook dinner in peace)! For instance, if you’re making an Imagination Box for a 2 yr old, you may not want to include scissors or a stapler, but an 8 year old would have no problem with them. Always make sure you give parents a heads-up of anything that’s questionable.

Some ideas to get kids started…

  • make a little town or fairy village using paper bags
  • paper plate masks
  • pipe cleaner bracelets, necklaces, glasses
  • puppets
  • robots
  • make pretend food
  • cotton balls for clouds
  • clothespins to make people
  • egg carton flowers
  • egg carton caterpillar

Get messy and have fun!!! Let the kids’ imaginations soar!

Sensory Bags

These bags are great for babies to play with and are a nice calming activity for bigger kids…heck, I even have a hard time walking by one without squishing it! They always feel so cool to the touch! We made ours pretty simple, but you can always embellish yours a bit by throwing some glitter in or some flat foam shapes.

Sensory gel bags - 1


Materials needed:

  • Ziplock quart-size bags
  • alcohol wipe
  • hair gel
  • food coloring
  • clear packaging tape


First, use the alcohol wipe to easily remove the Ziplock logo from the bag.


Next, squirt about a cup of hair gel into the bag.

Then add a few drops of food coloring. If you’re using glitter, throw that in too.

Seal the bag shut, making sure you leave little to no air in the bag. Squish the gel and food coloring together, adding more food coloring if you’d like a deeper color.

Reinforce all the edges of the bag with the packaging tape, especially the top, ensuring that the bag won’t split at its seams letting the gel-food coloring mixture out. All done!

WB likes to squish the bags on the kitchen floor, while L likes me to tape hers to the window, letting the sun shine through. As with most toys, you should never leave your baby alone with the sensory bags…you can never be too safe! Enjoy!

New Ways to Paint

I have never met a person, young or old, who didn’t love to paint! So here are over 10 new ways to paint…time to get messy and have some fun!!!


Some tips before we start:

  • Use an old shirt or apron for a smock shirt…or on a hot day, have your kids take off their shirts!
  • When using finger paints, tempera paints or liquid watercolors squirt the paints onto food container lids (Gladware, Tupperware, etc.). Then you can just rinse and toss into the dishwasher to clean them…better for the environment than paper plates!
  • After your child’s done painting outside, find a big rock or brick for them to paint too…this will hold the paper down and keep it from blowing away while the paint dries. We just keep the rocks outside and the rain washes them clean so they’ll be ready for next time.


New Ways to Paint:

“Clean” paintingPaint with water!

This is a great activity for the beginner painter! Inside, have your kids paint with water on construction paper. As the water dries, the paper can be used over and over again. Outside, kids can paint with water on a cement driveway or sidewalk with the same effect. It’s simple, clean, and kids love it!


Paint in a Bag

So quick, so easy and no mess! Put any kind of paint in a gallon-sized bag and tape it to a window! It’s fun to mix and swirl the colors together, making different textures in the paint with your hands. *hint: To get the white label off your plastic bags, just use an alcohol wipe! Easy peasy!


Paint with Flowers

This is definitely a Spring or Summer-time craft! Have your kids walk around outside, picking different sized flowers and grasses to paint with. The outcome is pretty cool!


Paint with Bubbles

I remember doing this one as a kid in school. In a small cup or bowl mix together a lot of paint, a tablespoon or two of dish soap, and a very little bit of water. Then, using a straw, have your kids blow bubbles in the cup until the bubbles rise up and over the edge. At this point you can quickly lay paper over the cup to leave a bubble print. You can also place the cup on a piece of paper before you start and let the bubbles pour over the cup and onto the paper. This one is fun to experiment with!


Paint with Cotton Balls

Clip clothespins onto the cotton balls and use in the place of brushes. L enjoyed making dots with this one. I’ve seen “cloud” pictures before where you make a cloud stencil with a piece of cardboard, lay the stencil over blue paper and use cotton balls and white paint to paint the clouds.


Paint with PomPoms

This is similar to painting with cotton balls. Here are some of my friend Katie’s kids using pompoms instead of brushes. So many colors and so much fun!


Finger Paint

This one is not new, but it is fun! You can always take it to the next level and paint with your feet instead! At Easter this year, we used finger paints and our knuckles to make knuckle carrots.


Paint with Household Brushes

We made fireworks with kitchen brushes this 4th of July. Old toothbrushes would work great too!


Paint with Sponges

Similar to household brushes, use sponges to paint. You can cut up sponges into shapes to stamp with or you can also find a variety of sponge-brushes at your craft store.


Paint Each Other

You don’t have to use face paint to paint your face. Watercolors work great too and wash off in seconds with warm water. I mean, why not let your kid paint green dots on your face?


Paint like the Masters

There’s no reason not to teach even the youngest kids about the extraordinary masters of the paint world. You can let your kids paint like Michelangelo and set-up a mini-Sistine Chapel; using Q-tips have them paint dots like Georges Seurat; or lay paper under the swing-set out back, having your kids swing on their stomach, paint brush in hand, creating a Pollock-like masterpiece.


For some Monet inspired art, check out this post:

Playing Monet.

I’m sure there are other fantastically fun ways to paint that L and I haven’t tried yet. Which ones have you done??? Please share in the “comments” section below!

Daniel Tiger’s Neighborhood (aka Mr. Roger’s Neighborhood)

Our crafts come from many different directions, with many different goals in mind…the day we made Daniel Tiger’s Neighborhood my goal was to turn the T.V. off and keep it off for as long as possible! So I decided to bring L’s favorite T.V. show neighborhood to life! You really could do this with any neighborhood, real or make-believe.

Daniel Tigers Neighborhood-2


Daniel Tigers Neighborhood-13

 Using items found in our recycling basket, kitchen cabinets, and craft closet we pieced together the houses, castle, clock factory, etc. After all the buildings were up, I used painter’s tape to make a road for “trolley” to drive around on. Painter’s tape should be in everyone’s craft pile…it sticks when you need it to, but comes right-up no problem once you’re done playing. We use it allll the time!


Daniel Tigers Neighborhood-6

Daniel Tiger’s house: old cookie dough container and construction paper

Daniel Tigers Neighborhood-10-EFFECTS

O the Owl’s House: toilet paper roll, tissue paper, construction paper


Daniel Tigers Neighborhood-8Daniel Tigers Neighborhood-5


 Jungle Beach: cookie tin lid, beans, construction paper

Daniel Tigers Neighborhood-7

Prince Wednesday’s Castle: shoebox, random round packaging from recycling basket, construction paper


Daniel Tigers Neighborhood-9


Museum-Go-Round: round hat box, cookie dough container, construction paper

Daniel Tigers Neighborhood-12

Trolley: vintage Little People bus, construction paper….Ding! Ding!

And there you have it. Random stuff pieced together in the form of a neighborhood. Whose neighborhood will you make today?