I have never met a person, young or old, who didn’t love to paint! So here are over 10 new ways to paint…time to get messy and have some fun!!!

Some tips before we start:
- Use an old shirt or apron for a smock shirt…or on a hot day, have your kids take off their shirts!
- When using finger paints, tempera paints or liquid watercolors squirt the paints onto food container lids (Gladware, Tupperware, etc.). Then you can just rinse and toss into the dishwasher to clean them…better for the environment than paper plates!
- After your child’s done painting outside, find a big rock or brick for them to paint too…this will hold the paper down and keep it from blowing away while the paint dries. We just keep the rocks outside and the rain washes them clean so they’ll be ready for next time.
New Ways to Paint:
“Clean” painting…Paint with water!
This is a great activity for the beginner painter! Inside, have your kids paint with water on construction paper. As the water dries, the paper can be used over and over again. Outside, kids can paint with water on a cement driveway or sidewalk with the same effect. It’s simple, clean, and kids love it!

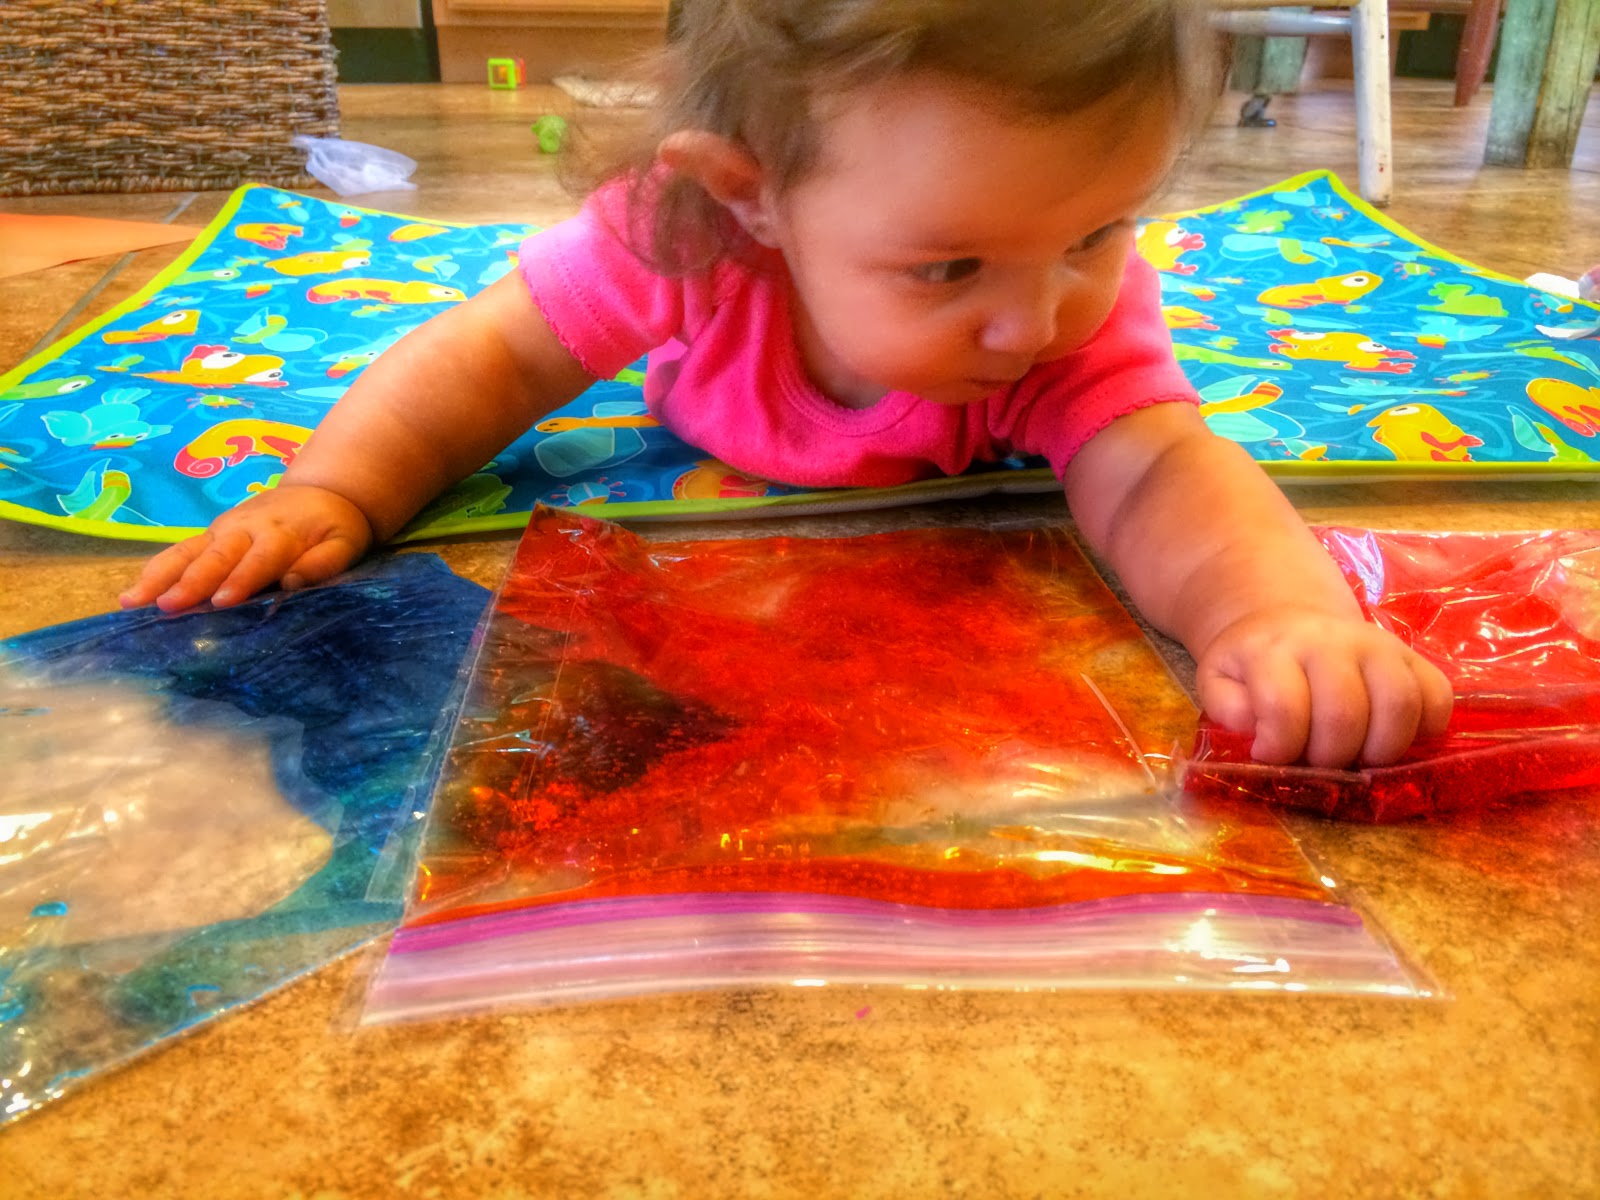
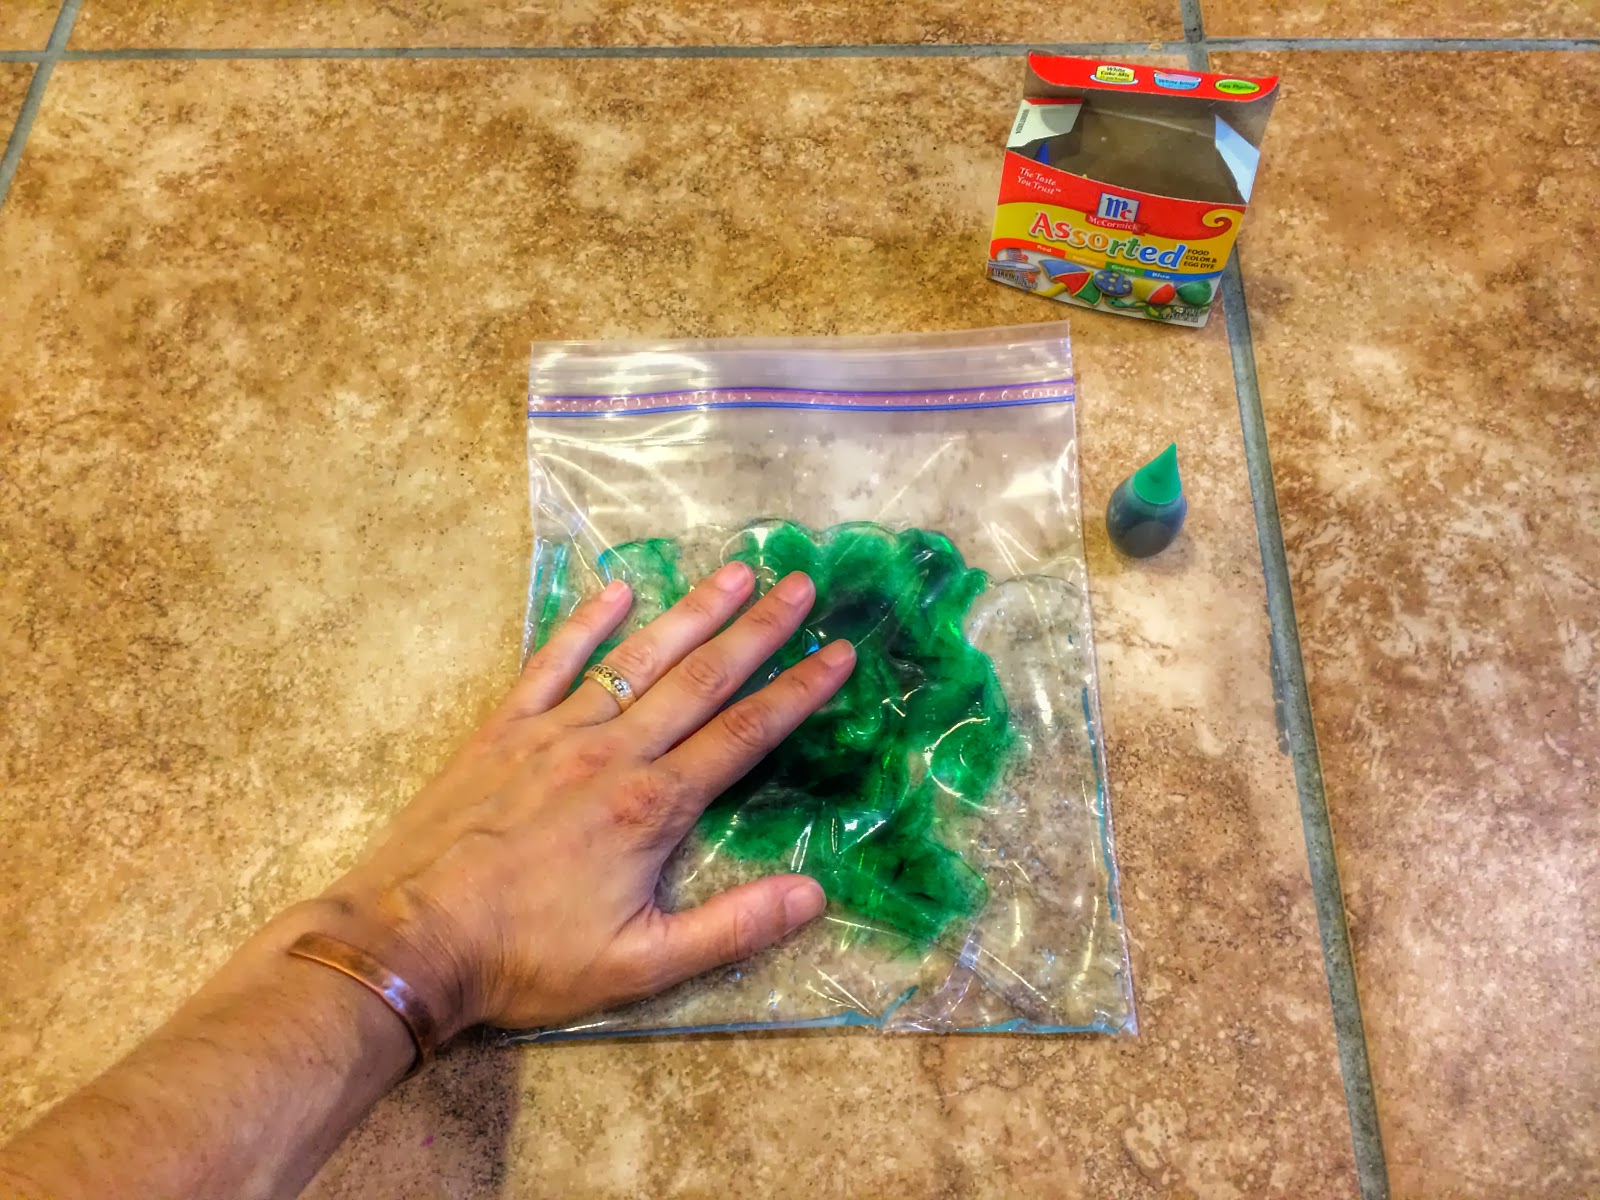
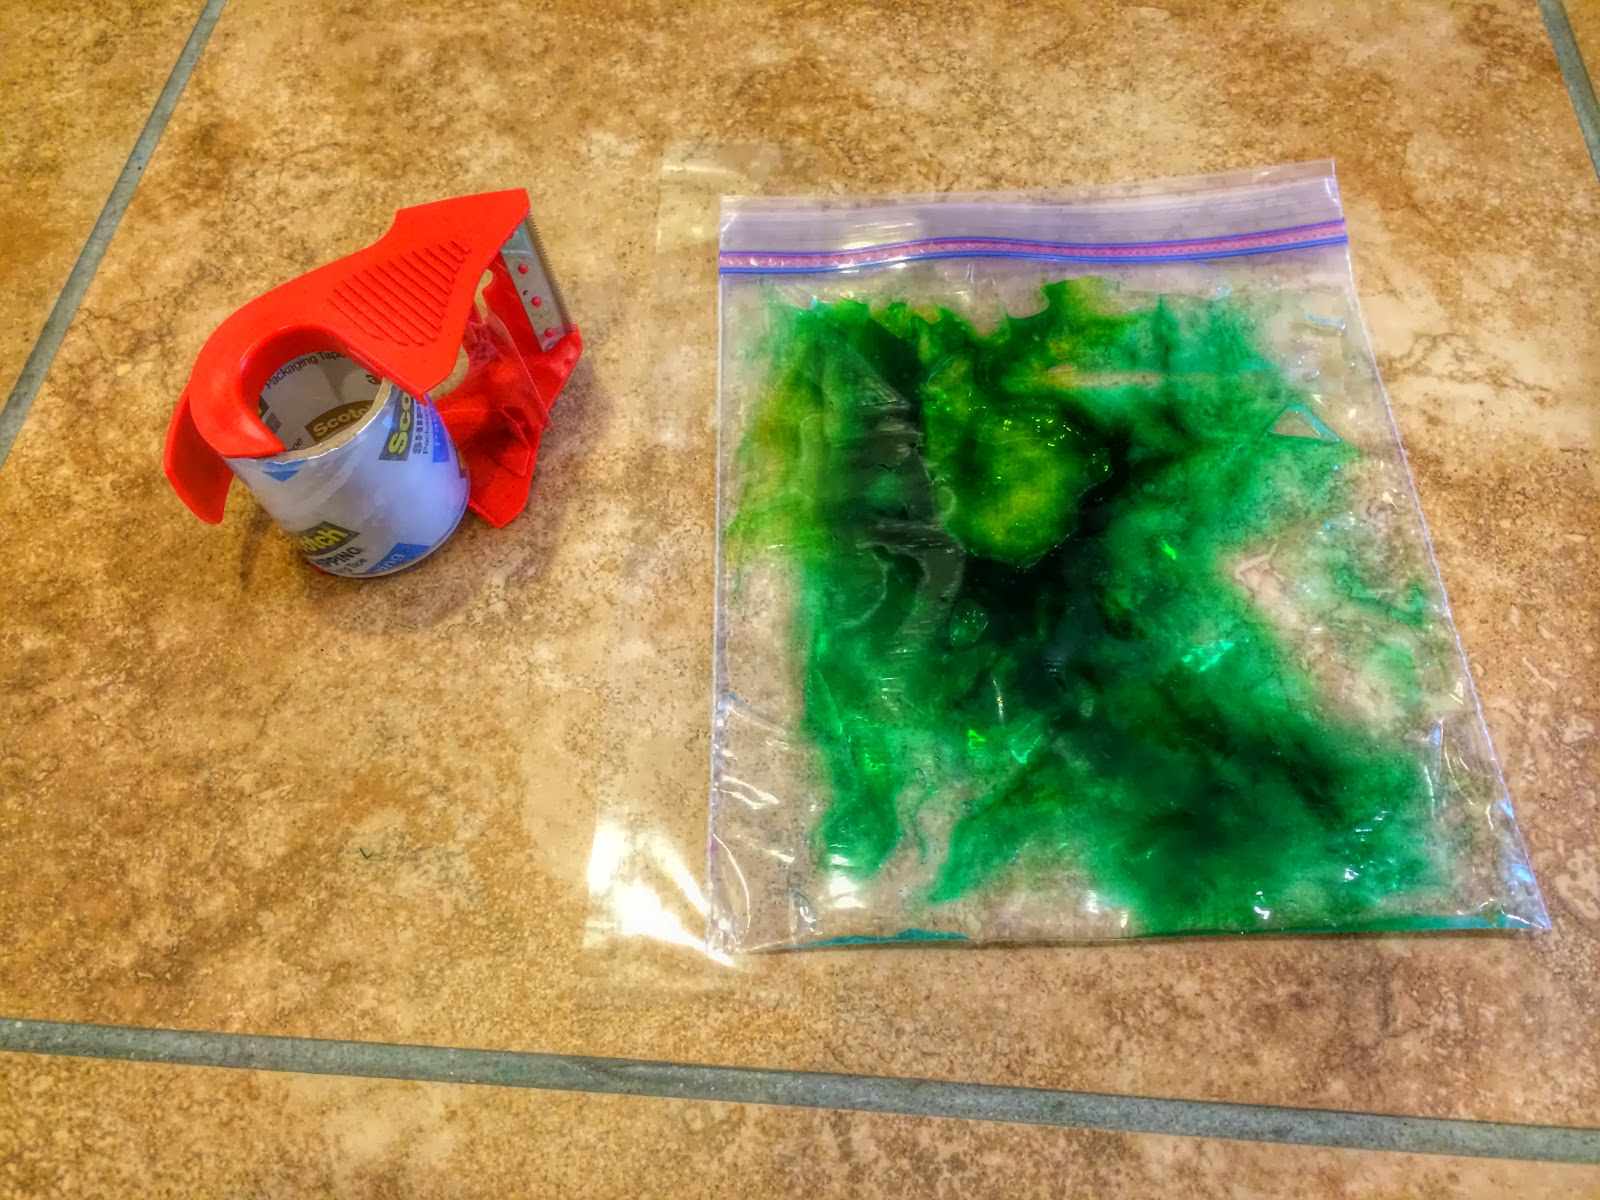
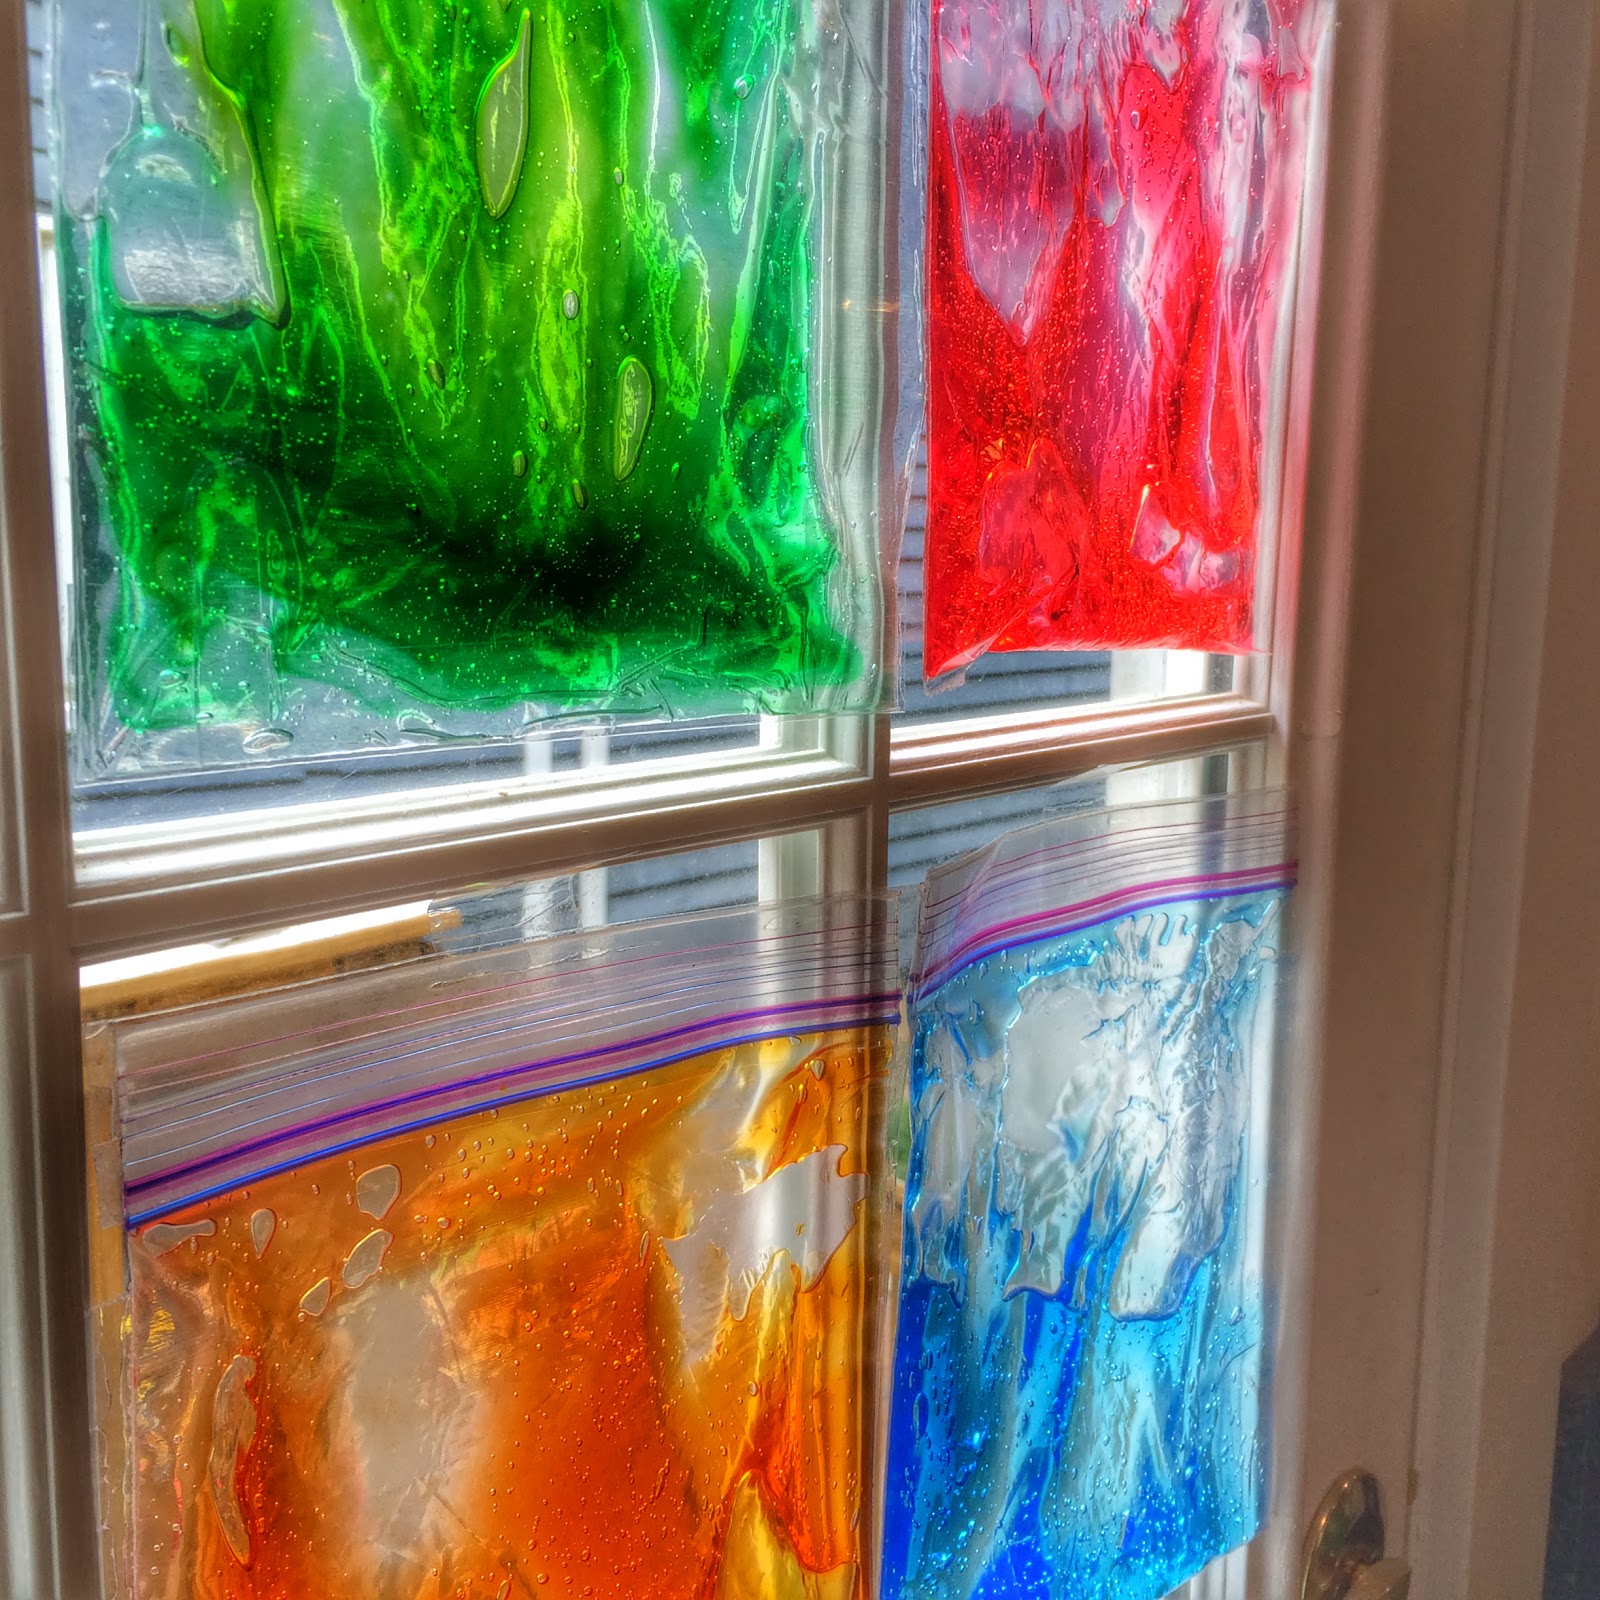
Paint in a Bag
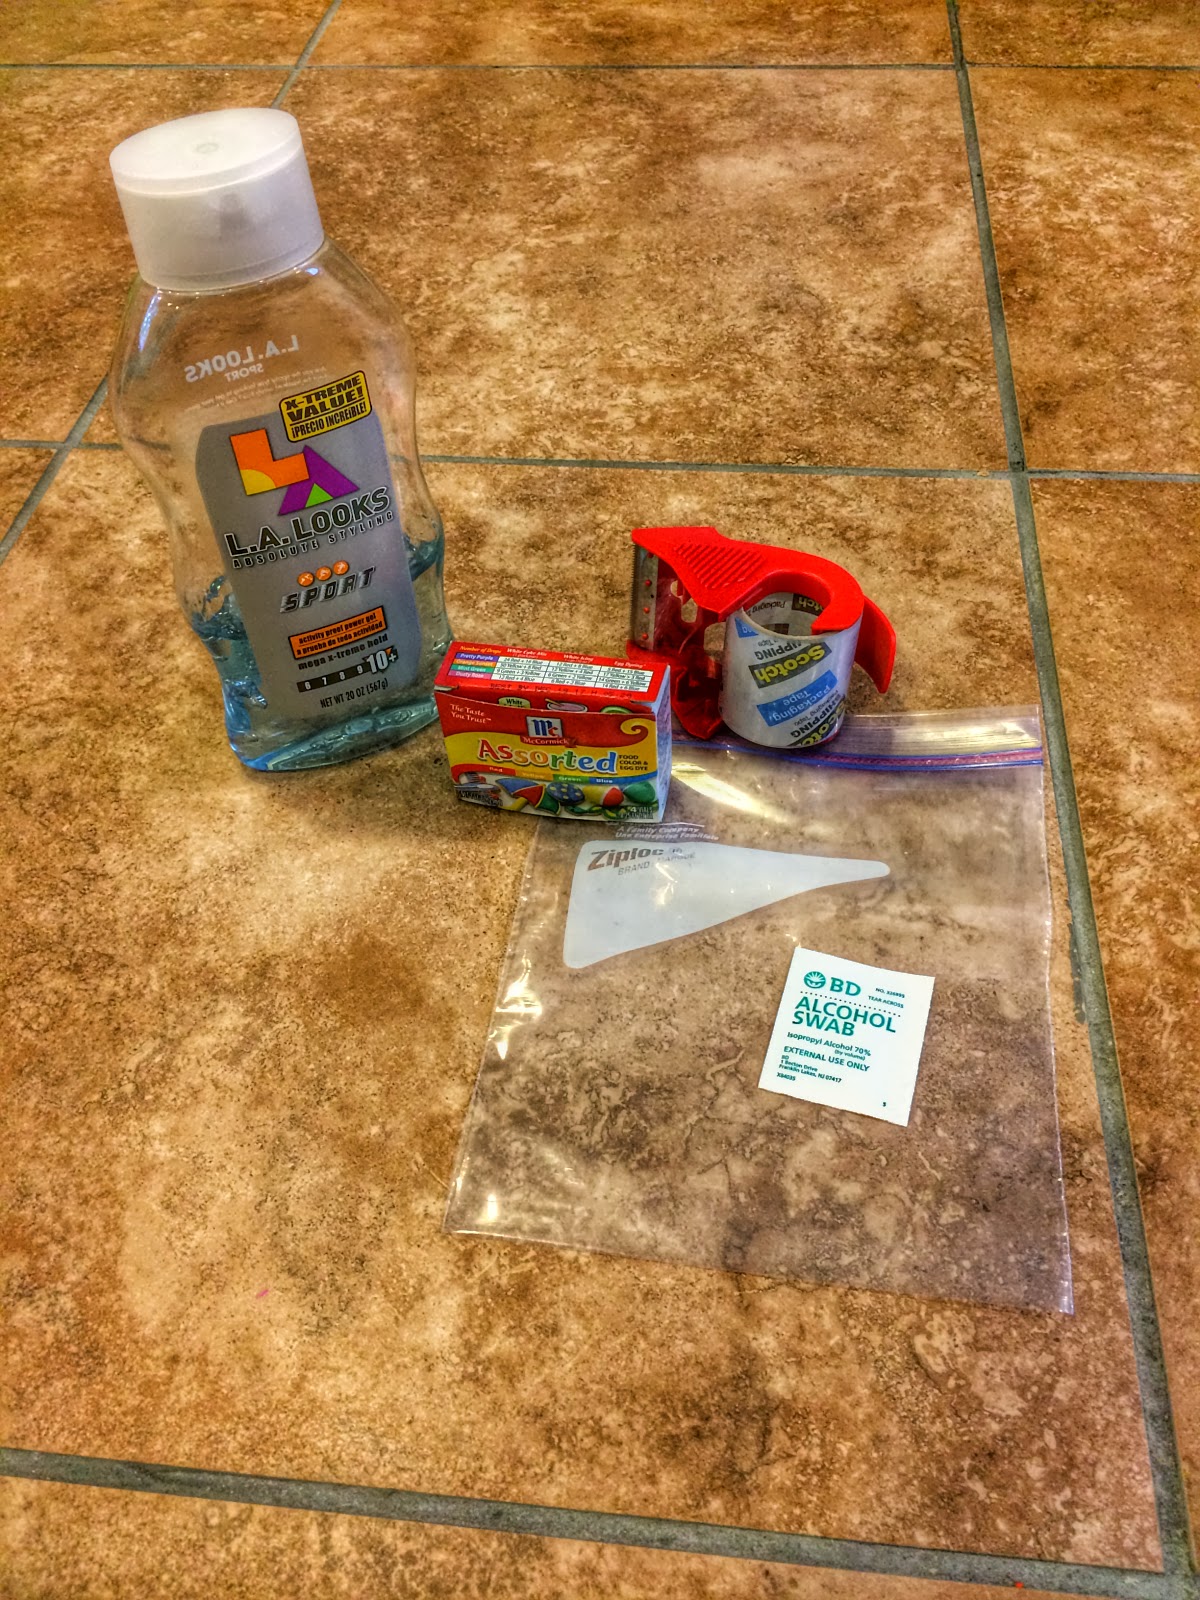
So quick, so easy and no mess! Put any kind of paint in a gallon-sized bag and tape it to a window! It’s fun to mix and swirl the colors together, making different textures in the paint with your hands. *hint: To get the white label off your plastic bags, just use an alcohol wipe! Easy peasy!


Paint with Flowers
This is definitely a Spring or Summer-time craft! Have your kids walk around outside, picking different sized flowers and grasses to paint with. The outcome is pretty cool!


Paint with Bubbles
I remember doing this one as a kid in school. In a small cup or bowl mix together a lot of paint, a tablespoon or two of dish soap, and a very little bit of water. Then, using a straw, have your kids blow bubbles in the cup until the bubbles rise up and over the edge. At this point you can quickly lay paper over the cup to leave a bubble print. You can also place the cup on a piece of paper before you start and let the bubbles pour over the cup and onto the paper. This one is fun to experiment with!

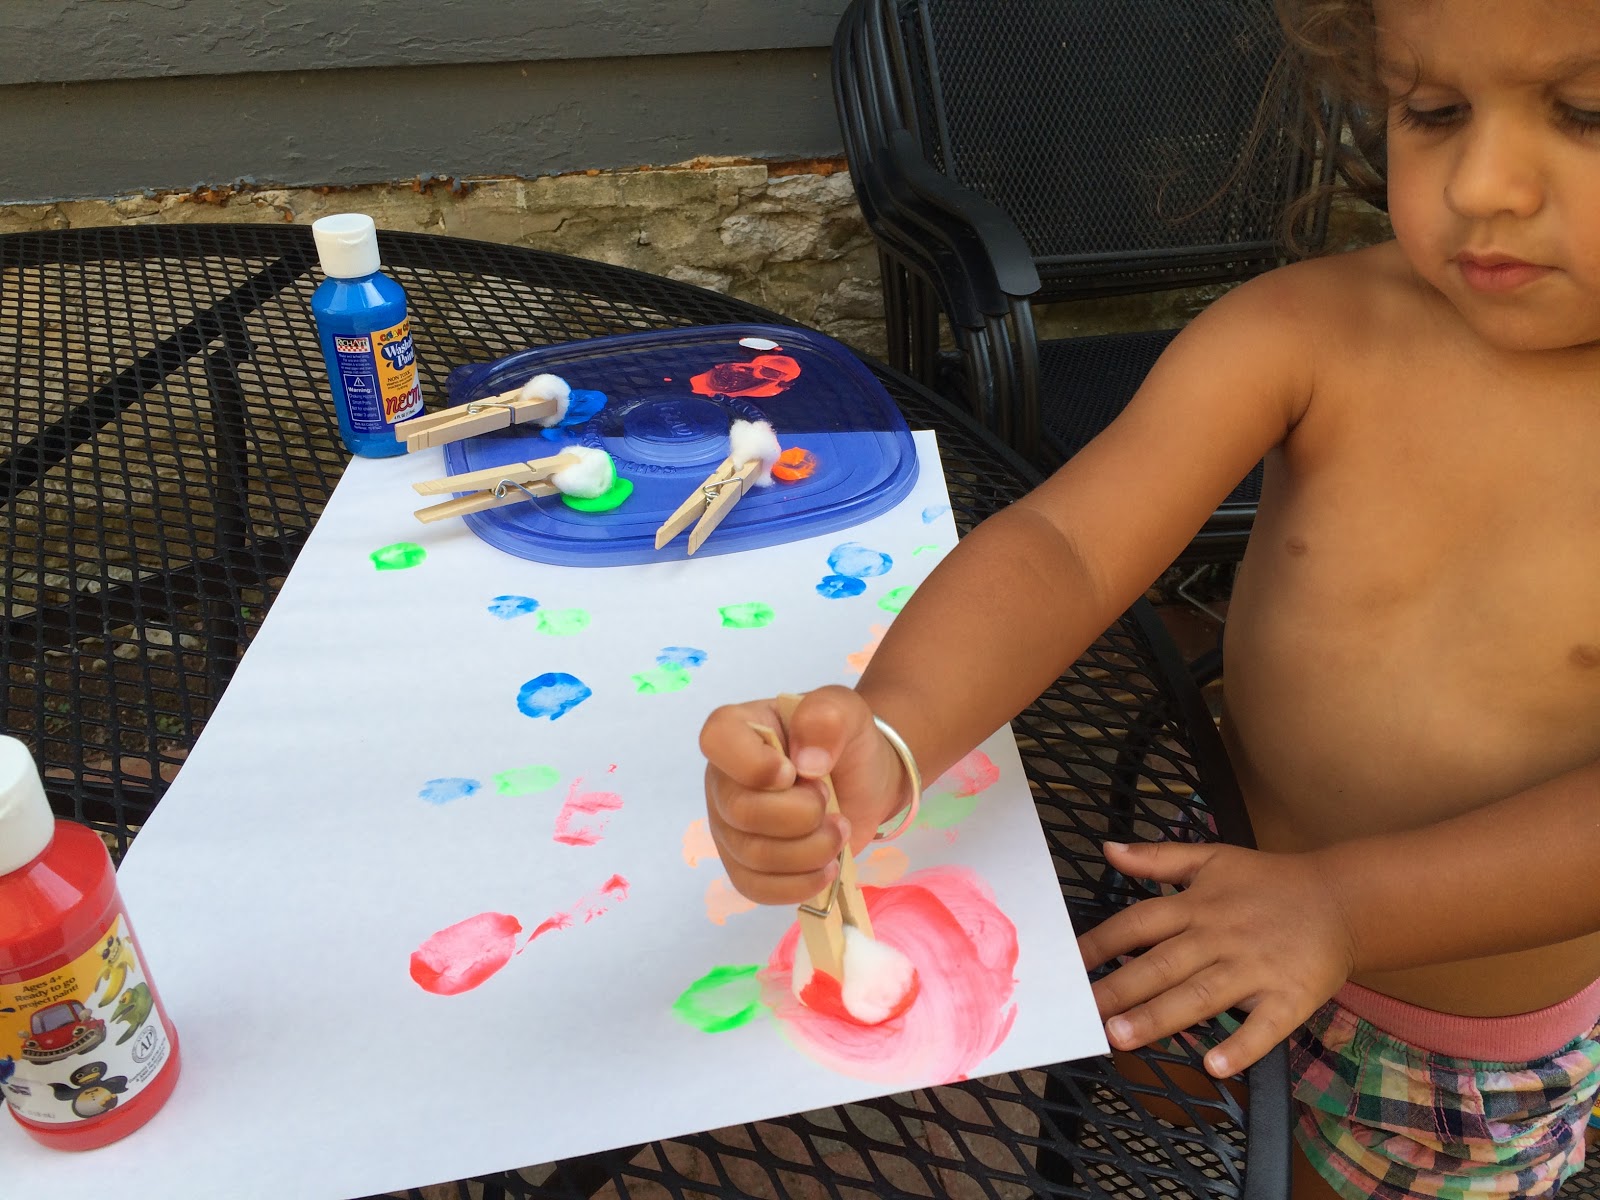
Paint with Cotton Balls
Clip clothespins onto the cotton balls and use in the place of brushes. L enjoyed making dots with this one. I’ve seen “cloud” pictures before where you make a cloud stencil with a piece of cardboard, lay the stencil over blue paper and use cotton balls and white paint to paint the clouds.
Paint with PomPoms
This is similar to painting with cotton balls. Here are some of my friend Katie’s kids using pompoms instead of brushes. So many colors and so much fun!


Finger Paint
This one is not new, but it is fun! You can always take it to the next level and paint with your feet instead! At Easter this year, we used finger paints and our knuckles to make knuckle carrots.


Paint with Household Brushes
We made fireworks with kitchen brushes this 4th of July. Old toothbrushes would work great too!

Paint with Sponges
Similar to household brushes, use sponges to paint. You can cut up sponges into shapes to stamp with or you can also find a variety of sponge-brushes at your craft store.

Paint Each Other
You don’t have to use face paint to paint your face. Watercolors work great too and wash off in seconds with warm water. I mean, why not let your kid paint green dots on your face?

Paint like the Masters
There’s no reason not to teach even the youngest kids about the extraordinary masters of the paint world. You can let your kids paint like Michelangelo and set-up a mini-Sistine Chapel; using Q-tips have them paint dots like Georges Seurat; or lay paper under the swing-set out back, having your kids swing on their stomach, paint brush in hand, creating a Pollock-like masterpiece.


For some Monet inspired art, check out this post:
Playing Monet.

I’m sure there are other fantastically fun ways to paint that L and I haven’t tried yet. Which ones have you done??? Please share in the “comments” section below!