Imagination Box!

I don’t know about you, but our kids always seem to have too much stuff….too many stuffed animals, too many dolls, too many plastic play sets, too many puzzles, etc. When L is going to a birthday party, I hate to buy a toy that her friend will play with for 5 minutes and then toss to the side. Homemade gifts are truly the best, most heart-felt to give and I love making them, but I just don’t have the time some days. The IMAGINATION BOX is my gift-giving solution!!! It is quick and easy to put together and kids of all ages LOVE it! The Imagination Box makes for a fun birthday gift, as well as a perfect “Get Well Soon” gift, plus it guarantees hours of entertainment!

“So, what do I put in the box?” you ask. Anything and everything!

Paper plates and cups, brown paper bags, construction paper, crepe paper, straws…


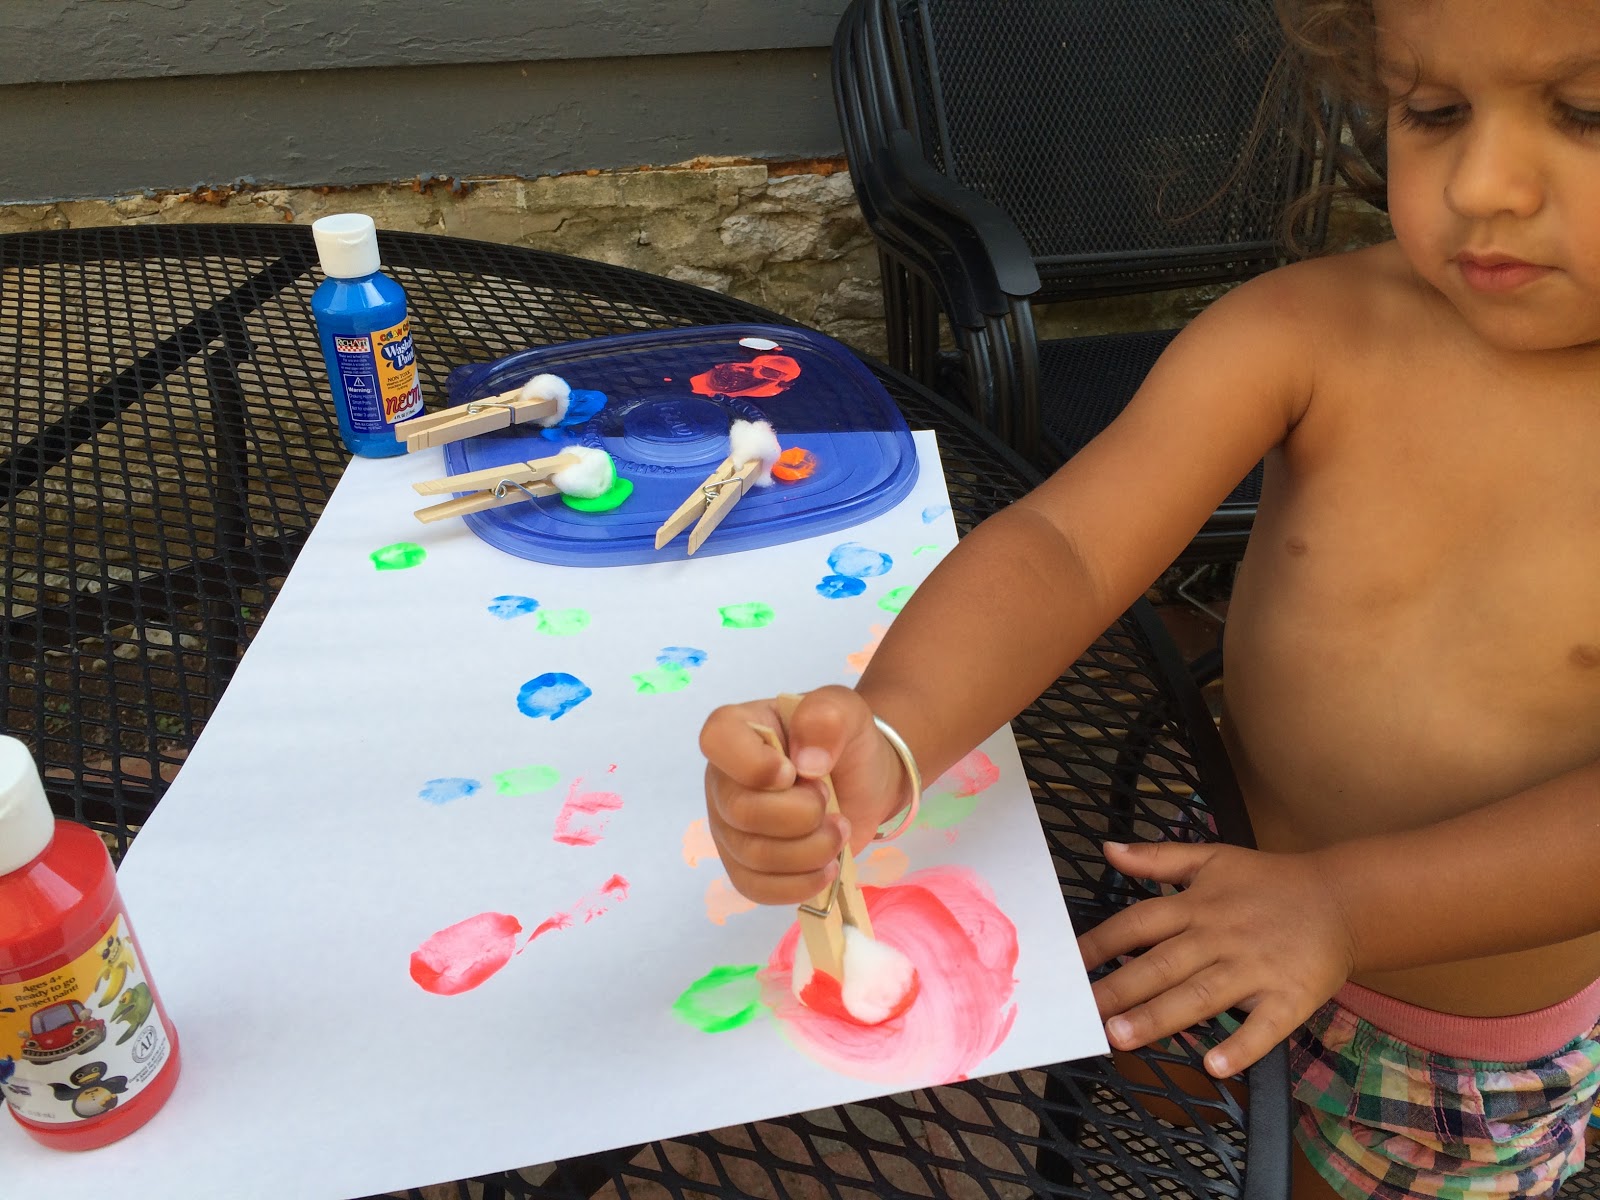
Cotton balls, clothes pins, colored craft sticks, paper clips, sponges, markers, googlie eyes…


Buttons, rubber bands, glue, beads, shoe laces, pipe cleaners…


Egg cartons, kid scissors, mini-staplers, felt squares, a few sandwich bags (for lil pieces with opened packaging)…


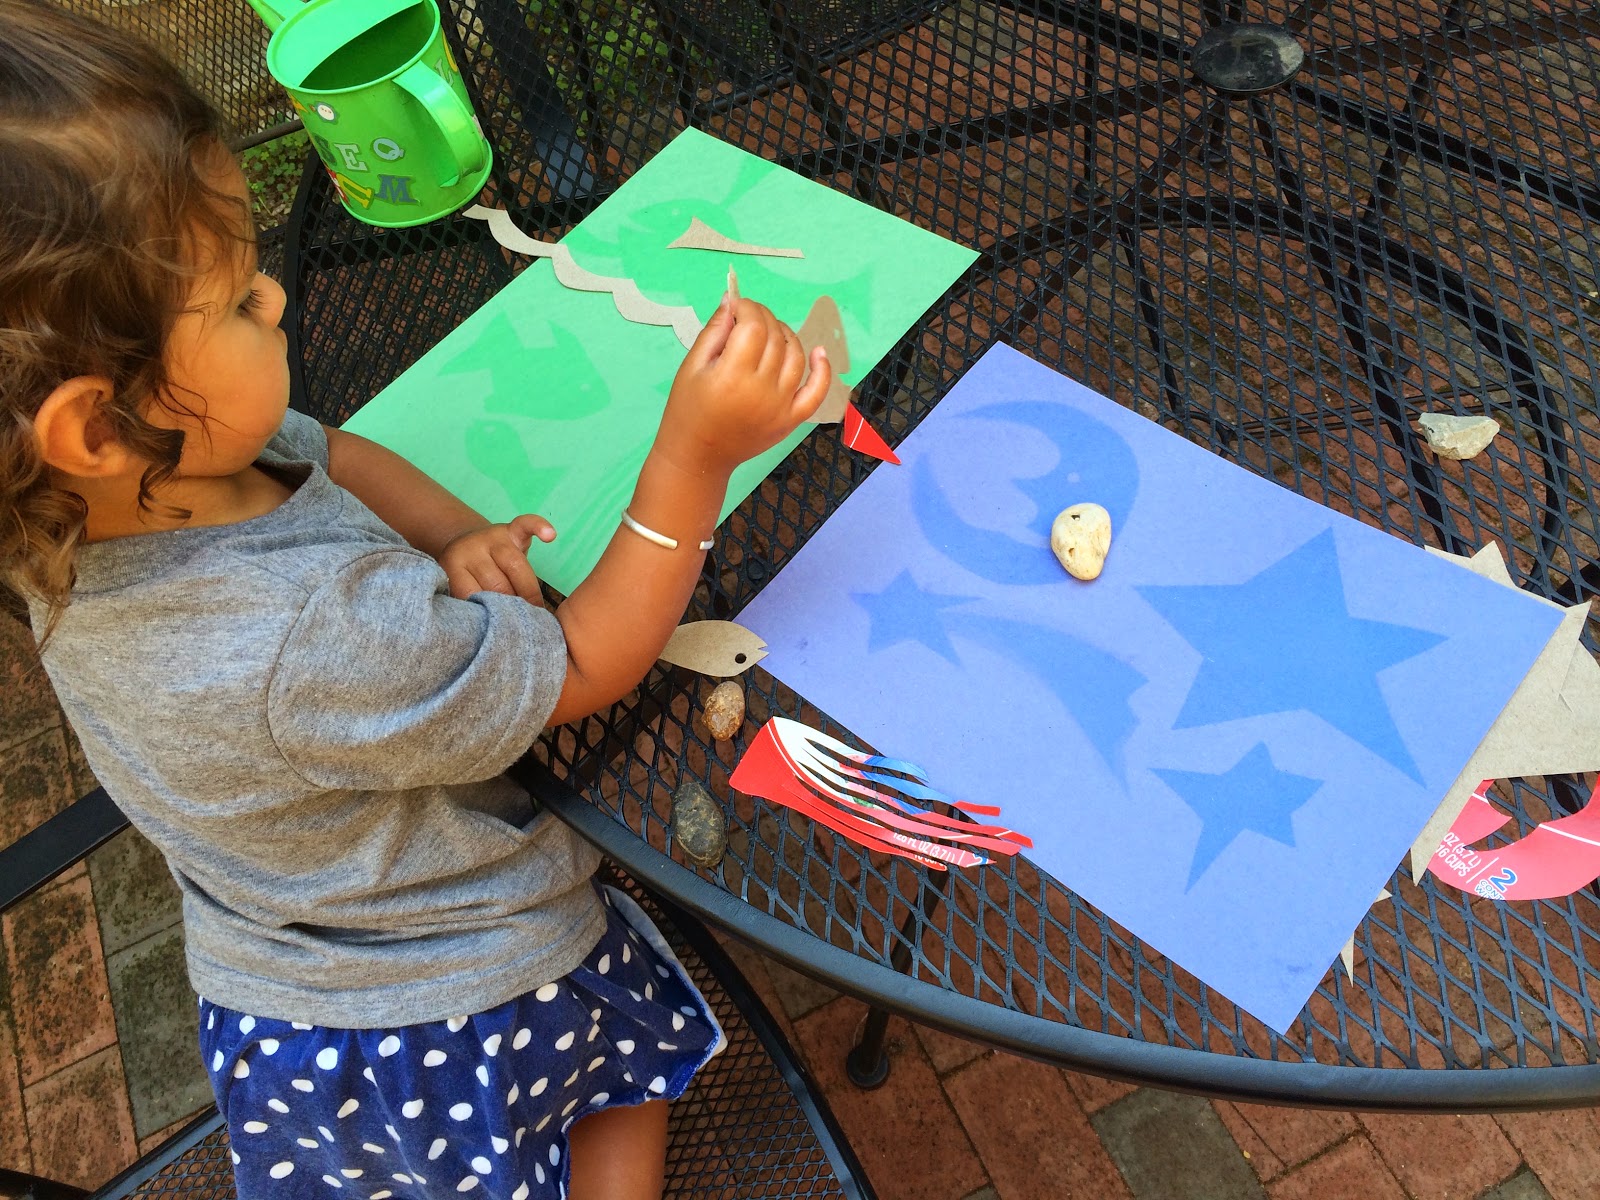
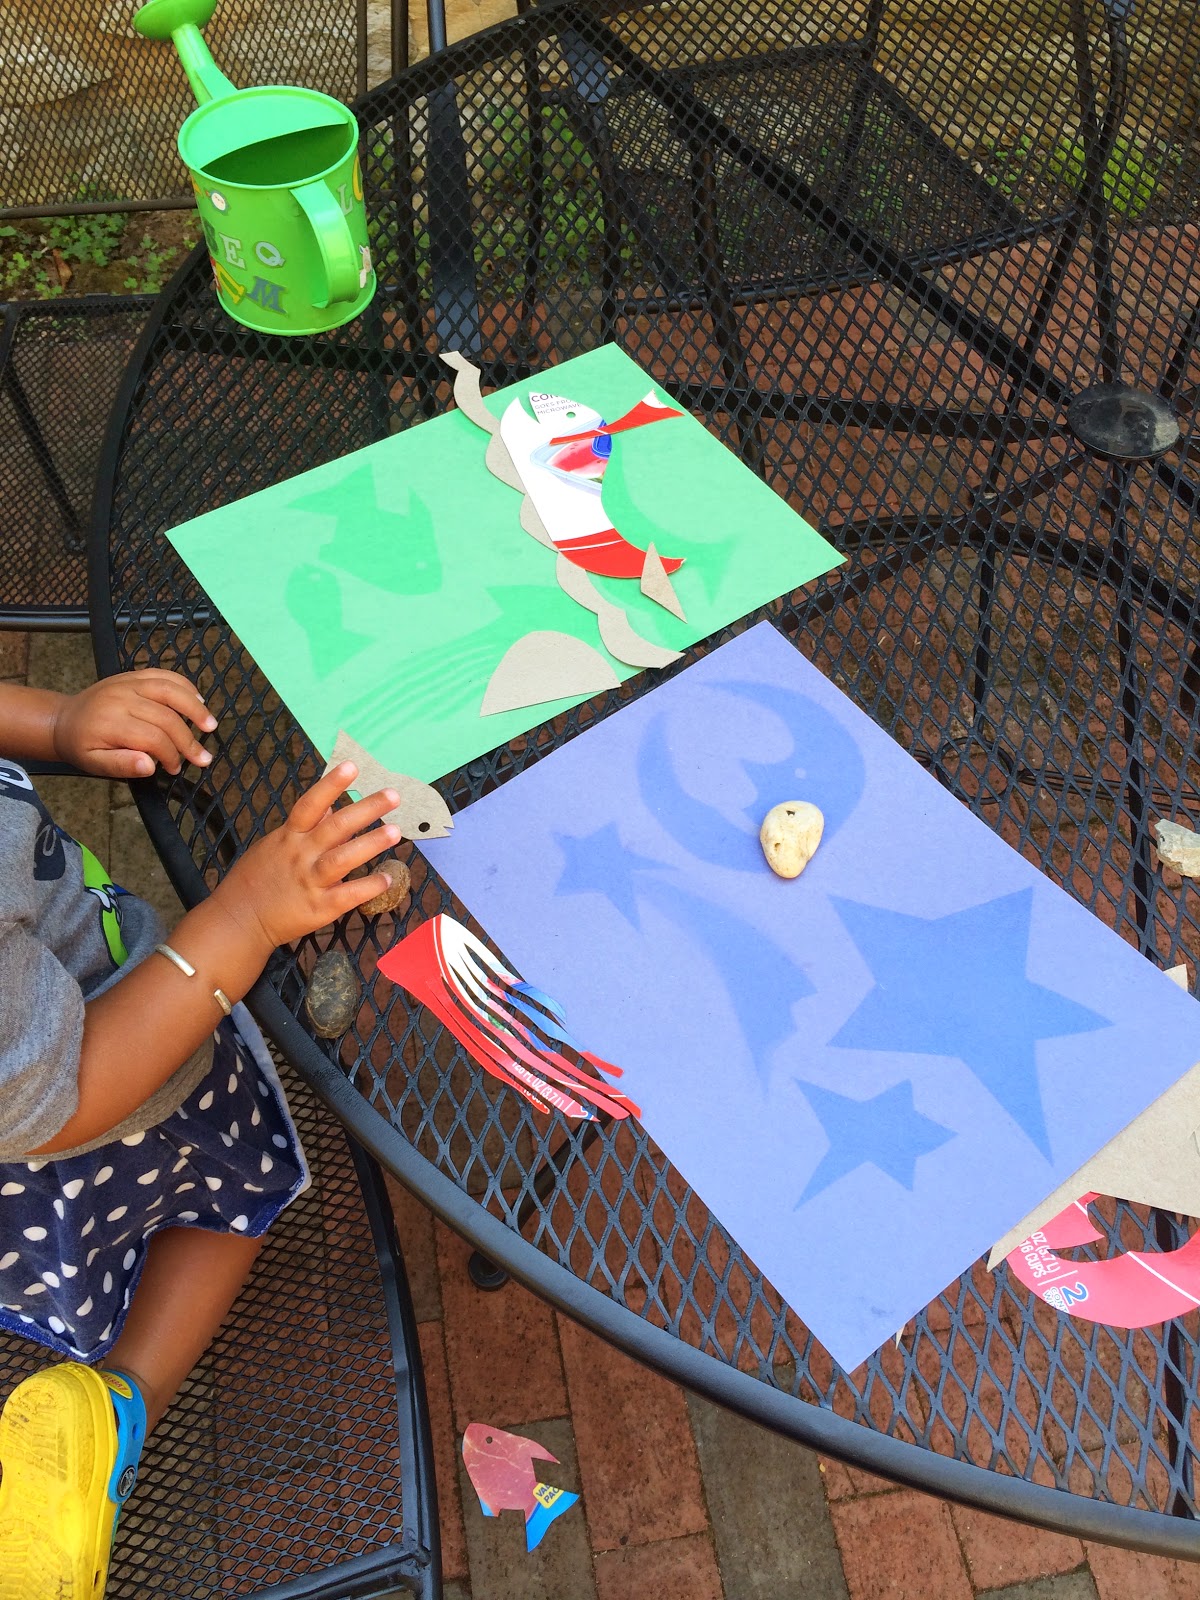
Just about anything that will fit in the Imagination Box, that kids can use to create art, works! I usually go to the Dollar Store, walking up and down every aisle, and look for items with crafting potential. It certainly looks like a lot pictured here, but the box can be filled with less than 25 dollars!


Last, but not least, you need a cardboard box to put everything in. Try to leave the box mostly undecorated, so the child receiving the gift can use it too! The box itself will make a perfect rocketship, firetruck, castle, table, bed, gnome house, etc.


When putting together an Imagination Box, you need to consider the child’s age. It’s best to put things in the box that the child receiving it can create with independently and safely. After all, the box is designed to keep kids busy creating (so mom and dad can cook dinner in peace)! For instance, if you’re making an Imagination Box for a 2 yr old, you may not want to include scissors or a stapler, but an 8 year old would have no problem with them. Always make sure you give parents a heads-up of anything that’s questionable.

Some ideas to get kids started…

  • make a little town or fairy village using paper bags
  • paper plate masks
  • pipe cleaner bracelets, necklaces, glasses
  • puppets
  • robots
  • make pretend food
  • cotton balls for clouds
  • clothespins to make people
  • egg carton flowers
  • egg carton caterpillar

Get messy and have fun!!! Let the kids’ imaginations soar!

Homemade Paper and Seed Paper

Last night, while cleaning up from dinner, I told L not to throw away her pudding cup because it can be recycled. She replied, “What’s recycle? What’s it mean?” So as I was doing my best to explain to a 2-year-old how plastics are melted down and made into new containers, I remembered how I used to make paper as a kid…it’s the perfect activity to teach kids of any age how things are recycled! I lost my paper-making kit years ago, but it didn’t take long to locate and piece together the materials needed for homemade paper. I love this activity because your kids can help with each of the steps, keeping them busy and entertained the whole way through!


Materials needed:

  • old paper
  • water
  • blender
  • 2 small window screens
  • felt (or thin cloth like a cloth diaper)
  • sponges
  • plastic tub or wide container
  • seeds (optional)


First, dig through the recycling basket for colorful paper. (I always save colored-on pieces of construction paper for projects like this!) Have your kids help you tear it up into 2-inch pieces and throw it all into a large bowl.


Add some water to the bowl, covering all the paper pieces, and let it soak thoroughly for a few minutes. Your kids can now reach in the bowl to see how the wet paper feels compared to the dry.


Next, scoop and dump the paper and water into your blender. There’s no exact amount of water needed since it’ll all be squeezed out in the end. Blend the mixture for about a minute. The pulp should resemble the consistency of oatmeal.


Now for the fun, messy part!!! Lay one of the screens over the plastic tub or container. (You could use your sink, but it’s easier for kids if the project is done on the floor!)


Next, dump the paper pulp mixture out on top of the screen. Let your kids help you spread it around gently.


Then lay a large piece of felt on top of the mixture and next, the second window screen.


Using sponges press down on the felt, squeezing most of the water out. We started in the middle of the felt and worked our way out, pressing the paper underneath nice and flat.


Next, take off the top screen and, placing one hand on top of the felt, quickly flip the other over. Remove the screen and leave the paper on the felt to dry. I did this last step outside on our picnic table so the paper could dry in the sun and summer heat. It takes about a day to dry on its own. When I was a kid, doing a similar paper-making project, the paper and felt pieces were much smaller and I’d pop it in the microwave to dry. The paper would curl a little bit sometimes, but it was quick and easy.


Here’s our finished paper! It doesn’t look like your typical paper, but it is beautiful with all the bright yellows, reds and oranges mixed in! It’ll be perfect to paint on later in the day!


Making Seed Paper: 
To make seed paper, add a handful of flower seeds to the pulp before squeezing all the water out. After the paper dries, you can cut it up into squares and gift it to friends. They can plant the paper strips in soil in the Spring, water and wait for their flowers to grow! We used our leftover, perennial Balloon Flower seeds…they’re easy to grow and look beautiful anywhere!


Other Ideas:

  • Before squeezing the water out of the paper-pulp mixture, add some flower petals to the pulp for a fresh and colorful look!
  • After squeezing the water out and removing the screens, use cookie cutters to carefully cut the paper into shapes. After they dry, you can punch a hole to hang the paper shapes and make ornaments! We may do this around the holidays, using holiday-colored paper.
  • You can also add glitter to the paper pulp, before squeezing the water out, to give your paper a little sparkle!


Have fun and get messy! Your kids will love you for it!!!

DIY Tin Can Bird Feeder

I think what I love most about the Tin Can Bird Feeder is that you’re essentially making something from nothing! It’s also such a fun way to teach kids how to reuse and recycle! We just made the bird feeder on a whimsy for our own backyard, but it would make a terrific gift too.


Materials needed:

  • tin can and its lid
  • pliers
  • hot glue gun and glue
  • sticks
  • string
  • a few small rocks


First, make sure your can has been thoroughly cleaned and remove the paper label.


Next, being careful not to cut yourself, fold the lid in half using your pliers. Our lid was one of the pull-top ones, which made it a little tricky, but we were still able to make it work!


Now, using the hot glue gun, put a little bit of glue around half of the rim of the can and set the lid inside. Try your best to hide the glue, so it’s not so visible from the outside.


While you’re folding and gluing the top, go ahead and send the little ones off to find sticks in the backyard.


Find one or two thicker, sturdier sticks and glue them to the bottom of the bird feeder…this is where the birds can perch while they snack.


Now, go around the can gluing sticks side-by-side until the entire can has been covered. We broke the sticks so they were all roughly the same length, but by no means perfect. If one stick is curved and leaves a substantial gap, go ahead and glue a small stick in to fill the hole.


On the bottom of the can, glue a few rocks in place…these probably won’t be seen, but will help balance out the bird feeder so it doesn’t tip too far forward.


Lastly, tie a string around the bird feeder and fill with bird seed. Hang it up where you and the kids can see it from a window…maybe on a nearby branch or off of your porch. Now, sit back and wait for the birds!


We decorated our bird feeder with sticks from the yard, but you can certainly get creative and mix things up a bit. Your kids can paint the tin can, wrap string around the can, or glue buttons on it…anything you all are inspired to do to make it unique!

New Ways to Paint

I have never met a person, young or old, who didn’t love to paint! So here are over 10 new ways to paint…time to get messy and have some fun!!!


Some tips before we start:

  • Use an old shirt or apron for a smock shirt…or on a hot day, have your kids take off their shirts!
  • When using finger paints, tempera paints or liquid watercolors squirt the paints onto food container lids (Gladware, Tupperware, etc.). Then you can just rinse and toss into the dishwasher to clean them…better for the environment than paper plates!
  • After your child’s done painting outside, find a big rock or brick for them to paint too…this will hold the paper down and keep it from blowing away while the paint dries. We just keep the rocks outside and the rain washes them clean so they’ll be ready for next time.


New Ways to Paint:

“Clean” paintingPaint with water!

This is a great activity for the beginner painter! Inside, have your kids paint with water on construction paper. As the water dries, the paper can be used over and over again. Outside, kids can paint with water on a cement driveway or sidewalk with the same effect. It’s simple, clean, and kids love it!


Paint in a Bag

So quick, so easy and no mess! Put any kind of paint in a gallon-sized bag and tape it to a window! It’s fun to mix and swirl the colors together, making different textures in the paint with your hands. *hint: To get the white label off your plastic bags, just use an alcohol wipe! Easy peasy!


Paint with Flowers

This is definitely a Spring or Summer-time craft! Have your kids walk around outside, picking different sized flowers and grasses to paint with. The outcome is pretty cool!


Paint with Bubbles

I remember doing this one as a kid in school. In a small cup or bowl mix together a lot of paint, a tablespoon or two of dish soap, and a very little bit of water. Then, using a straw, have your kids blow bubbles in the cup until the bubbles rise up and over the edge. At this point you can quickly lay paper over the cup to leave a bubble print. You can also place the cup on a piece of paper before you start and let the bubbles pour over the cup and onto the paper. This one is fun to experiment with!


Paint with Cotton Balls

Clip clothespins onto the cotton balls and use in the place of brushes. L enjoyed making dots with this one. I’ve seen “cloud” pictures before where you make a cloud stencil with a piece of cardboard, lay the stencil over blue paper and use cotton balls and white paint to paint the clouds.


Paint with PomPoms

This is similar to painting with cotton balls. Here are some of my friend Katie’s kids using pompoms instead of brushes. So many colors and so much fun!


Finger Paint

This one is not new, but it is fun! You can always take it to the next level and paint with your feet instead! At Easter this year, we used finger paints and our knuckles to make knuckle carrots.


Paint with Household Brushes

We made fireworks with kitchen brushes this 4th of July. Old toothbrushes would work great too!


Paint with Sponges

Similar to household brushes, use sponges to paint. You can cut up sponges into shapes to stamp with or you can also find a variety of sponge-brushes at your craft store.


Paint Each Other

You don’t have to use face paint to paint your face. Watercolors work great too and wash off in seconds with warm water. I mean, why not let your kid paint green dots on your face?


Paint like the Masters

There’s no reason not to teach even the youngest kids about the extraordinary masters of the paint world. You can let your kids paint like Michelangelo and set-up a mini-Sistine Chapel; using Q-tips have them paint dots like Georges Seurat; or lay paper under the swing-set out back, having your kids swing on their stomach, paint brush in hand, creating a Pollock-like masterpiece.


For some Monet inspired art, check out this post:

Playing Monet.

I’m sure there are other fantastically fun ways to paint that L and I haven’t tried yet. Which ones have you done??? Please share in the “comments” section below!

Sunshine Experiment

We call this one the “sunshine experiment”…it’s an oldie, but a goodie. It’s a great experiment to help kids learn about the harmful effects of the sun and why it’s important to always wear sunscreen. L is only 2 years old and was surprised at the outcome, but didn’t understand it 100%. I imagine a 4-year-old would get it and even a 10-year-old would have fun with the experiment!

Materials needed:

  • construction paper
  • old cardstock or thin cardboard (just look in the recycling bin!)
  • scissors
  • a handful of rocks
  • a sunny day

First, have your child dig through the recycling bin to find some pieces of thin cardboard or card stock. (We love any reuse-recycle activity!)

Next, cut out some big and basic shapes. We went with a night sky theme and an under-the-sea theme.


Take the cardboard cutouts and a couple pieces of construction paper outside. In a sunny spot, arrange the cutouts on the paper.


To ensure that they don’t blow away, put a few small rocks on top. Coins would work too! And now you have to wait and wait and wait…go for a walk, a swim, eat some lunch…wait a few hours.


Next is the best part…take the cardboard pieces off the paper and discover the picture left behind, all thanks to the sunshine!


I’m sure older kids could get really creative with this and make up their own themes and scenes. Fun times ahead!