Sensory Bottles for Baby

I’ve made sensory bottles for L before, filled with colored water, glue and glitter or colored water and oil, but I don’t know why we never made SENSORY BOTTLES FOR BABIES until now. Babies and toddlers both love them!


The water-filled bottles are fun to look at, but too heavy for WB to really handle safely. Making these SENSORY BOTTLES FOR BABIES was a terrific tactile activity for L, and WB seems to love shaking and playing with the bottles. Not only are they fun to play with around the house and in the car, but sensory bottles make great bath toys too!


Materials needed:

  • small, plastic bottles with lids
  • any of the following: pom-poms, feathers, sequins, straws, ribbon, cereal, dyed rice, etc.
  • glue

Making the bottles is pretty self-explanatory… Remove the label from the bottle. Fill with small, colorful items. Glue the lid shut.

As always, never leave infants unattended with toys, especially if it includes small items. You can never be too safe! Enjoy!!!


Have you seen our DIY Baby Play Area yet??? These bottles would be a great addition!

DIY Baby Play Area + DIY Baby Toys

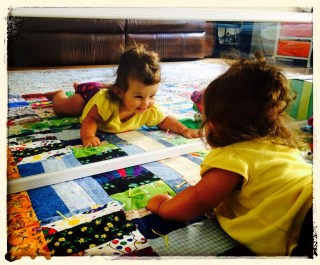
Over the past few weeks I had been thinking of putting together a little play area for WB, now 7 months old. WB is definitely our laid back kid, compared to her wild-child, older sister. She is perfectly content sitting back and observing the world around her. WB can roll over and push herself up on her belly, but she doesn’t do it very often…so I thought a little play area may be fun and may encourage her to move around a little more. And boy was I right…she LOVES it! When I saw some long mirrors for a good deal at Lowe’s last week, inspiration struck and WB’s play area was put in motion!

Materials Needed:

  • comfy, colorful blanket
  • long mirror
  • 2 med-sized boxes
  • 6 to 8 bricks (or other heavy items)
  • colored paper
  • tape or glue


To hold the mirror in place, in a safe and sturdy way, I decided to fill a couple boxes with bricks. (We just happen to have a pile of them sitting outside of our house, leftover from a patio project.) You can also use heavy rocks, bags of sand, or whatever is most convenient for you! Brighten-up a plain cardboard box by taping colored paper to it. I originally planned to cover the diaper-box I was using as well, but then I remembered how much babies like other smiling babies and kids, so I only partially covered it. The box was colorful already too!


Other things you can put in or near your baby’s play area include:

Sensory Bags (DIY link here.)

Sensory Bottles for Baby (link here.)

Sparkle Bottles (link here.)

Plush Animals and Toys (DIY bunny link here.)


Colorful Garland…I put this feather one up above for WB to look at while on her back. I love how the feathers gently “dance” continuously. (DIY feather garland link here!)


What will you include in your baby’s play area??? As always, never leave your children unattended and make sure all toys you put in the play area are baby-safe! Have fun watching your little ones explore!


Sensory Bags

These bags are great for babies to play with and are a nice calming activity for bigger kids…heck, I even have a hard time walking by one without squishing it! They always feel so cool to the touch! We made ours pretty simple, but you can always embellish yours a bit by throwing some glitter in or some flat foam shapes.

Sensory gel bags - 1


Materials needed:

  • Ziplock quart-size bags
  • alcohol wipe
  • hair gel
  • food coloring
  • clear packaging tape


First, use the alcohol wipe to easily remove the Ziplock logo from the bag.


Next, squirt about a cup of hair gel into the bag.

Then add a few drops of food coloring. If you’re using glitter, throw that in too.

Seal the bag shut, making sure you leave little to no air in the bag. Squish the gel and food coloring together, adding more food coloring if you’d like a deeper color.

Reinforce all the edges of the bag with the packaging tape, especially the top, ensuring that the bag won’t split at its seams letting the gel-food coloring mixture out. All done!

WB likes to squish the bags on the kitchen floor, while L likes me to tape hers to the window, letting the sun shine through. As with most toys, you should never leave your baby alone with the sensory bags…you can never be too safe! Enjoy!

DIY Sock Bunny Rabbit

This project was inspired by a dear friend Libby, who left this world way too early in life. When I was 10 years old I was diagnosed with type I diabetes. As my doctor came to the hospital that evening to diagnose and take care of me, his wife, Libby, got out her sewing kit. She stayed up late that night making me a precious bunny rabbit that I still have to this day.


So when one of my best friends’ babies, my godchild, was in the hospital for surgery last week and ended up staying much longer than expected, my first thought was of Libby and the bunny. I knew I had to make one.

Materials needed:

  • one pair of socks (regular or knee high)
  • needle and thread
  • stuffing material
  • embroidery floss and embroidery needle
  • buttons (optional for children 3+)


First, take one sock and open it up so the heel is facing you. Lay it flat. The heel of the sock will be the bunny’s face.


Then, make a cut in the middle of the toe of the sock, cutting towards the heel. This will be the bunny’s ears. Don’t cut all the way to the heel though, remember the heel becomes the face. Next, make a cut from the opposite end of the sock for the bunny’s legs. Again, don’t cut all the way up to the heel…this time you need to leave room for a body too.


Turn the sock inside-out. Starting at the tip of an ear, stitch down one ear and up the other. Next, sew the legs in a similar fashion, but this time leave about a 2-inch opening.


Turn the sock right-side-out. Through the 2-inch opening, carefully stuff the bunny’s ears, body and legs. Sew the opening closed.


Now take the other sock and cut off the toe, close to the heel. Lay this part flat, like you did the first sock, and cut it in half. These will be the arms.


Turn one sock piece inside-out and, starting from the tip, stitch the side closed. Turn it right-side-out again and fill it with stuffing.


Next, fold the open edge inwards and pinch it together. Sew the arm closed, attaching it to the body at the same time. Repeat with the other arm.


Your bunny’s adorable already, isn’t it? But, it still needs a face! Using embroidery floss, stitch on little eyes or attach buttons (if the child receiving the bunny is 3 years old or older) and sew a lil nose. All done!
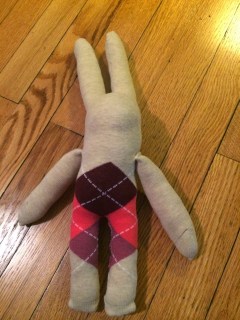


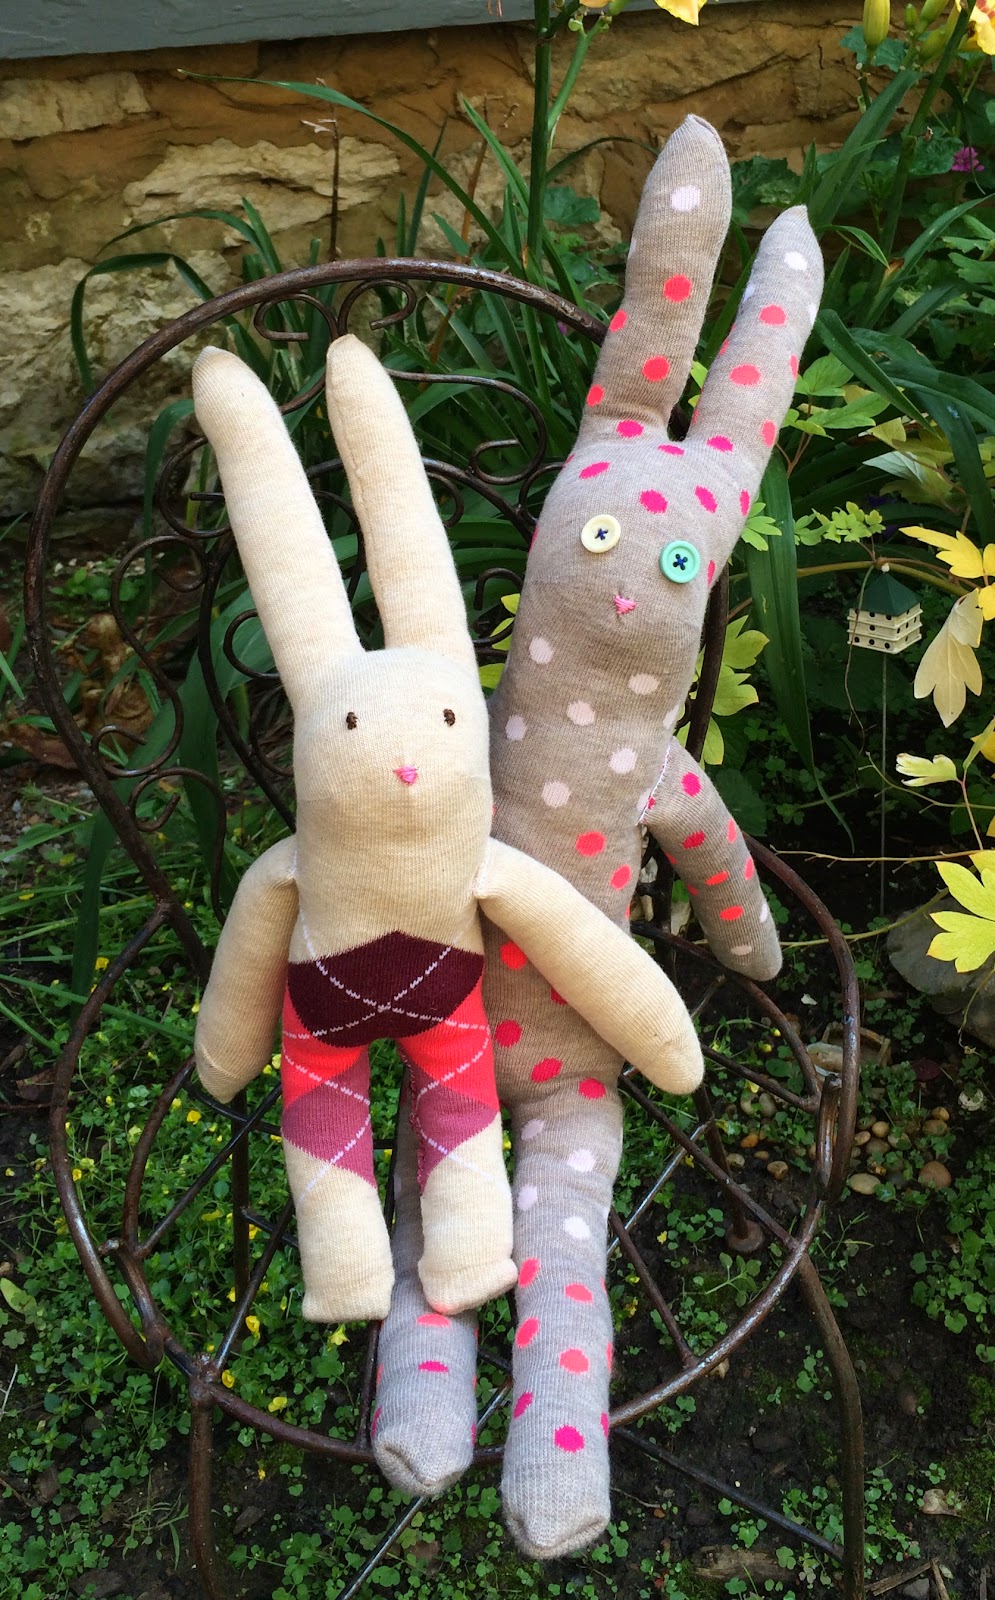
As you can see from the picture below, using knee socks gives you a tall and skinny bunny and using slightly smaller socks results in an adorable, baby bunny rabbit. Now to deliver them to my godchild and her 3 yr old sister…I can’t wait to see those happy faces!

“Making something is one way to say, ‘I love you.'” -Daniel Tiger