Tie-Dye Napkin Painting

I remember first doing this activity at a friend’s house when I was in Kindergarten. It’s so simple, yet so much fun! Even as an adult, I enjoy painting these with L…the finished painting always looks so much better than I expect it to!

Materials Needed:

  • white napkins
  • watercolor paints

Keeping it folded up, paint the napkin with the watercolors. Make sure the paint is plenty wet and soaks through the napkin completely.


Once you’re done painting dots, patterns, or whatever you fancy on the napkin, open it up for the surprise ending! See…so much cooler than you anticipated!!!


L could paint these all day long! If you don’t have paper napkins on hand, paper towels work too. Enjoy!


2-Ingredient Gooey Dough

L and I are always looking for new play dough recipes, so when I came across this one I just knew we had to make it! We call it “Gooey Dough” because it’s so stringy, smooth, and gooey! It feels good to squish through your fingers and fun to strrrrreeeeeetch as long as you can!

Materials needed: 

  • 1 to 1 1/2 cups, hair conditioner
  • 2 cups, cornstarch

Using a large mixing bowl, put both ingredients together and mix, mix, squish, mix!


I have to admit that after about a minute, I thought this was the messiest, worst play dough ever made…BUT as I washed my hands, L kept squishing it together and a couple minutes later we had this wonderful concoction!!! I’m so glad she kept at it, because Gooey Dough has become one of our favorites! L has played with it for hours, day after day.


You can add some food coloring if you like or toss in some glitter, but we were happy with the Gooey Dough the way it is…it’s so white, smooth and the conditioner gives the whole kitchen a fresh scent! It’s truly the most luscious dough we’ve ever made!


By day two, I came up with a couple tips…

-Store the dough in a sealed plastic bag or storage container (I’ve read that it keeps for months).
-It’s best for your kids to take their clothes off to play or wear a smock shirt! It can get messy fast!
-This dough just asks to be squished all around, so tape down a plastic/silicone chopping mat on the table or work surface.


Get messy and have fun!!!

Bubble Blobs and Bubble Worms

Here is a super-fun activity made with materials you already have! L and I started making bubble blobs after breakfast this morning and we were still making them in the shower tonight! (I may or may not have bribed her into the shower with her bubble blob blower.) It’s definitely a good summer activity, but there’s no reason why it can’t be done in the bathtub on a rainy, cold day.


Materials needed:

  • plastic drink bottle
  • old sock (Thick socks work best!)
  • rubber band
  • dish soap
  • food coloring (optional)
  • a small bowl
  • scissors


First, cut the bottom of the plastic bottle off and unscrew the lid.


Turn the sock inside out (so the fluffier side is outside), and pull it over the bottom of the bottle. Secure it in place with a rubber band.


Next, put some dish soap in a small bowl with a little bit of water. If you want your bubble blobs and worms to be colored, add a few drops of food coloring too!


Now for the fun part…put the newly-made, bubble blob blower in the dish soap, then blow through the bottle top!


Instruct your kids to blow as if they’re blowing up a balloon and not to suck in!!! L made that mistake once and got a mouthful of bubbles. Ick!


It’s fun to see who can make the longest bubble worm! 🙂 What other bubble inventions have you made? Please share in the comments section below!


Homemade Paper and Seed Paper

Last night, while cleaning up from dinner, I told L not to throw away her pudding cup because it can be recycled. She replied, “What’s recycle? What’s it mean?” So as I was doing my best to explain to a 2-year-old how plastics are melted down and made into new containers, I remembered how I used to make paper as a kid…it’s the perfect activity to teach kids of any age how things are recycled! I lost my paper-making kit years ago, but it didn’t take long to locate and piece together the materials needed for homemade paper. I love this activity because your kids can help with each of the steps, keeping them busy and entertained the whole way through!


Materials needed:

  • old paper
  • water
  • blender
  • 2 small window screens
  • felt (or thin cloth like a cloth diaper)
  • sponges
  • plastic tub or wide container
  • seeds (optional)


First, dig through the recycling basket for colorful paper. (I always save colored-on pieces of construction paper for projects like this!) Have your kids help you tear it up into 2-inch pieces and throw it all into a large bowl.


Add some water to the bowl, covering all the paper pieces, and let it soak thoroughly for a few minutes. Your kids can now reach in the bowl to see how the wet paper feels compared to the dry.


Next, scoop and dump the paper and water into your blender. There’s no exact amount of water needed since it’ll all be squeezed out in the end. Blend the mixture for about a minute. The pulp should resemble the consistency of oatmeal.


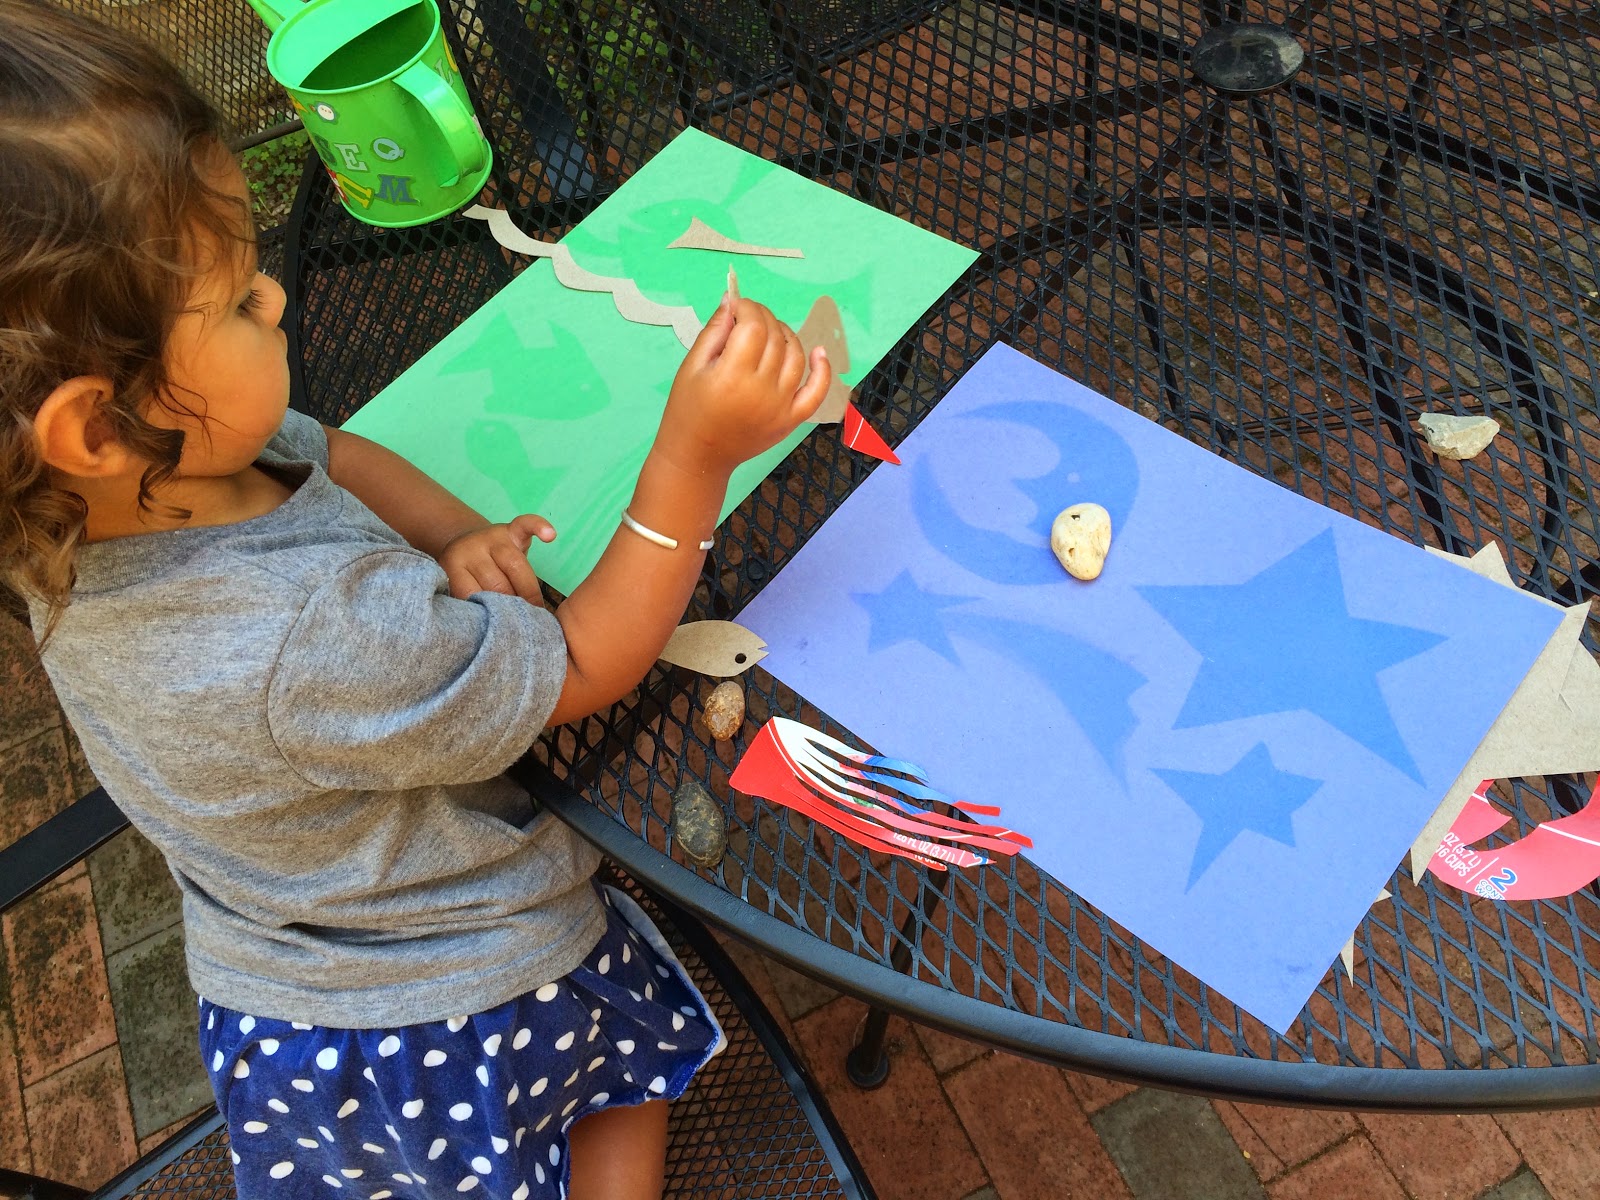
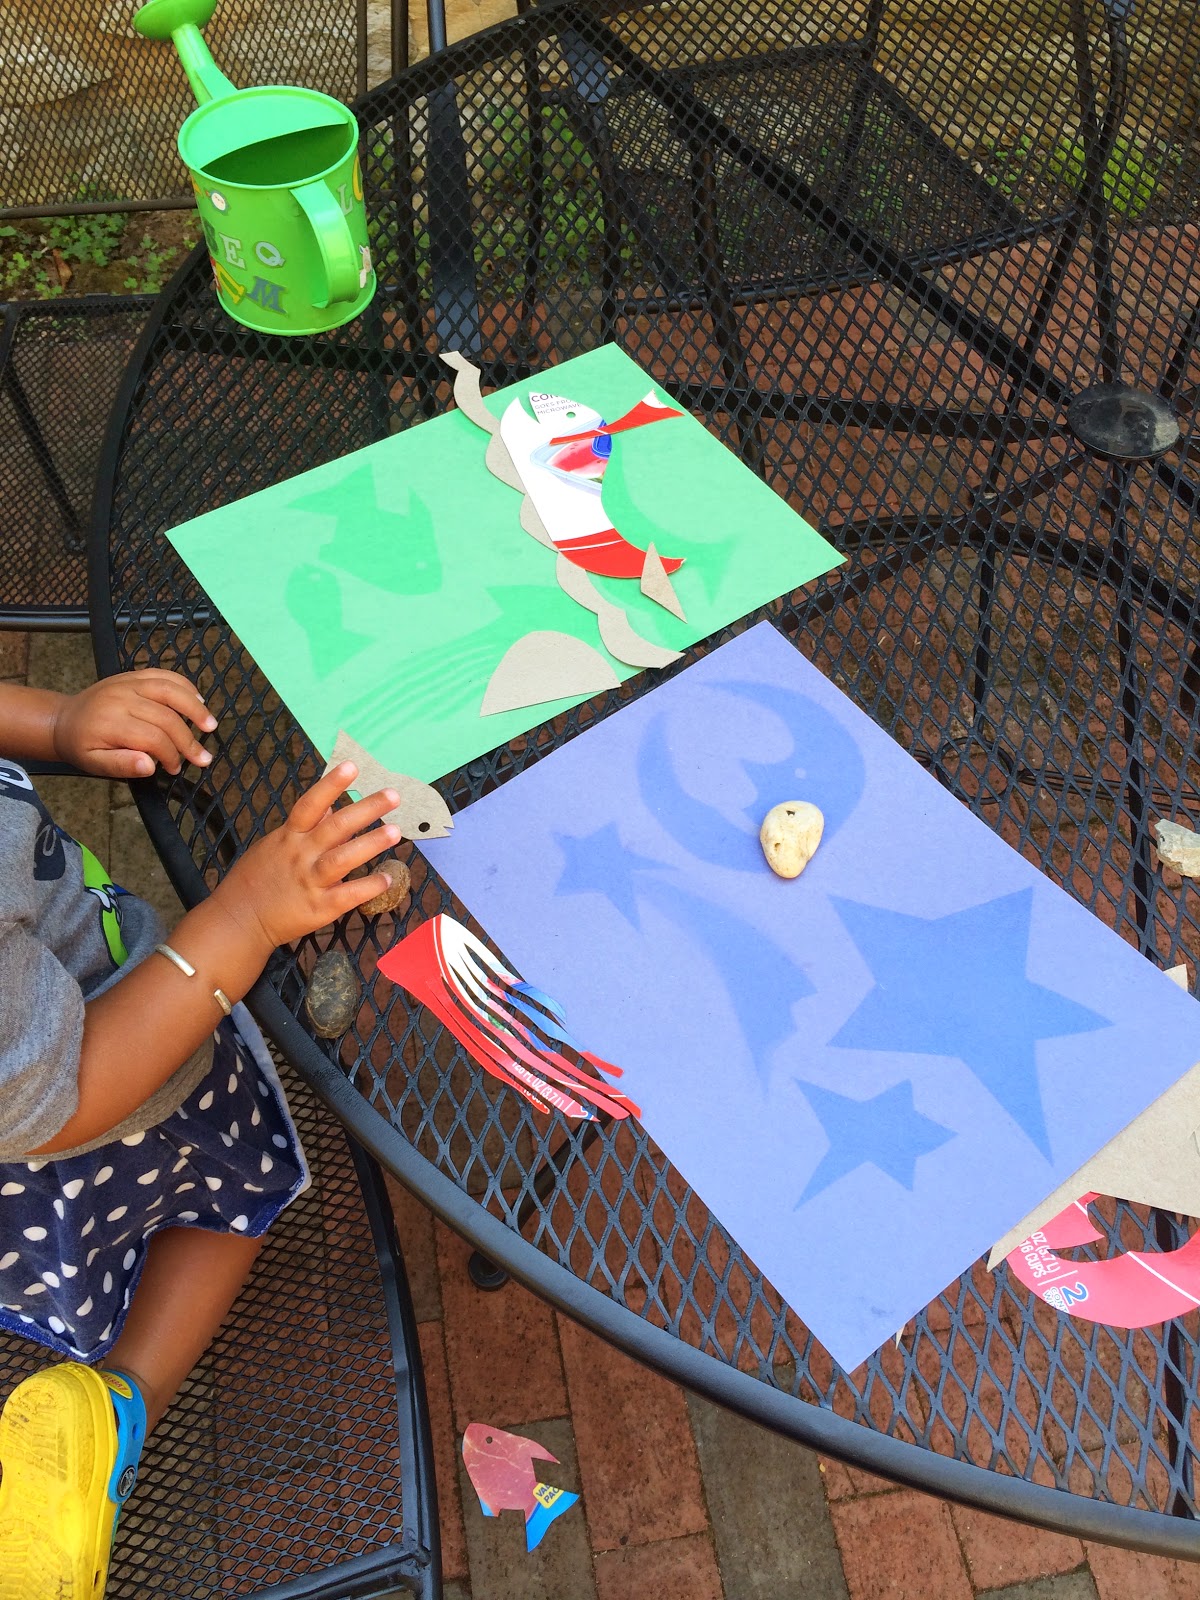
Now for the fun, messy part!!! Lay one of the screens over the plastic tub or container. (You could use your sink, but it’s easier for kids if the project is done on the floor!)


Next, dump the paper pulp mixture out on top of the screen. Let your kids help you spread it around gently.


Then lay a large piece of felt on top of the mixture and next, the second window screen.


Using sponges press down on the felt, squeezing most of the water out. We started in the middle of the felt and worked our way out, pressing the paper underneath nice and flat.


Next, take off the top screen and, placing one hand on top of the felt, quickly flip the other over. Remove the screen and leave the paper on the felt to dry. I did this last step outside on our picnic table so the paper could dry in the sun and summer heat. It takes about a day to dry on its own. When I was a kid, doing a similar paper-making project, the paper and felt pieces were much smaller and I’d pop it in the microwave to dry. The paper would curl a little bit sometimes, but it was quick and easy.


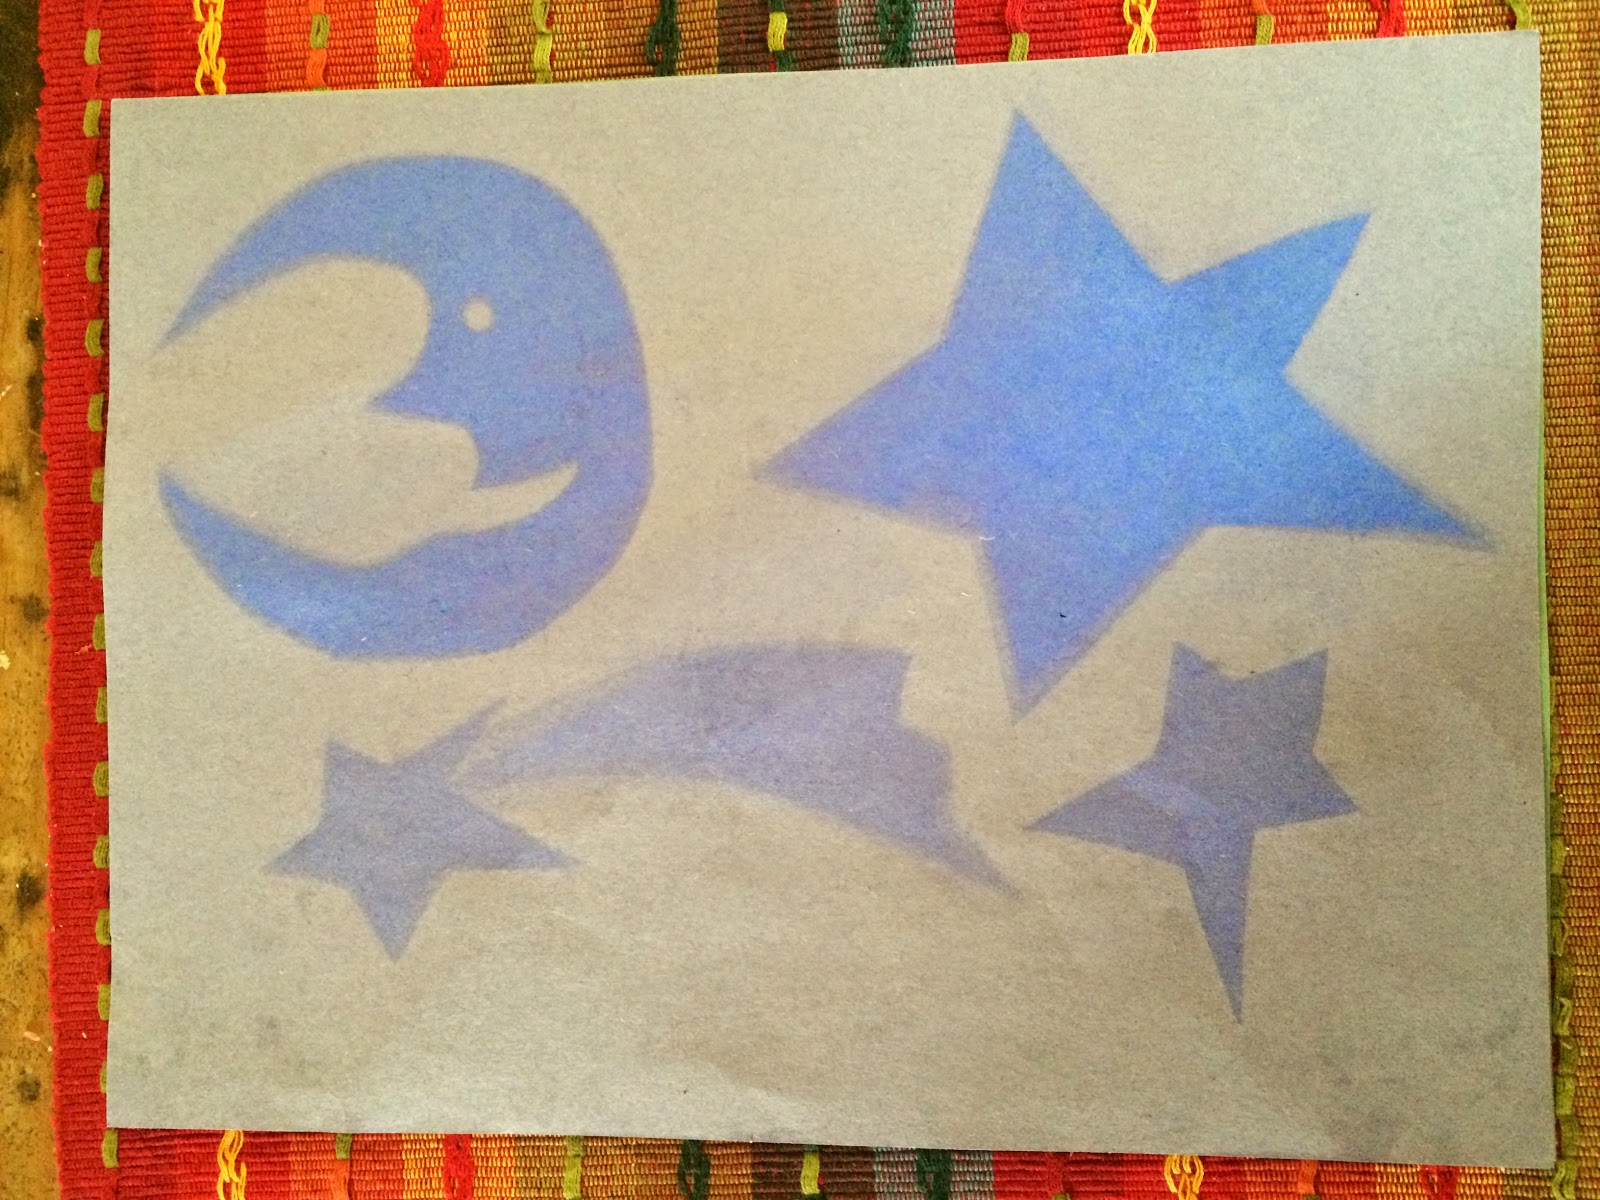
Here’s our finished paper! It doesn’t look like your typical paper, but it is beautiful with all the bright yellows, reds and oranges mixed in! It’ll be perfect to paint on later in the day!


Making Seed Paper: 
To make seed paper, add a handful of flower seeds to the pulp before squeezing all the water out. After the paper dries, you can cut it up into squares and gift it to friends. They can plant the paper strips in soil in the Spring, water and wait for their flowers to grow! We used our leftover, perennial Balloon Flower seeds…they’re easy to grow and look beautiful anywhere!


Other Ideas:

  • Before squeezing the water out of the paper-pulp mixture, add some flower petals to the pulp for a fresh and colorful look!
  • After squeezing the water out and removing the screens, use cookie cutters to carefully cut the paper into shapes. After they dry, you can punch a hole to hang the paper shapes and make ornaments! We may do this around the holidays, using holiday-colored paper.
  • You can also add glitter to the paper pulp, before squeezing the water out, to give your paper a little sparkle!


Have fun and get messy! Your kids will love you for it!!!

Sunshine Experiment

We call this one the “sunshine experiment”…it’s an oldie, but a goodie. It’s a great experiment to help kids learn about the harmful effects of the sun and why it’s important to always wear sunscreen. L is only 2 years old and was surprised at the outcome, but didn’t understand it 100%. I imagine a 4-year-old would get it and even a 10-year-old would have fun with the experiment!

Materials needed:

  • construction paper
  • old cardstock or thin cardboard (just look in the recycling bin!)
  • scissors
  • a handful of rocks
  • a sunny day

First, have your child dig through the recycling bin to find some pieces of thin cardboard or card stock. (We love any reuse-recycle activity!)

Next, cut out some big and basic shapes. We went with a night sky theme and an under-the-sea theme.


Take the cardboard cutouts and a couple pieces of construction paper outside. In a sunny spot, arrange the cutouts on the paper.


To ensure that they don’t blow away, put a few small rocks on top. Coins would work too! And now you have to wait and wait and wait…go for a walk, a swim, eat some lunch…wait a few hours.


Next is the best part…take the cardboard pieces off the paper and discover the picture left behind, all thanks to the sunshine!


I’m sure older kids could get really creative with this and make up their own themes and scenes. Fun times ahead!