DIY Tin Can Bird Feeder

I think what I love most about the Tin Can Bird Feeder is that you’re essentially making something from nothing! It’s also such a fun way to teach kids how to reuse and recycle! We just made the bird feeder on a whimsy for our own backyard, but it would make a terrific gift too.


Materials needed:

  • tin can and its lid
  • pliers
  • hot glue gun and glue
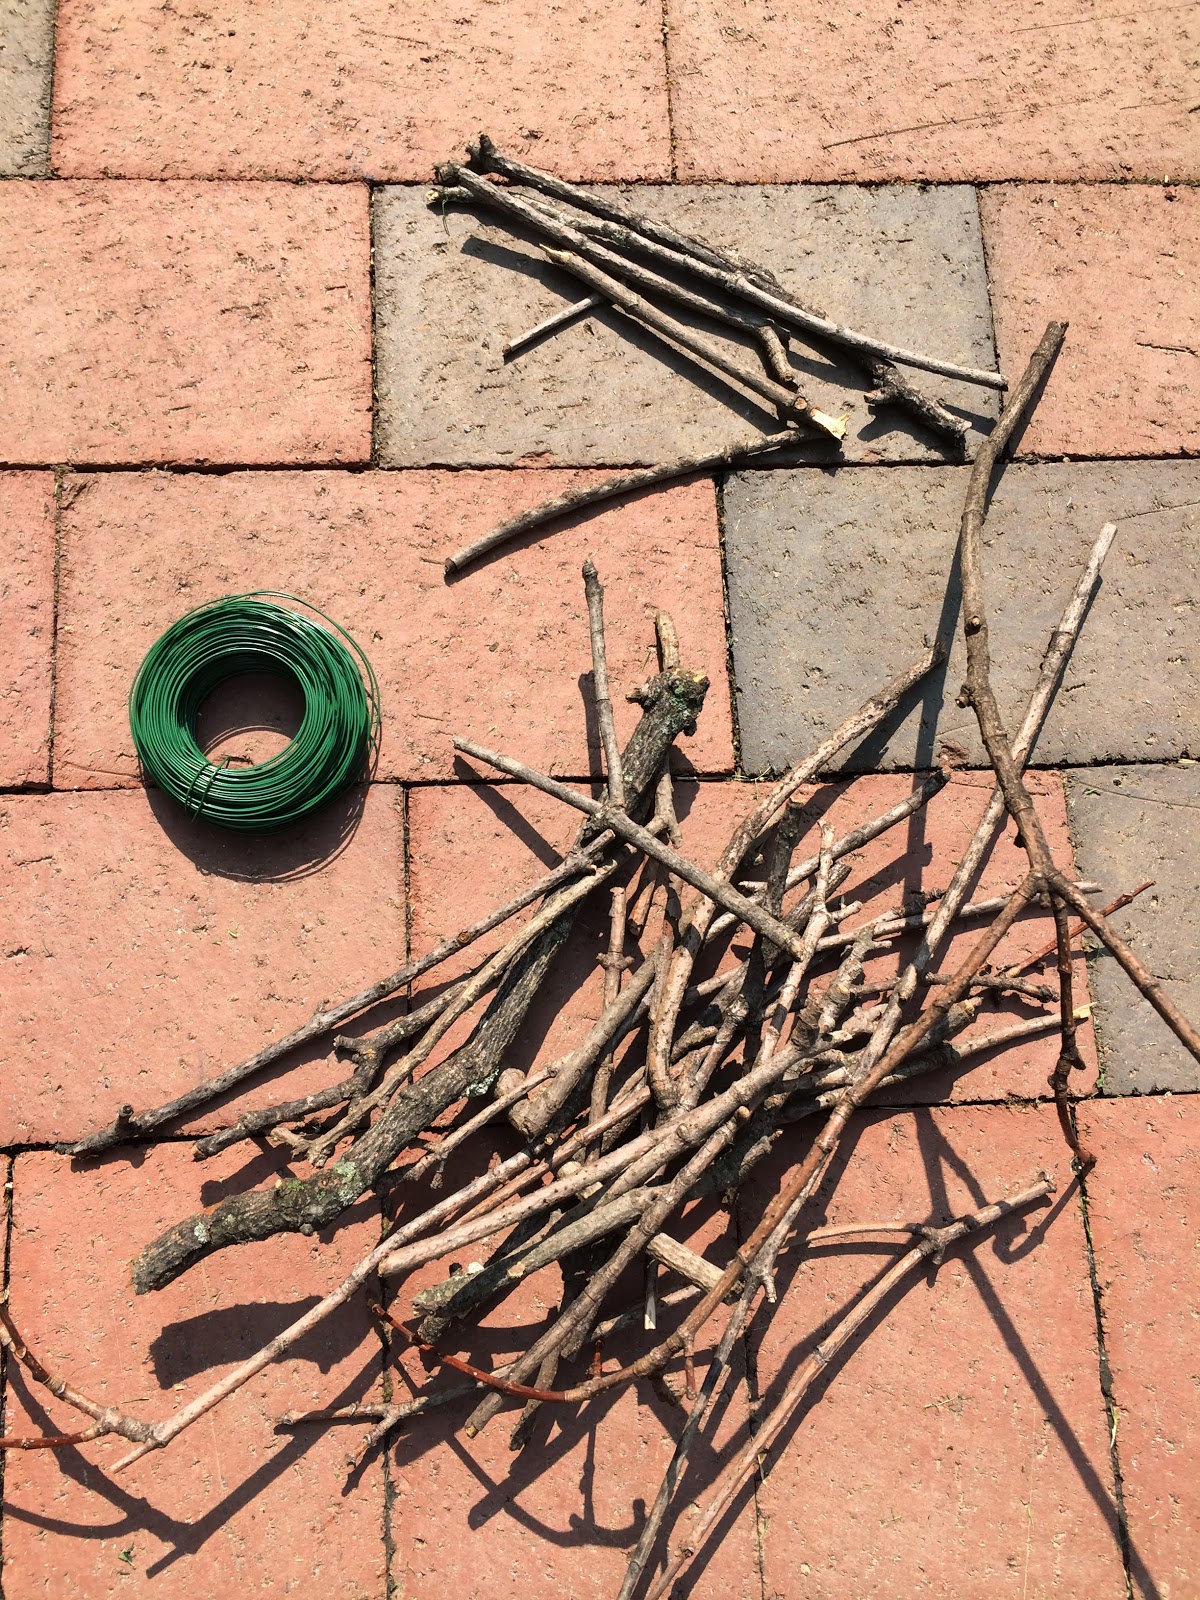
  • sticks
  • string
  • a few small rocks


First, make sure your can has been thoroughly cleaned and remove the paper label.


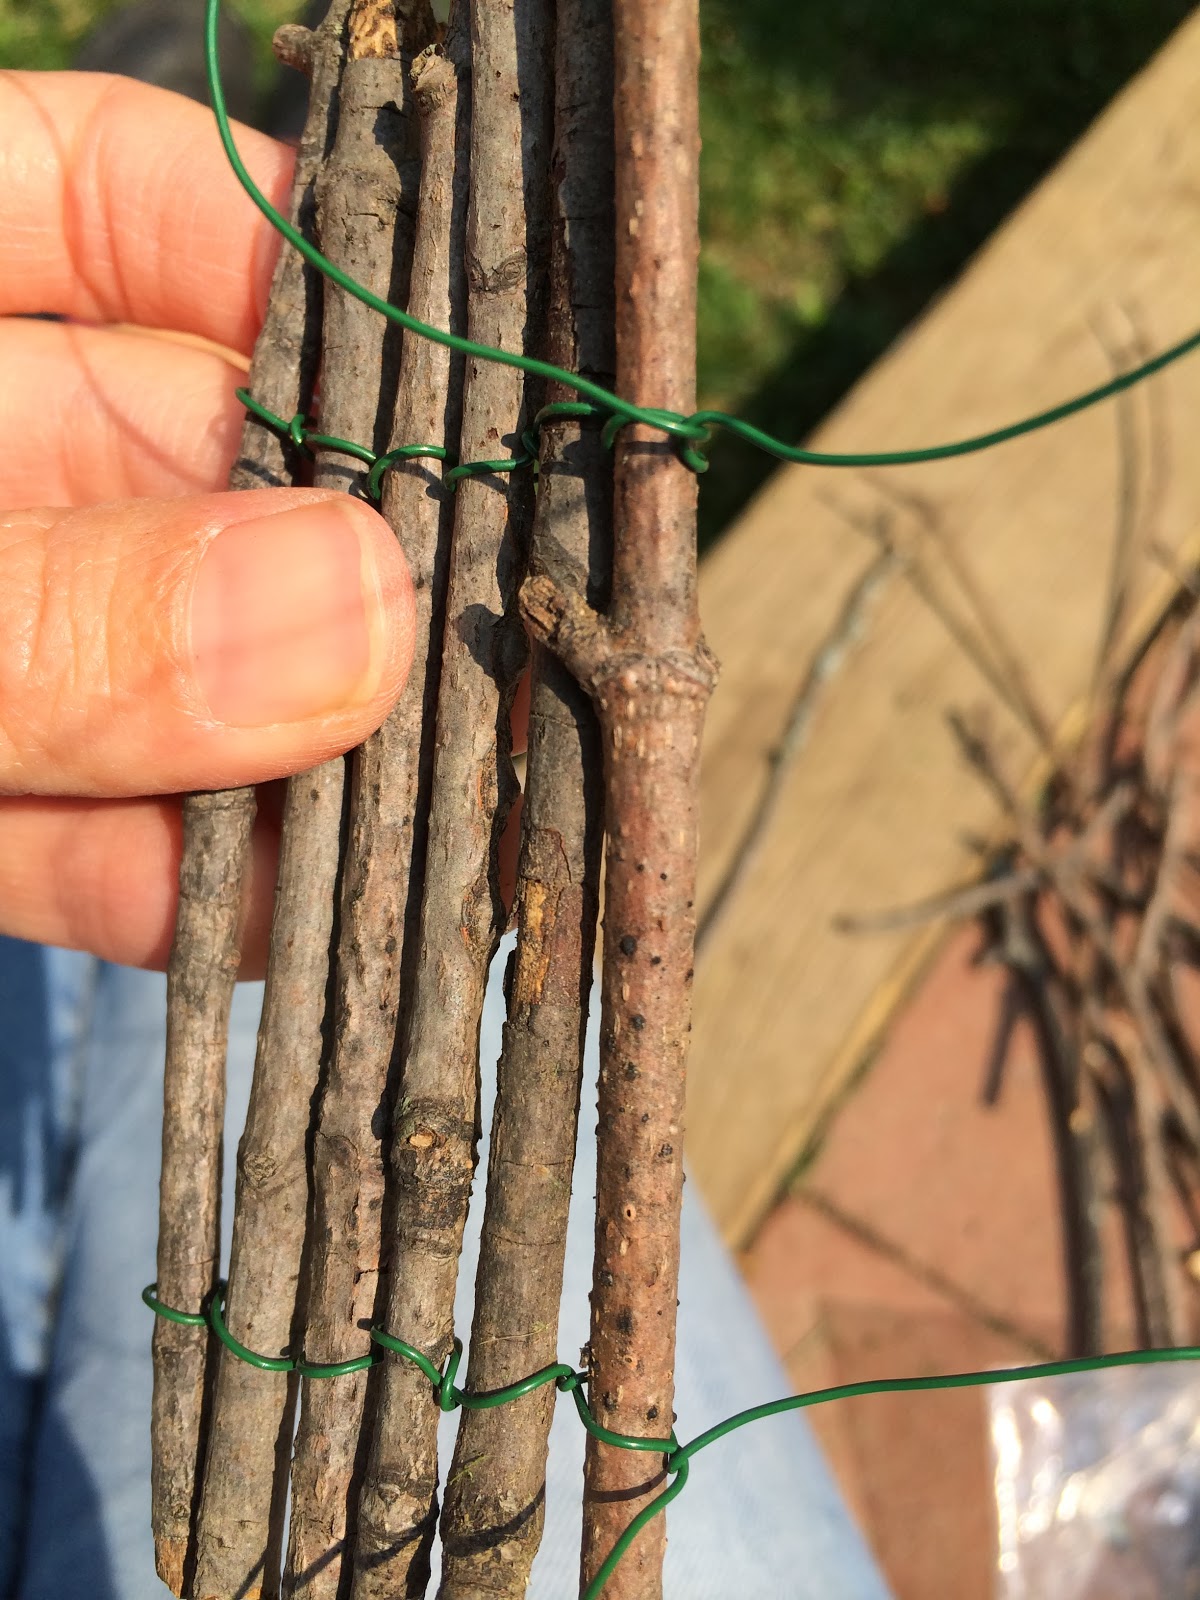
Next, being careful not to cut yourself, fold the lid in half using your pliers. Our lid was one of the pull-top ones, which made it a little tricky, but we were still able to make it work!


Now, using the hot glue gun, put a little bit of glue around half of the rim of the can and set the lid inside. Try your best to hide the glue, so it’s not so visible from the outside.


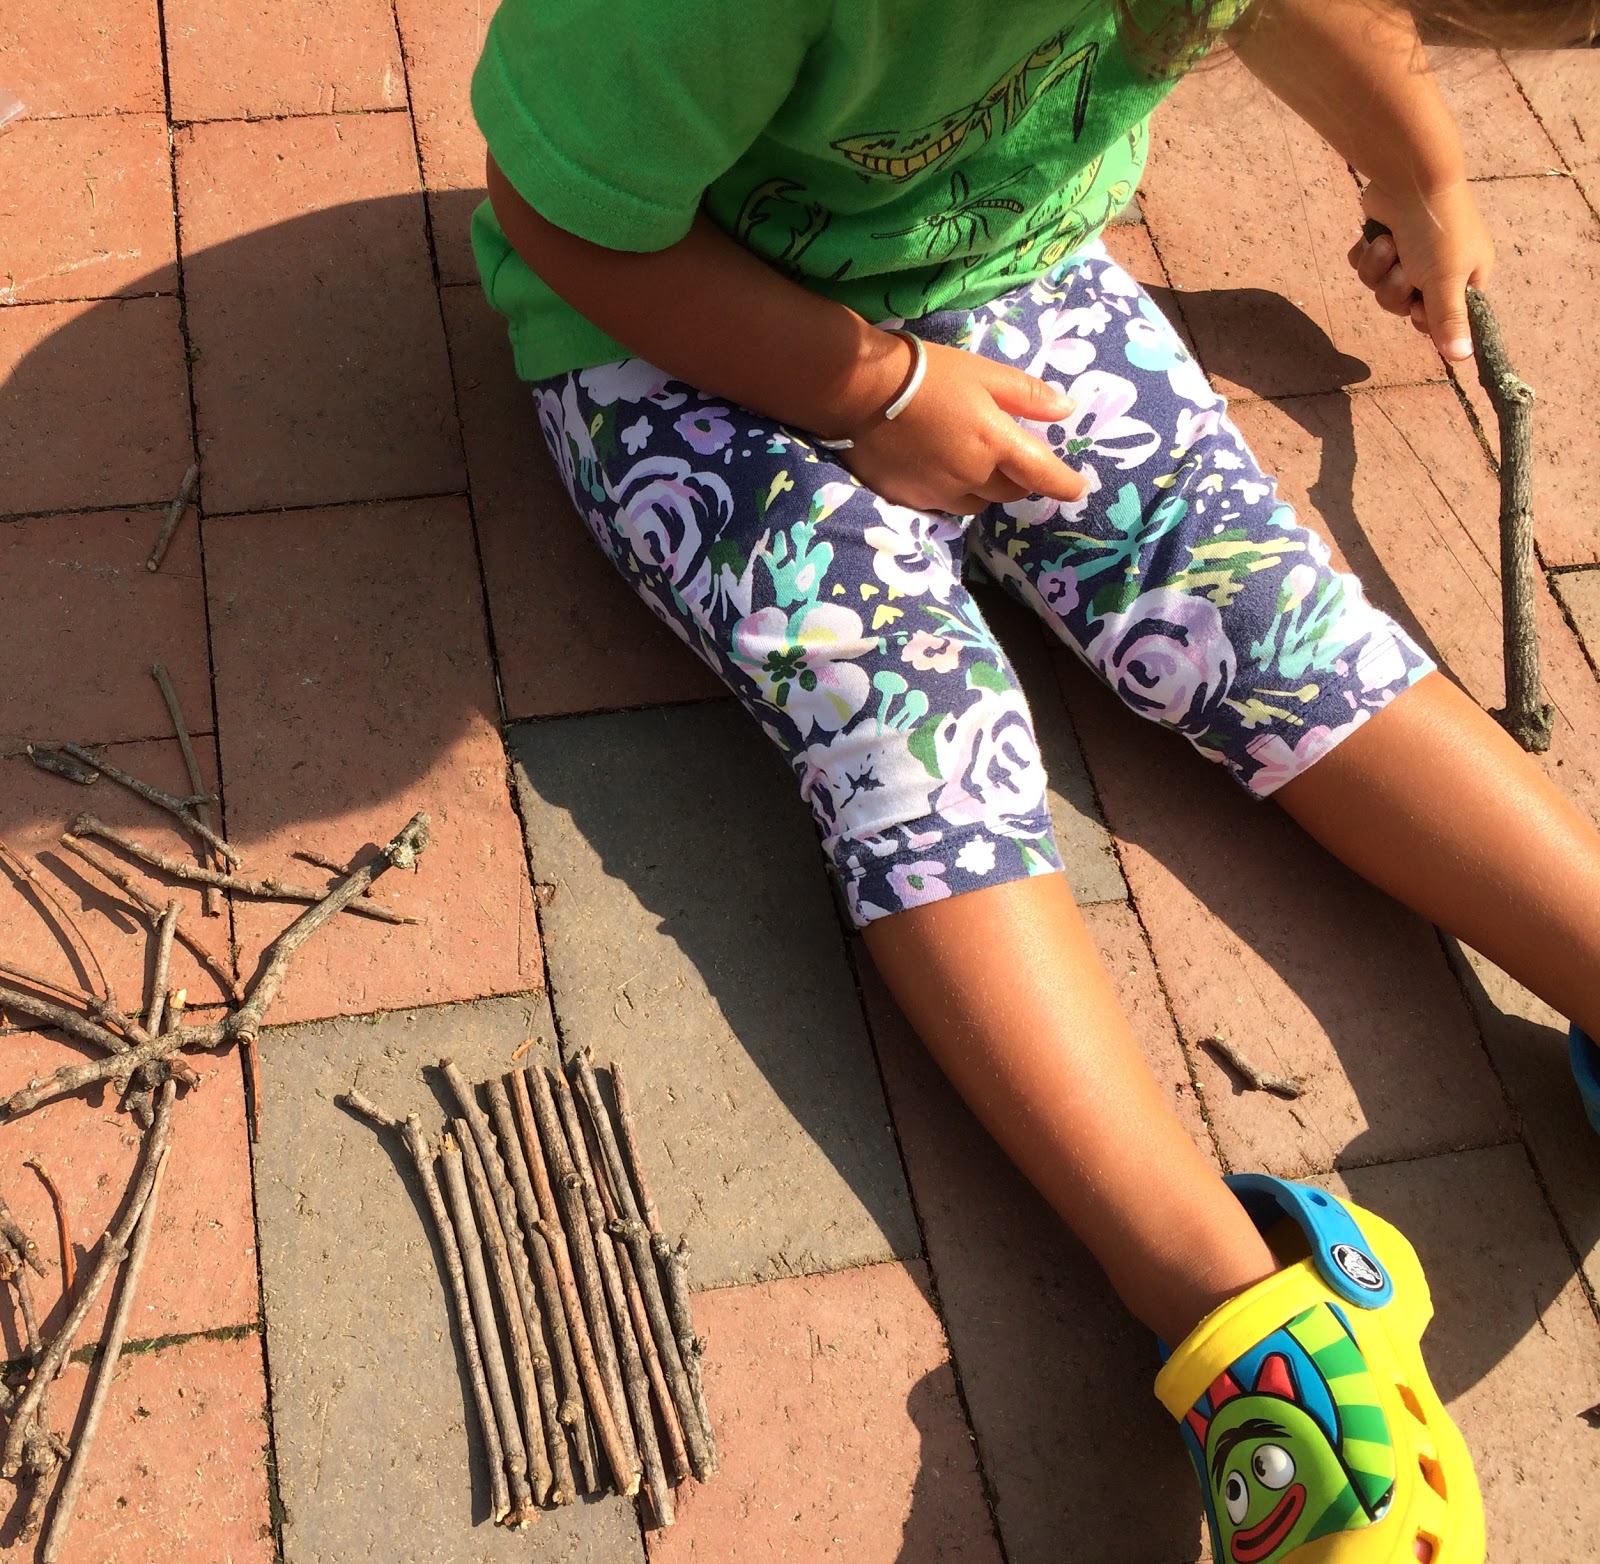
While you’re folding and gluing the top, go ahead and send the little ones off to find sticks in the backyard.


Find one or two thicker, sturdier sticks and glue them to the bottom of the bird feeder…this is where the birds can perch while they snack.


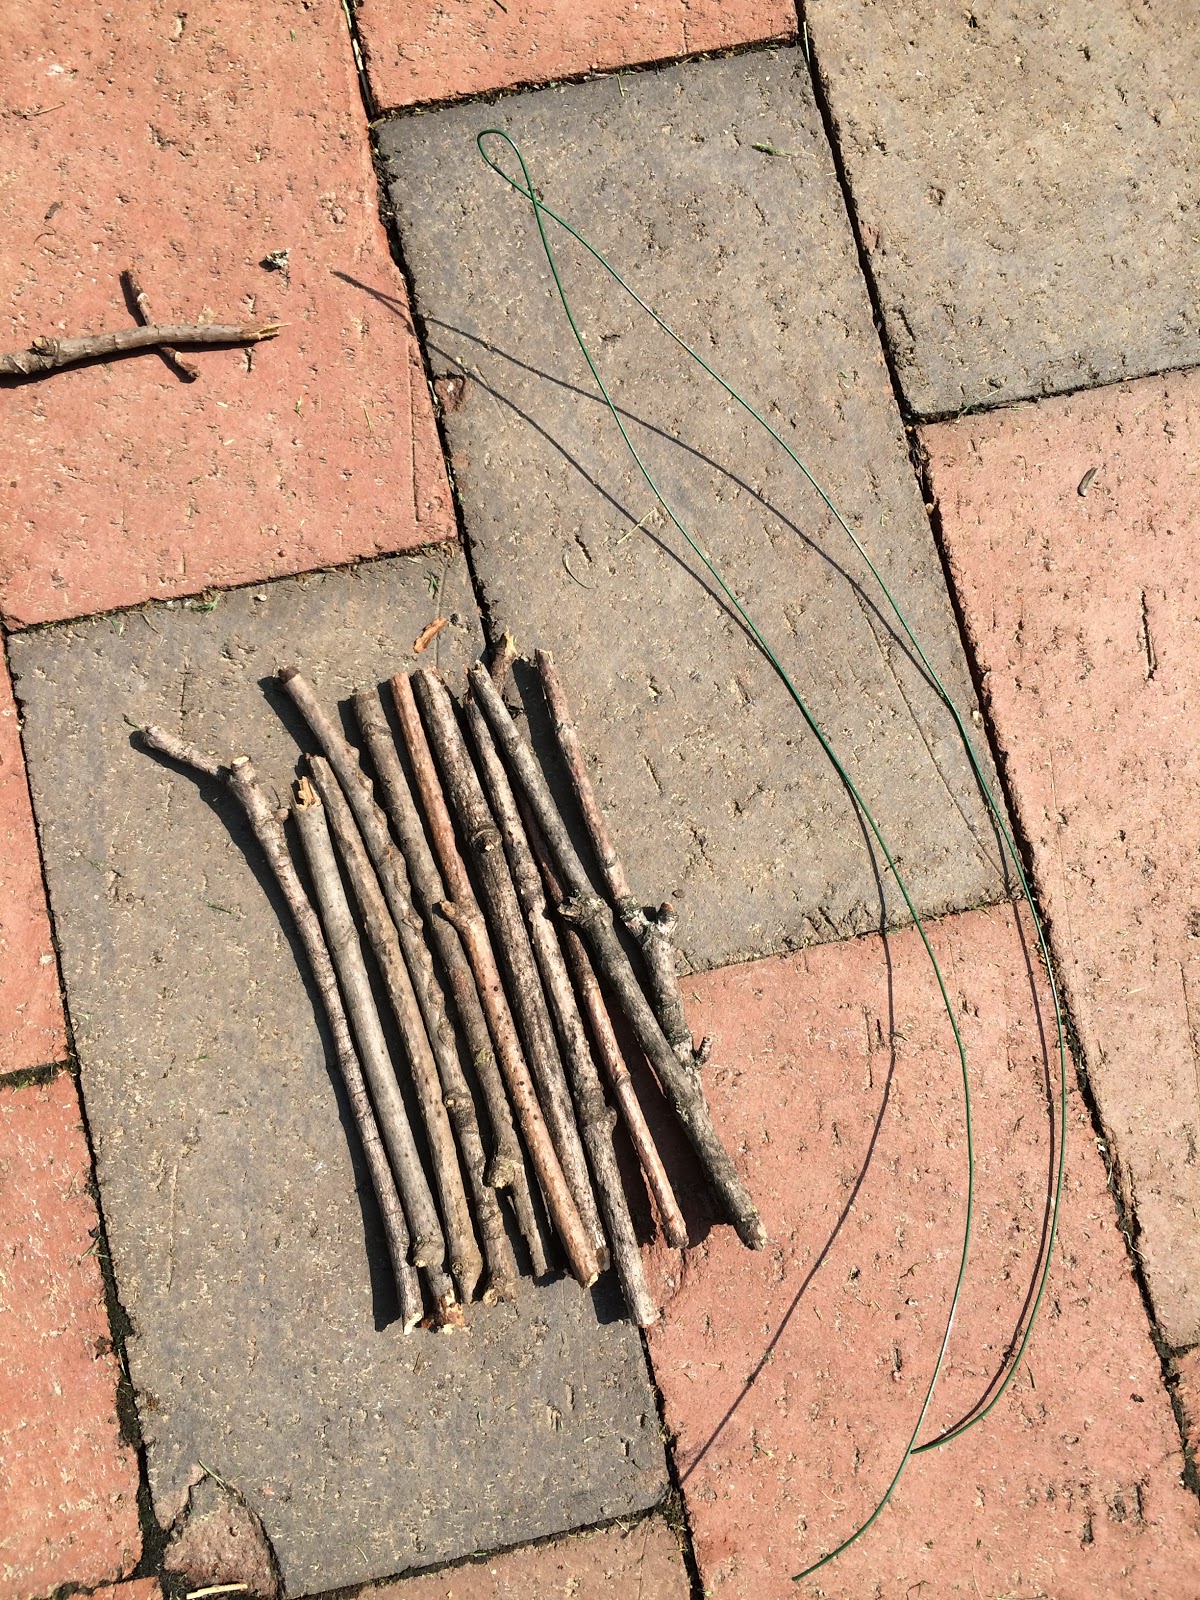
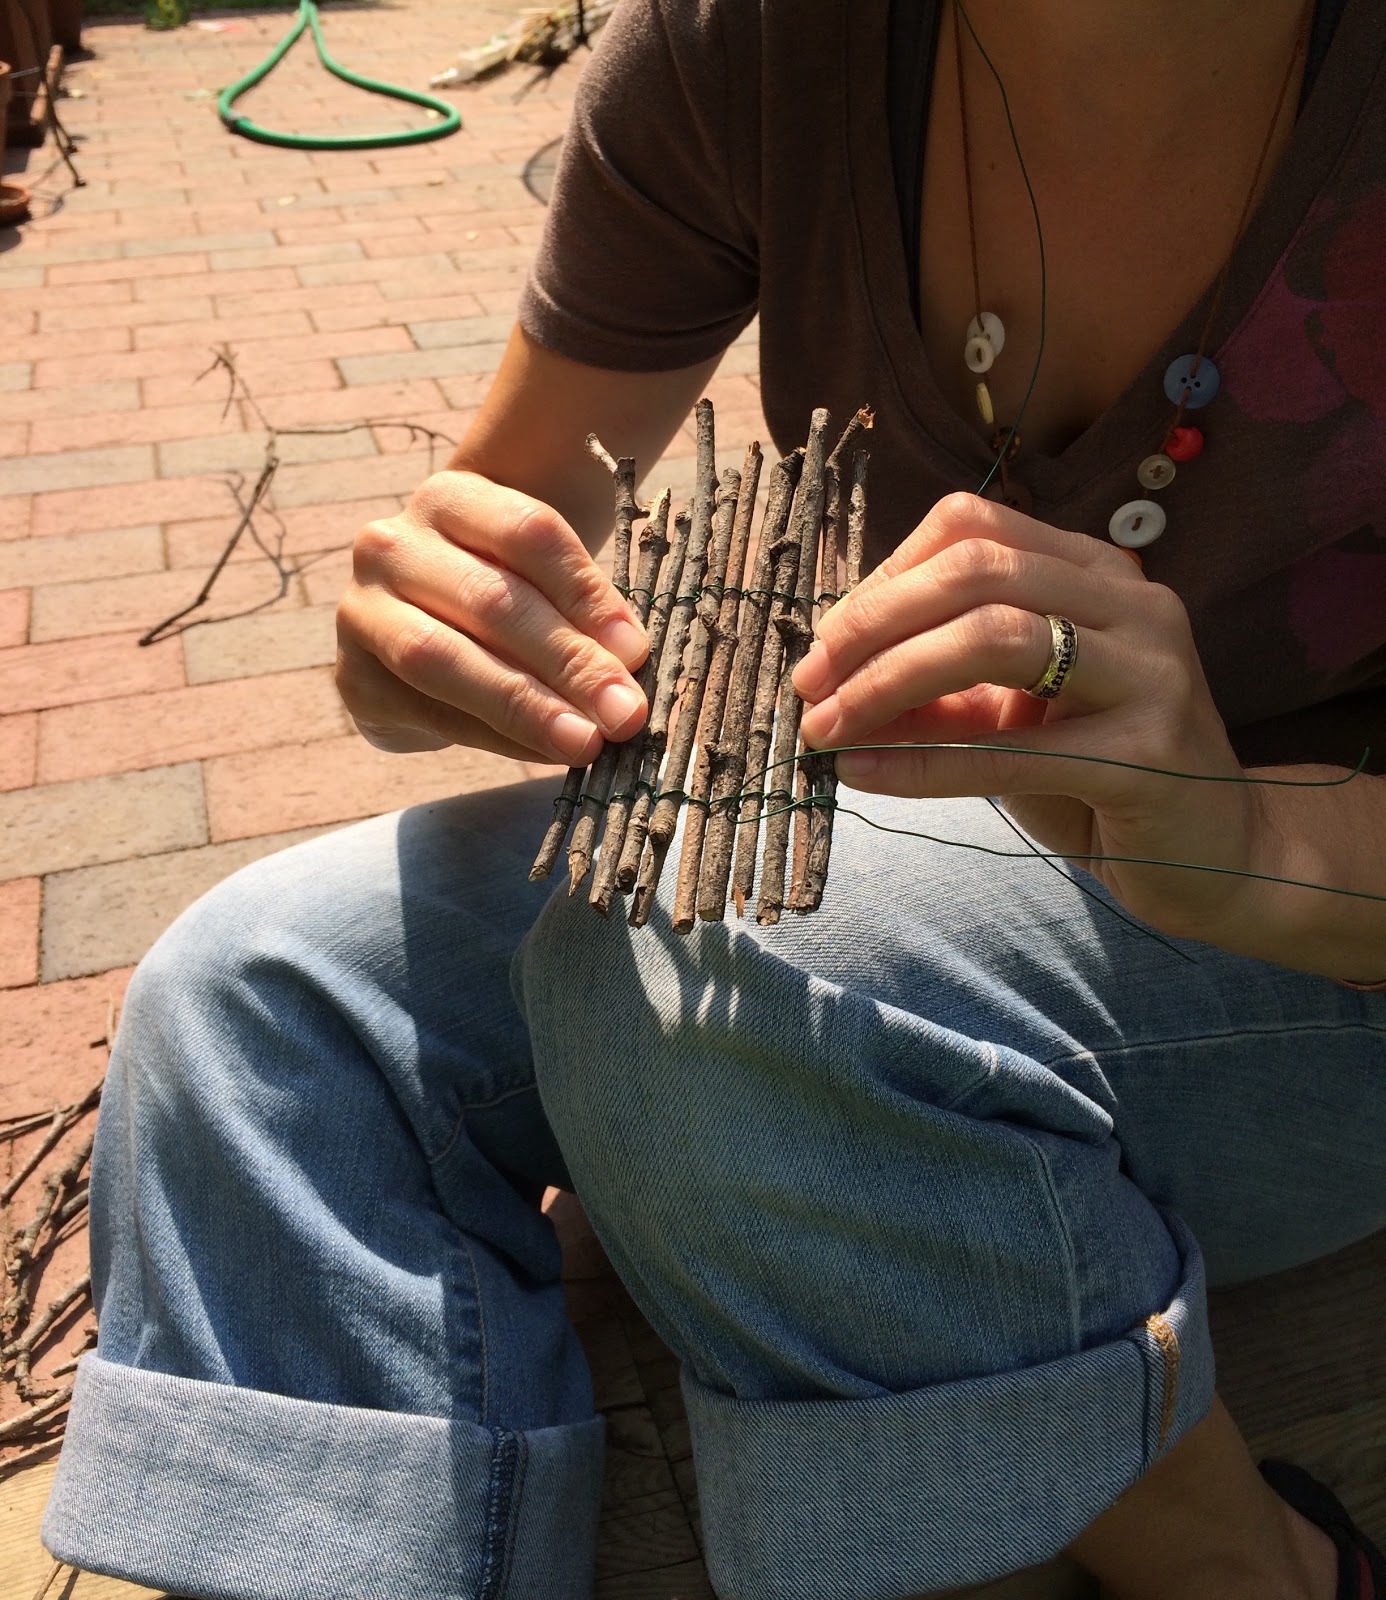
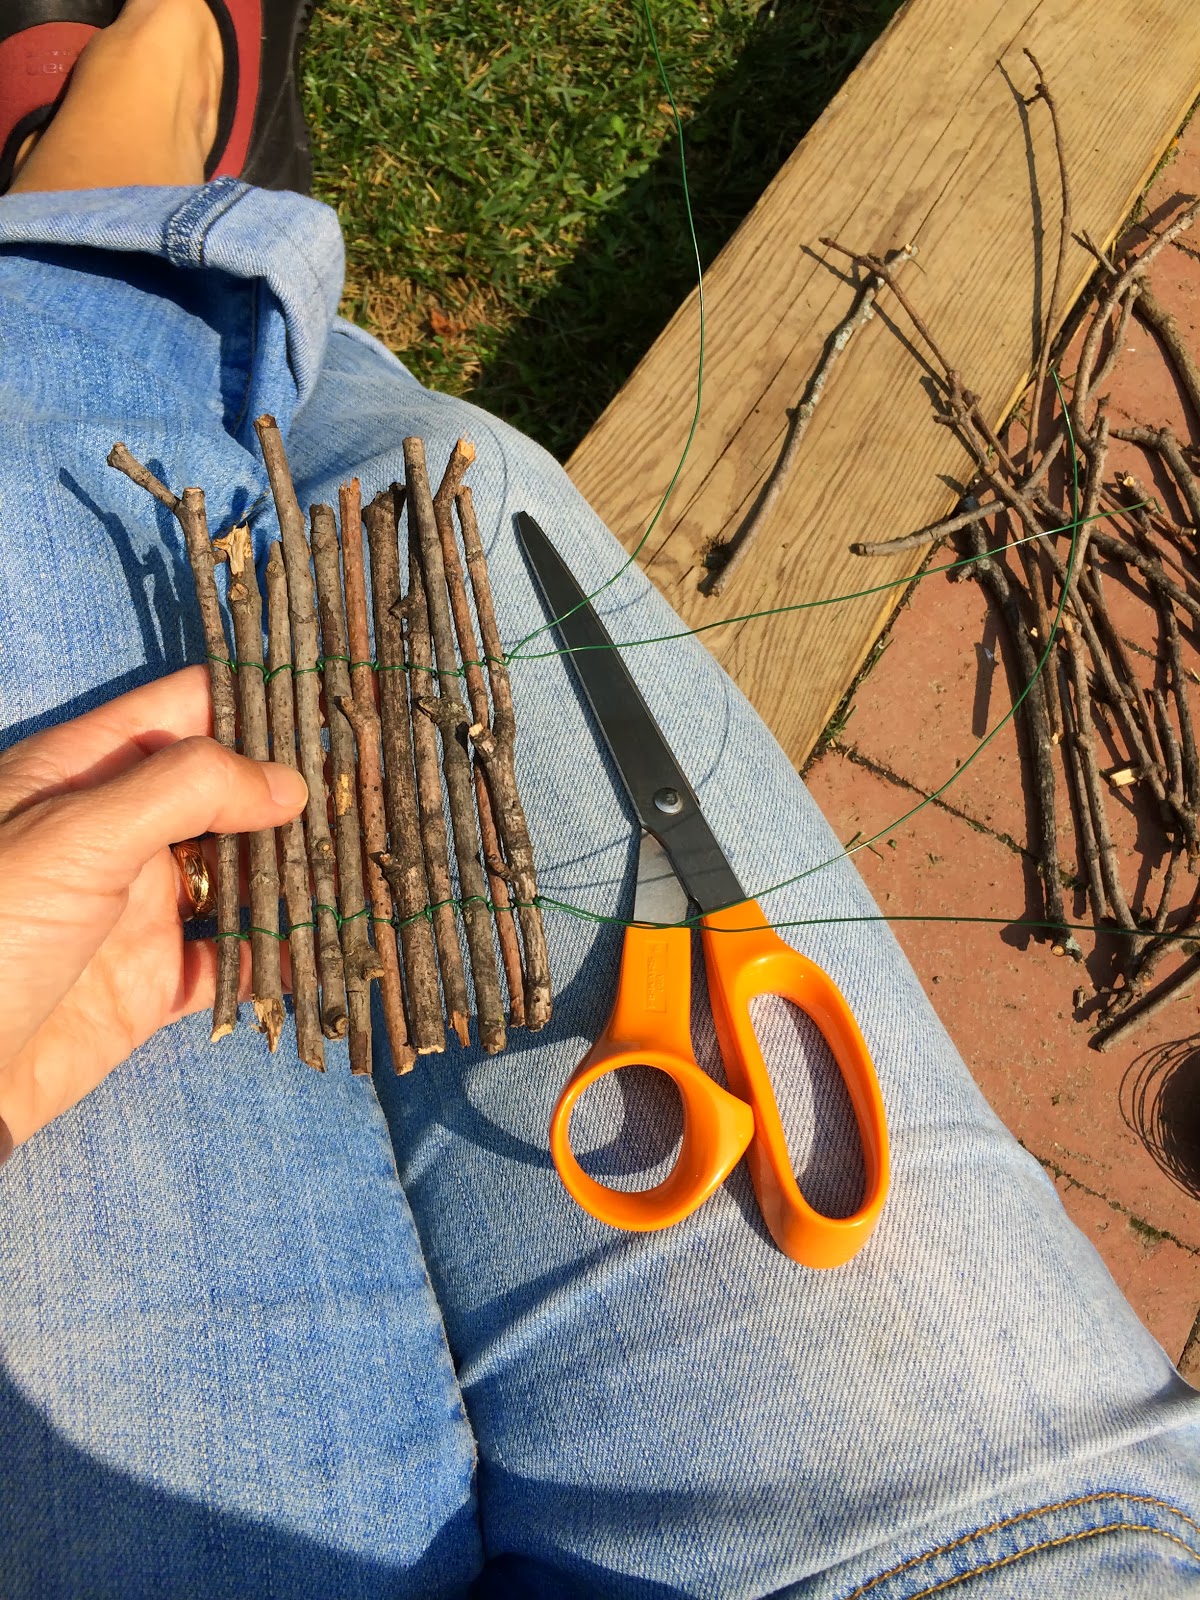
Now, go around the can gluing sticks side-by-side until the entire can has been covered. We broke the sticks so they were all roughly the same length, but by no means perfect. If one stick is curved and leaves a substantial gap, go ahead and glue a small stick in to fill the hole.


On the bottom of the can, glue a few rocks in place…these probably won’t be seen, but will help balance out the bird feeder so it doesn’t tip too far forward.


Lastly, tie a string around the bird feeder and fill with bird seed. Hang it up where you and the kids can see it from a window…maybe on a nearby branch or off of your porch. Now, sit back and wait for the birds!


We decorated our bird feeder with sticks from the yard, but you can certainly get creative and mix things up a bit. Your kids can paint the tin can, wrap string around the can, or glue buttons on it…anything you all are inspired to do to make it unique!

DIY Fairy Door…Gnome Door…

In our garden the fairies and gnomes live amongst each other. Their village spreads around the yard with lil houses, patios and ponds hidden beneath the flowers. Throughout the year, L and I like to collect and make things to add to our garden…this morning we made a lil fairy door.

Materials needed:

  • sticks
  • florist wire
  • a button


First, have your kids collect some sticks and twigs around the yard. Sort through the sticks, finding ones that are particularly straight. Lay these sticks side-by-side, getting an idea of what your door will look like.


Next, cut two pieces of florist wire about 2-ft long each. Fold them in half.


Take the first stick you have laid out for the door and place it in the middle of one of the wires. Wrap the wire around the stick, about an inch from the bottom, and twist the wire once to secure it.


Do the same with the second wire about the an inch from the top of the stick. Continue adding sticks, one-by-one, wrapping and twisting the wires as you go.

When all the sticks are connected, hold the door in two hands and very gently squeeze the sticks together.


Cut the end of the wire, leaving about half an inch, and fold back the extra.


Next, have your child select a button for a door knob. L chose this cute lil heart button…probably not the one I would have chosen, but it was perfect for a fairy door! (Kids just know when it comes to these things.)


Thread the button onto a 4-inch piece of wire, twisting the wire a bit to secure it. Then, deciding where you’d like the door knob to be, wrap and twist the wire around one or two of the sticks.


To ensure that the button won’t slide down the door, you can thread the excess wire up and over the wire that holds the sticks in place as well.


Now the fun part…find a little piece of wall, fence, or a tree trunk to prop the door up against! Add some buttons, pennies, or broken tile pieces for lil fairy stepping stones… Adorable!


This project was so quick and easy, I think we’ll make another to sneak into our neighbor’s garden. He’s got the perfect tree for a fairy or gnome door…


Sunshine Experiment

We call this one the “sunshine experiment”…it’s an oldie, but a goodie. It’s a great experiment to help kids learn about the harmful effects of the sun and why it’s important to always wear sunscreen. L is only 2 years old and was surprised at the outcome, but didn’t understand it 100%. I imagine a 4-year-old would get it and even a 10-year-old would have fun with the experiment!

Materials needed:

  • construction paper
  • old cardstock or thin cardboard (just look in the recycling bin!)
  • scissors
  • a handful of rocks
  • a sunny day

First, have your child dig through the recycling bin to find some pieces of thin cardboard or card stock. (We love any reuse-recycle activity!)

Next, cut out some big and basic shapes. We went with a night sky theme and an under-the-sea theme.


Take the cardboard cutouts and a couple pieces of construction paper outside. In a sunny spot, arrange the cutouts on the paper.


To ensure that they don’t blow away, put a few small rocks on top. Coins would work too! And now you have to wait and wait and wait…go for a walk, a swim, eat some lunch…wait a few hours.


Next is the best part…take the cardboard pieces off the paper and discover the picture left behind, all thanks to the sunshine!


I’m sure older kids could get really creative with this and make up their own themes and scenes. Fun times ahead!

Wizard Wands…Fairy Wands…Magical Wands

This is such a simple craft to do and, paired with a wizard cape or hat, it makes for a fun gift too! I first made these for my nephew’s birthday party…and they were a big hit! Depending on your kid’s age, he or she can help with some and maybe even all of the steps.


Materials:

  • sticks from the yard
  • acrylic paint
  • glitter paint
  • a small marble
  • glitter hot-glue-gun glue and glue gun


Collect sticks! If you don’t have good ones in your yard, go on a nature walk around town collecting some. The more twisty-turny they are the better! Make sure they are strong ones and won’t break easily. Brush sticks off, gently removing any loose bark.


Paint! Most of my acrylics are not labeled “non-toxic” and they are permanent, so I did this step on my own. Sometimes I let L paint with acrylics, but I cover the kitchen counters and nearby appliances with garbage bags, cover the chair she stands on with a towel and make sure she’s wearing her smock. You be the judge on this one! After the paint dries, apply another coat if needed and then paint with the glitter paint. You could stop here if you want and have a pretty awesome wand…I like to add the marble on top though to make it a little safer!


Attach marble! Find a marble that’s the right size and color you like. Old marbles are another great thing to find at antique stores…whenever we see a jar for a good price, we snatch em up. Using the hot glue gun, apply a little dab of glue at the tip of the stick and quickly push a marble in place. To secure the marble, apply more glue around the base and then make a little dripping effect down the wand. Plan on using about one whole glue stick per wand. And that’s it!


Too easy, right? It’s fun watching your kid’s imagination soar while playing with their wand. L likes to think she can make the leaves of a tree dance or birds fly with hers. I always remind her of two rules though… #1: No hitting anything or anyone, and #2: No running with the wand. If you make a wand, please share your pics with us! I’d love to see what else you add…ribbons, jewels, etc.