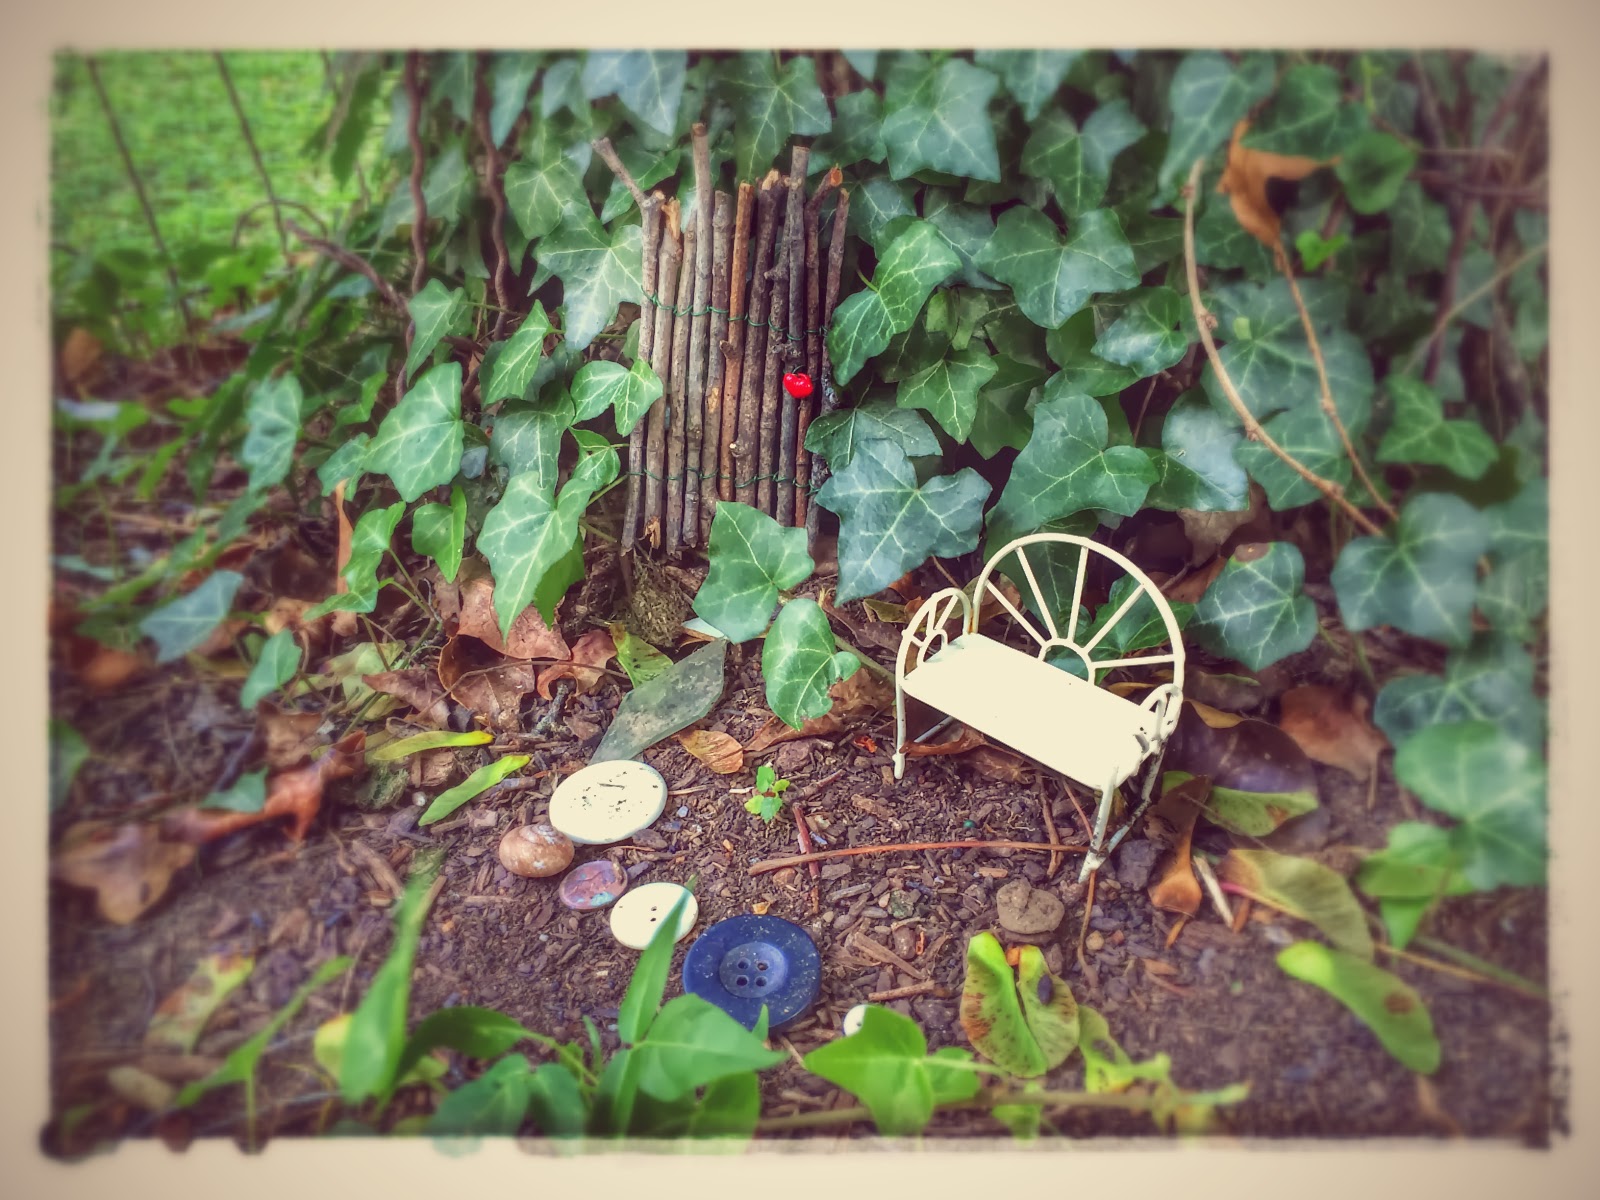
I’m so super-excited about our GNOME VILLAGE ADVENT CALENDAR this year! Starting on the 1st of December the kids will lift up a gnome home each day…the house numbers will correspond with the day. Underneath each house will be a little surprise: a hershey kiss, a candy cane, a miniature ornament for the tree, or a special message. The “special messages” may include,
- “Make cookies for a neighbor.”
- “Make Christmas cards for friends and family.”
- “Leave little notes written in chalk around the neighborhood.”
- “Make a Gingerbread House today!”


Making the GNOME VILLAGE was a little time consuming, but very easy to make. You could always make your gnome houses very simply with a standard door, windows and house number and they’d look just as cute! Just mix up the colors for some variations!
Materials needed:
- mulit-colored card stock (or you could use toilet paper rolls)
- doilies
- markers and/or paint
- glitter
- Elmer’s glue
- hot glue gun
- sequins, stickers, etc (optional)

First, cut the card stock in half horizontally, then take about 3 inches off the end. I like using card stock instead of regular construction paper because it doesn’t fade as easily and it’s sturdier. I’m hoping to use our GNOME VILLAGE year after year!
After your paper is cut, it’s time to decorate! We decorated some of our gnome houses with markers, some with paint and embellished them with sequins, jewels and glitter. Have fun and be creative! They certainly don’t all have to be Christmas-y, just colorful!


Once the houses have been colored and painted, shape the paper into little tubes and use a hot glue gun to secure them in place.


To make the gnome house roofs, make a cut to the center of a doily. (I actually used two doilies stacked for a sturdier roof.) Overlap the ends and glue into place…should make a little rooftop-cone.


To add snow to the roofs, very gently roll each roof in Elmer’s glue and then sprinkle with glitter. This was definitely L’s favorite part!


Using the hot glue gun again, attach each rooftop to a house. All done! Pretty easy, huh?


We plan to display our GNOME VILLAGE ADVENT CALENDAR on one of our mantels this year…with a little snow, mini-pine trees, and a few gnomes it will surely become one of our favorite Christmas decorations for years to come! So. Much. Fun! Enjoy!