White Picket Fairy Fence

Well, I couldn’t show you how to make a Craft Stick Fairy Door without telling you how to make a WHITE PICKET FAIRY FENCE to go with it! The fence is simple to make and looks adorable out in the fairy garden!

IMG_3404

IMG_3406

Materials needed:

  • small craft sticks
  • regular-sized craft sticks
  • wood glue
  • Q-tips
  • white acrylic paint
  • acrylic sealant

IMG_3371

First, lay out your sticks…4 small craft sticks in the middle with 2 regular-sized ones on the ends. If you don’t have small craft sticks, just cut some regular-sized one’s in half. The two craft sticks on the ends are left long, so that you can easily stick them into the ground, keeping the fence upright!

IMG_3372

Next, think about where two craft sticks that will lie across the other ones will be and use a Q-tip to put wood glue in those spots across each stick. Lay the craft sticks on top of the glue and press to secure.

IMG_3374

IMG_3375

After the glue has dried, paint the picket fairy fence white.

IMG_3399

Finish up with a coat of acrylic sealant spray.

IMG_3400

Now for the fun part…while sneaking a fairy door into your neighbor’s garden, add a little white picket fairy fence as well! Gently push the ends of the fence into the soil. Enjoy!!!

IMG_3402

It’s Tea Time!!! Tea Party Ideas

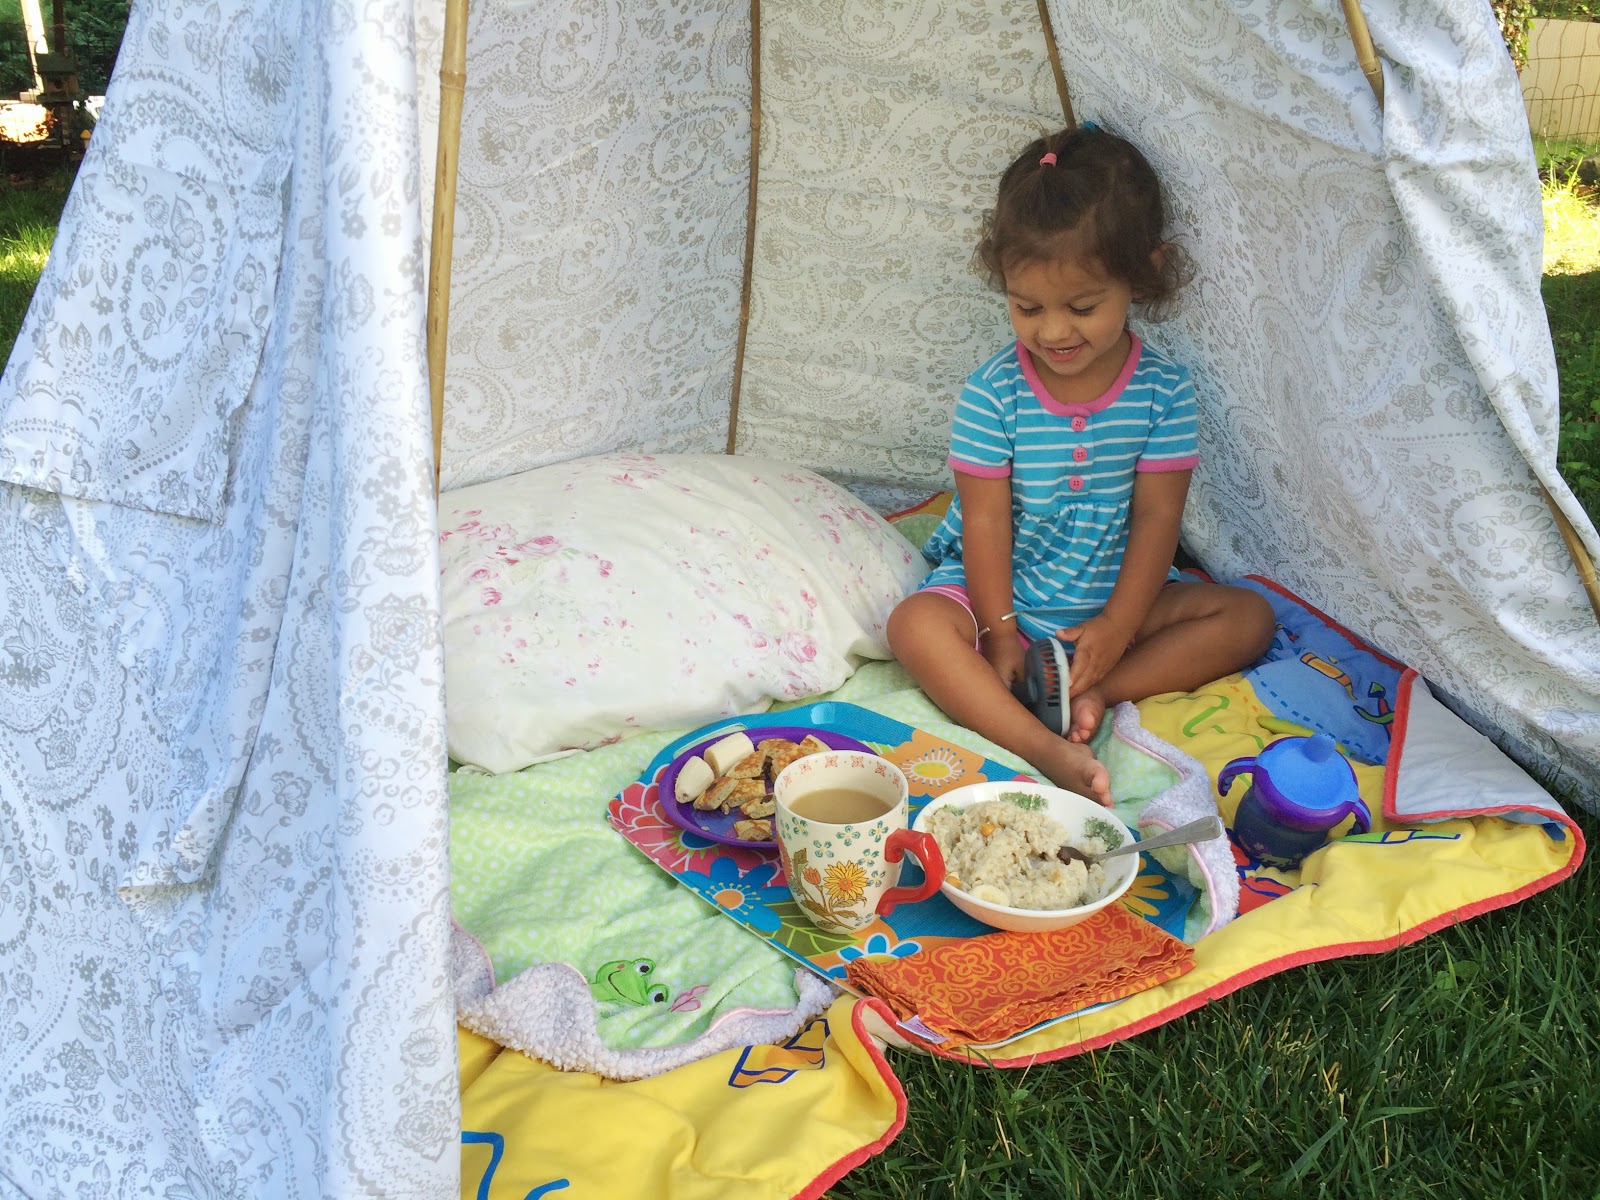
Over at Our Beautifully Messy House, we love a good TEA PARTY! We have breakfast tea parties and mid-afternoon tea parties, tea parties in a teepee outside, and tea parties on the kitchen floor! We have tea parties with friends and tea parties with fairies! There is only one rule in our house when it comes to having a tea party: Everyone must wear a hat! It doesn’t matter if you are still wearing your pajamas, everybody starts the tea party with a hat!


IMG_9142

IMG_9633

IMG_6466


If you’re planning ahead, you can make some “Floppy Newspaper Hats” for tea time! (DIY here.)

IMG_7266


Tea Ideas

Obviously you can steep any flavor of tea, but with little kids you may want to get creative! Sometimes I pour L half a cup of Blueberry Wild Child Tea, fill the rest with milk and she drinks it out of her fancy tea cup with a straw. Anything goes! Kids can drink water, milk, juice mixed with water, or hot chocolate…if it’s in a tea cup, it’s tea!


IMG_8855


Tea Cups

Tea cups don’t have to be fancy, but fancy is fun! The best place to find tea cups is at antique stores, yard sales and flea markets. Such places are filled with tea pots and cups and, at only a couple of dollars a piece, it’s no big deal if one breaks.


IMG_9635

Tea Party Treats

For breakfast tea parties, we make PANCAKE SANDWICHES with cream cheese and strawberry jam layered in-between two pancakes. To make them extra fancy, cut the pancakes with a heart cookie cutter and let the red, strawberry jam shine through!


IMG_8833

These Strawberry Jam Scones are perfect for tea time! Get the recipe here.

IMG_9157


No-Bake Acorn Treats are fun and yummy for your tea party outdoors! Get the quick and easy how-to here.

IMG_7737


If you’re just throwing together a tea party last minute, anything will do…a granola bar cut into bites, muffins, a bowl of popcorn. Your kids will love it!

A Tea Party for Fairies

IMG_9127


If you don’t have fairies and fairy furniture, you can easily make some!

IMG_9148

DIY Fairy Folk


IMAGE_1841

DIY Fairy Furniture

IMAGE_2311

Acorn Cap Treasures (aka Fairy Hats!)

Use cheerios to make FAIRY DONUTS. If you have a microwave, simply place one chocolate chip on top of a cheerio and zap it for a few seconds. Top with mini-sprinkles! We don’t have a microwave and melted the chocolate chips in a double-broiler on the stove-top and it worked just as well! For powdered fairy donuts, dip the cheerios in some maple syrup and then toss around in some powdered sugar. Silly, sweet, and so much fun!!!


IMG_8598

IMG_9123


If you don’t have a mini-tea set, you can use buttons for fairy plates and thimbles for the tea cups. Have the tea party on top of a box or a colorful pillow!

IMG_9131

IMG_9408


Please don’t think that if you have little boys that they can’t partake in your tea party fun! Everybody loves a party and if you must, call it a “picnic!” Enjoy!!!

 

IMG_8769


DIY Fairy Folk

L and I made these FAIRY FOLK this morning and she’s been playing with them all day long! She loves them!!! L has made up a house, a bed, a car for them…a phone, bathtub, table and chairs, a crib and even a change of clothes! Tomorrow we shall have a “Fairy Tea Party” in their honor. The fun never stops around here!

IMG_9038

IMG_9033


Materials needed:

  • wooden peg people
  • acrylic paints
  • felt or fabric scraps
  • hot glue gun and glue


IMG_8991

First, paint the fairies’ bodies.

IMG_8992


Next, paint hair and eyes on the fairies. I tried to make each of ours a little different.

IMG_9003


Then draw and cut a little fairy wing stencil. You can trace this on the felt or fabric before cutting out the wings. After a few, I just winged it! Ha! I liked having some big, some small. (Cut a few extras for fairy “outfits.”)

IMG_9004

IMG_9005

IMG_9008

To complete the fairies, attach the wings to the bodies using just a touch of glue with your hot glue gun. Now, time to play!!!

IMG_9009

IMG_9010

IMG_9011

Our “Acorn Cap Treasures” were perfect for the fairy folk. As was the “Fairy Furniture” we made last Summer.

IMG_9033


A toy teacup was just the right size for a bath and one of WB’s socks made a roomy bed.

IMG_9026

IMG_9027


The fairies also enjoyed skating on this melted-bead ice rink and, of course, driving in their jam jar car.

IMG_9020

IMG_9024


A change of wings for the fairies…

IMG_9039


I’ll be sure to post our Fairy Tea Party details later this week so your lil ones can join in the fun! Enjoy!

IMG_9025

Fairy Furniture

It wouldn’t be fair for me to tell you how to make a “fairy door” without showing you how to make some fairy furniture to add to your garden as well! These tables and chairs are super easy and quick to make and, like most of my favorite crafts, they can be made with things you already have!


 Materials needed:

  • bottle caps
  • little sticks and twigs
  • scissors
  • hot glue gun and glue

First, have your kids help you collect sticks out of your yard and select some colorful bottle caps. (Bottle caps are another item we hoard in our house…they can be used for so many crafts!)


Using your scissors, cut a stick into four equal pieces…each about an inch long. These will be the legs of your chair.


Turn a bottle cap upside down and glue the four legs into place. You can either put the glue onto the leg and push it into the bottle cap, or put the glue directly onto the cap and push the stick in. Whichever method you decide on, make sure you do it quickly so the chair legs are super-secure!


Cut two more sticks, about an inch and a half to two inches long. These ones do not have to be exactly equal in length or straight! Cut two or three more sticks about an inch in length.

These sticks will resemble a ladder-back chair. One by one, glue the inch-long sticks to the longer ones, attaching the two. (Easier to see in the pictures below than to explain!) I prefer the small, horizontal sticks to be a little crooked…gives the chair more character!


Once all the sticks are attached and the glue has dried, flip the chair over and decide which side will be the front and which will be the back. Glue the back of the chair to the seat with two more dots of glue. All done!!!


If you’ve made the chair, the table is super easy…essentially it’s a back-less chair!


I just love the color and character the bottle caps give the fairy furniture! Have fun playing with this one! They are so quick and easy to make, you might as well make a few for your neighbor’s garden as well.