The Buckeye Zoo (and Other Fall Seed Creations)

I just love this time of year! One of my favorite things to do since I was a kid and now with my own kids is collecting the Fall leaves, nuts, and seeds. L says she likes to be a “thing finder” like Pippi Longstocking on our nature walks. This year, as we’ve been foraging, we’ve also begun gluing some of our buckeyes and other nuts and seeds together into animals.

Materials needed:

  • buckeyes
  • acorns
  • helicopter seeds
  • whatever other nuts and seeds you can find
  • feathers
  • twigs
  • glue (I used a hot glue gun, but let L use wood glue.)
  • acrylic paint
  • sealant

Before you start gluing, it’s important to make sure that all your findings are bug-free and that they’re dry. Put a layer of tinfoil on a baking sheet or pan and spread your nuts and seeds out on top. With your oven set to 200 degrees, bake your acorns, walnuts and buckeyes for about 1.5 to 2 hours. Turn the seeds over about every half an hour to prevent burning. With some of the spiky or more delicate seeds, bake them at a lower temperature…around 180 degrees…for an hour or so.

After the seeds are baked and cooled, you can start gluing together your creatures. I prefer using a hot glue gun…it’s quick and holds the buckeyes and other seeds together nicely. I let L glue some of her own with some standard “wood glue” though. It takes longer to dry, but it’s much safer for a 2 year old to use on her own!


The elephant was the first member of our Buckeye Zoo…definitely L’s idea! She looooves elephants!


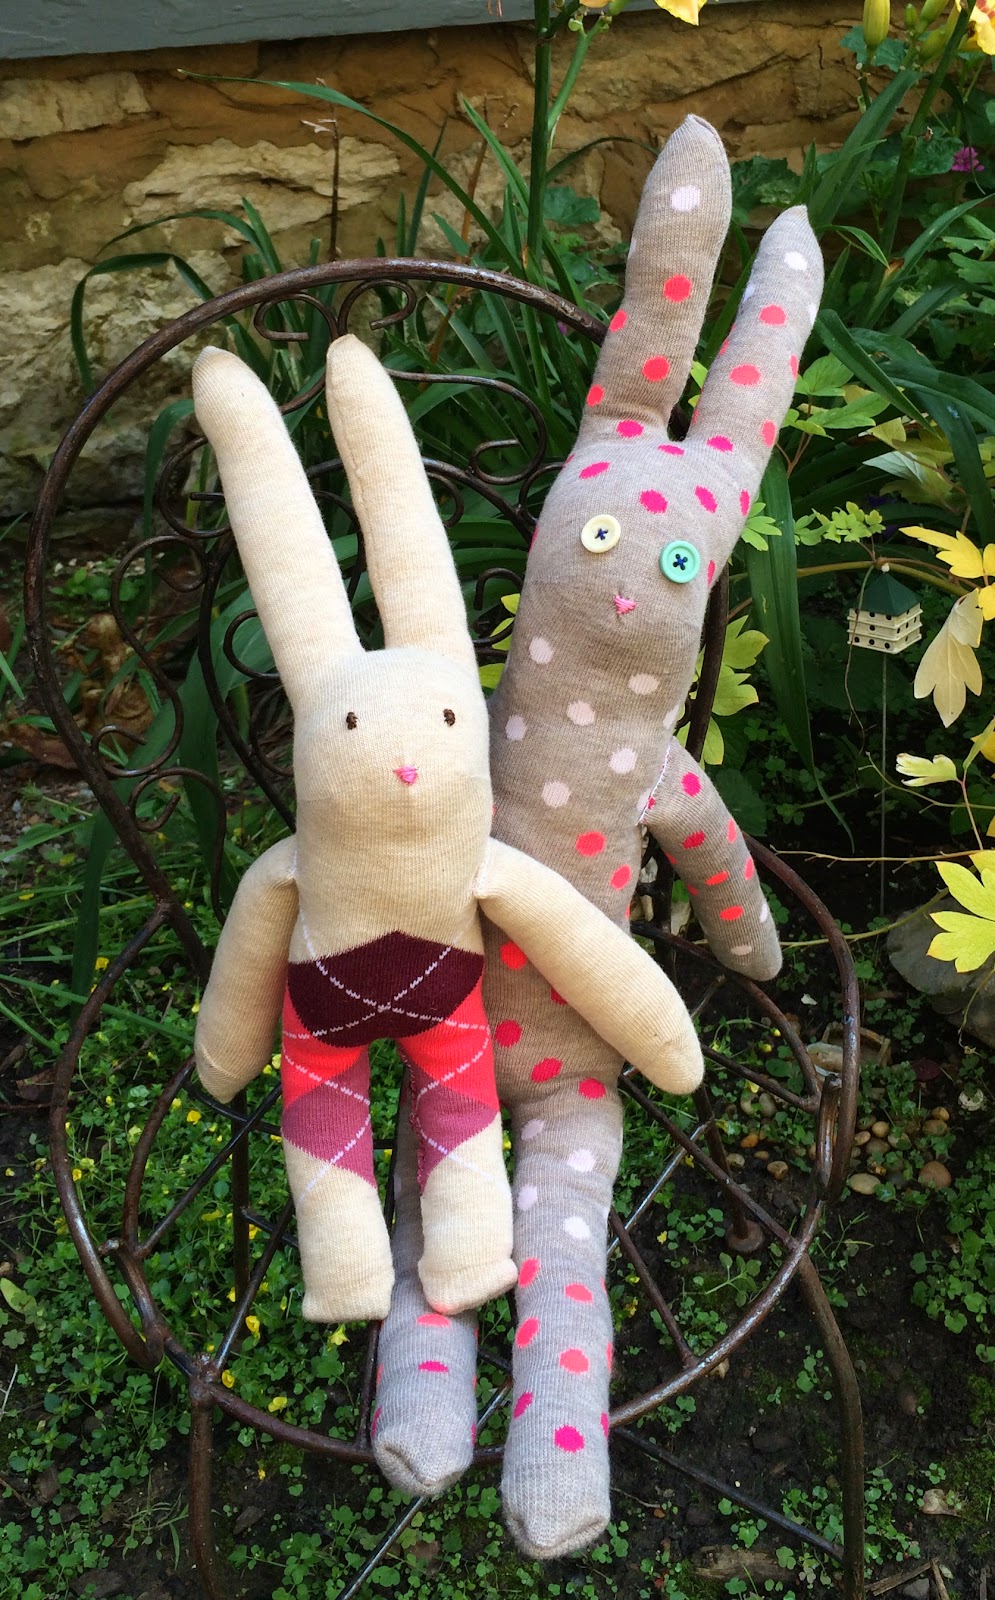
Here’s a little bunny rabbit…I think tomorrow I’ll make some flop-eared bunnies for a dear friend of mine. So simple, but so cute!


I thought this one was gonna be a porcupine or hedgehog, but L said it looked most like a sheep. I agree!

And I just love this bird. We’ll be making him/her a nest by gluing together twigs later this week.


While most of our creatures were complete after gluing, we chose to paint others…like L’s caterpillar and the turtle and dragonfly we made together.


What Buckeye creatures will you and your kids make this year? We’d love to see your creations shared here in the comment section…there are so many possibilities! Have fun collecting and creating!!!

DIY Baby Play Area + DIY Baby Toys

Over the past few weeks I had been thinking of putting together a little play area for WB, now 7 months old. WB is definitely our laid back kid, compared to her wild-child, older sister. She is perfectly content sitting back and observing the world around her. WB can roll over and push herself up on her belly, but she doesn’t do it very often…so I thought a little play area may be fun and may encourage her to move around a little more. And boy was I right…she LOVES it! When I saw some long mirrors for a good deal at Lowe’s last week, inspiration struck and WB’s play area was put in motion!

Materials Needed:

  • comfy, colorful blanket
  • long mirror
  • 2 med-sized boxes
  • 6 to 8 bricks (or other heavy items)
  • colored paper
  • tape or glue


To hold the mirror in place, in a safe and sturdy way, I decided to fill a couple boxes with bricks. (We just happen to have a pile of them sitting outside of our house, leftover from a patio project.) You can also use heavy rocks, bags of sand, or whatever is most convenient for you! Brighten-up a plain cardboard box by taping colored paper to it. I originally planned to cover the diaper-box I was using as well, but then I remembered how much babies like other smiling babies and kids, so I only partially covered it. The box was colorful already too!


Other things you can put in or near your baby’s play area include:

Sensory Bags (DIY link here.)

Sensory Bottles for Baby (link here.)

Sparkle Bottles (link here.)

Plush Animals and Toys (DIY bunny link here.)


Colorful Garland…I put this feather one up above for WB to look at while on her back. I love how the feathers gently “dance” continuously. (DIY feather garland link here!)


What will you include in your baby’s play area??? As always, never leave your children unattended and make sure all toys you put in the play area are baby-safe! Have fun watching your little ones explore!


DIY Sock Bunny Rabbit

This project was inspired by a dear friend Libby, who left this world way too early in life. When I was 10 years old I was diagnosed with type I diabetes. As my doctor came to the hospital that evening to diagnose and take care of me, his wife, Libby, got out her sewing kit. She stayed up late that night making me a precious bunny rabbit that I still have to this day.


So when one of my best friends’ babies, my godchild, was in the hospital for surgery last week and ended up staying much longer than expected, my first thought was of Libby and the bunny. I knew I had to make one.

Materials needed:

  • one pair of socks (regular or knee high)
  • needle and thread
  • stuffing material
  • embroidery floss and embroidery needle
  • buttons (optional for children 3+)


First, take one sock and open it up so the heel is facing you. Lay it flat. The heel of the sock will be the bunny’s face.


Then, make a cut in the middle of the toe of the sock, cutting towards the heel. This will be the bunny’s ears. Don’t cut all the way to the heel though, remember the heel becomes the face. Next, make a cut from the opposite end of the sock for the bunny’s legs. Again, don’t cut all the way up to the heel…this time you need to leave room for a body too.


Turn the sock inside-out. Starting at the tip of an ear, stitch down one ear and up the other. Next, sew the legs in a similar fashion, but this time leave about a 2-inch opening.


Turn the sock right-side-out. Through the 2-inch opening, carefully stuff the bunny’s ears, body and legs. Sew the opening closed.


Now take the other sock and cut off the toe, close to the heel. Lay this part flat, like you did the first sock, and cut it in half. These will be the arms.


Turn one sock piece inside-out and, starting from the tip, stitch the side closed. Turn it right-side-out again and fill it with stuffing.


Next, fold the open edge inwards and pinch it together. Sew the arm closed, attaching it to the body at the same time. Repeat with the other arm.


Your bunny’s adorable already, isn’t it? But, it still needs a face! Using embroidery floss, stitch on little eyes or attach buttons (if the child receiving the bunny is 3 years old or older) and sew a lil nose. All done!


As you can see from the picture below, using knee socks gives you a tall and skinny bunny and using slightly smaller socks results in an adorable, baby bunny rabbit. Now to deliver them to my godchild and her 3 yr old sister…I can’t wait to see those happy faces!

“Making something is one way to say, ‘I love you.'” -Daniel Tiger